CAS服务端搭建
一、CAS服务端搭建
1、下载:https://github.com/apereo/cas/releases/tag/v4.0.0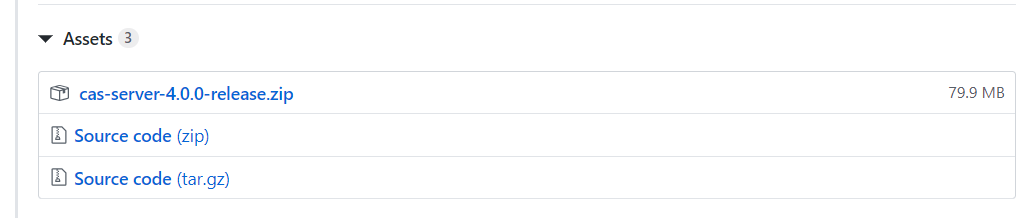
2、下载完后解压cas-server-4.0.0-release.zip。在cas-server-4.0.0-release\cas-server-4.0.0\modules目录下找到
cas-server-webapp-4.0.0.war。为方便访问,重命名为cas.war,放到tomcat的webapps下,启动tomcat。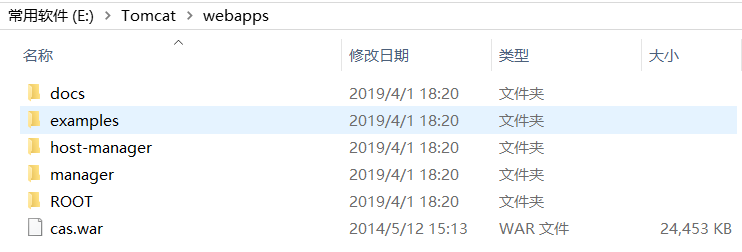
3、访问:http://localhost:8080/cas/login
4、输入默认的用户名:casuser 和密码:Mellon。登录成功后会跳到登录成功的提示页面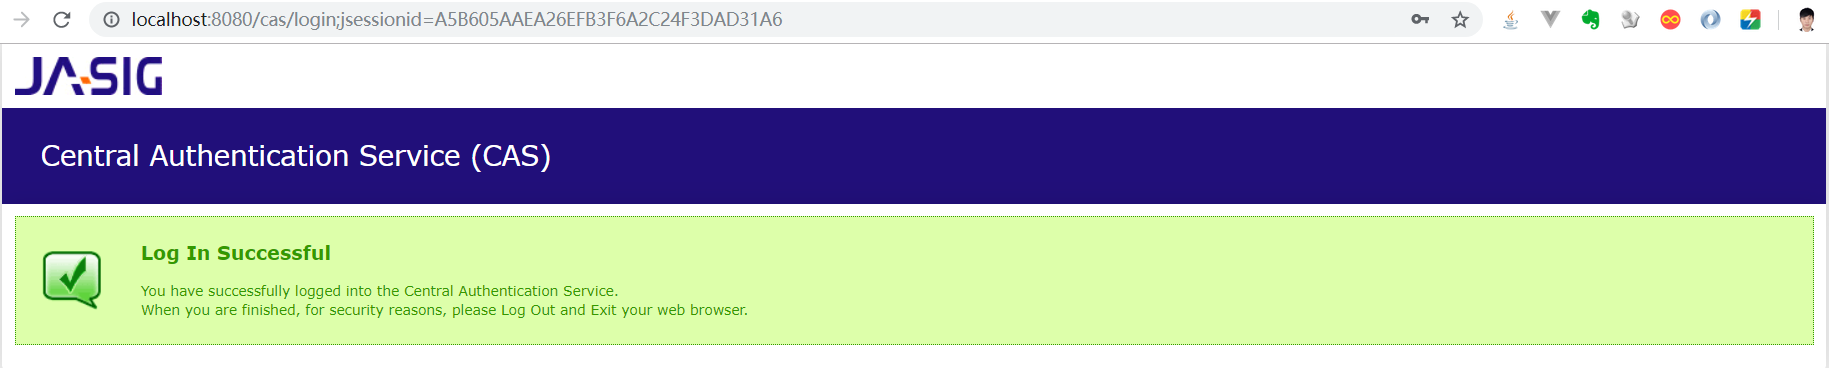
二、CAS服务端配置
1、修改端口。如果我们不希望用8080端口访问CAS, 可以修改端口。
(1)、修改tomcat的端口。打开tomcat 目录 conf\server.xml 找到下面的配置
(2)、修改CAS配置文件。修改cas的WEB-INF/cas.properties
server.name=http://localhost:8081
2、去除https认证
CAS默认使用的是https协议,如果使用https协议需要SSL安全证书(需向特定的机构申请和购买) 。修改配置,让CAS使用http协议。
(1)、修改cas的WEB-INF/deployerConfigContext.xml
<bean class="org.jasig.cas.authentication.handler.support.HttpBasedServiceCredentialsAuthenticationHandler"p:httpClient-ref="httpClient"/>
这里需要增加参数p:requireSecure="false",requireSecure属性意思为是否需要安全验证,即https,false为不采用。
(2)、修改cas的/WEB-INF/spring-configuration/ticketGrantingTicketCookieGenerator.xml
<bean id="ticketGrantingTicketCookieGenerator" class="org.jasig.cas.web.support.CookieRetrievingCookieGenerator"p:cookieSecure="true"p:cookieMaxAge="-1"p:cookieName="CASTGC"p:cookiePath="/cas" />
参数p:cookieSecure="true",同理为https验证相关,true为采用https验证,false为不采用https验证。
参数p:cookieMaxAge="-1",是cookie的最大生命周期,-1为无生命周期,即只在当前打开的窗口有效,关闭或重新打开其它窗口,仍会要求验证。可以根据需要修改为大于0的数字,比如3600等,意思是在3600秒内,打开任意窗口,都不需要验证。
(3)、修改cas的WEB-INF/spring-configuration/warnCookieGenerator.xml
<bean id="warnCookieGenerator" class="org.jasig.cas.web.support.CookieRetrievingCookieGenerator"p:cookieSecure="true"p:cookieMaxAge="-1"p:cookieName="CASPRIVACY"p:cookiePath="/cas" />
和第(2)步一样,修改cookieSecure改为false , cookieMaxAge改为3600
三、CAS客户端搭建
1、客户端工程1搭建


还没有评论,来说两句吧...