带有关闭按钮的alertView
概述
由于讨厌系统自带的alertView只能通过点击按钮才能关闭。你说万一按钮区域都是功能性的操作呢(这可不是我胡思乱想哦,要怪就产品的想法吧,呵呵哒),所以我们还是应该备有一个带有“X”(关闭按钮,为什么是叫X,因为X这个标志很明显嘛~)的alertView。
详细
代码下载:http://www.demodashi.com/demo/10917.html
一、程序实现
1、程序结构
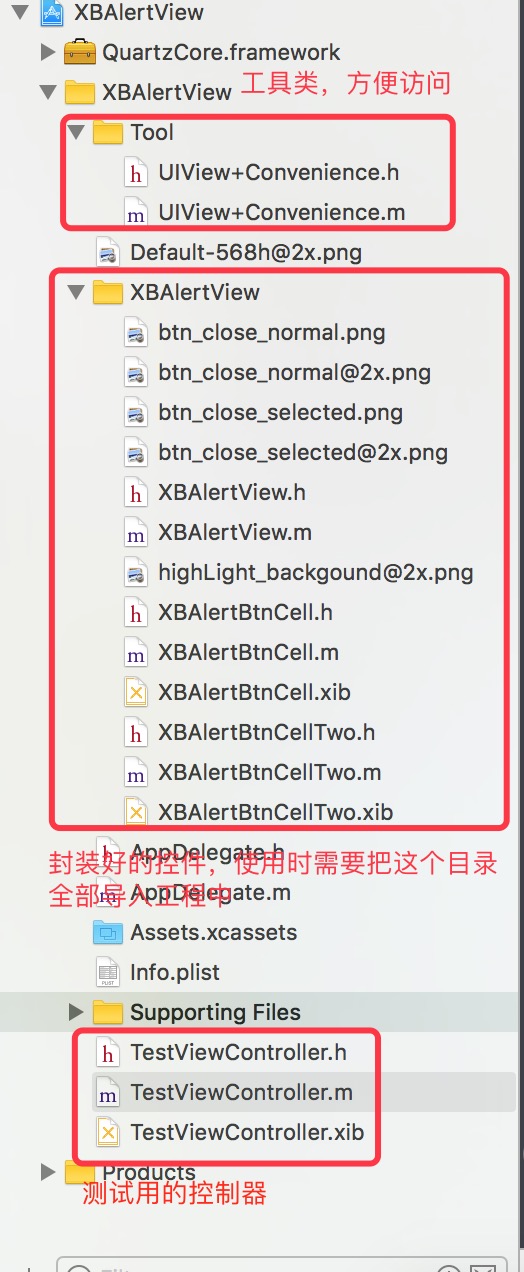
2、实现思路与代码
XBAlertView是作为显示弹出框的入口,在初始化XBAlertView示例时,会将弹出框除了按钮部分全都设置好。而按钮部分采用UICollectionView来实现(因为有可能有多个按钮,这样方便扩展)。
- (void)setupContentView{//titleself.alertTitleLabel = [[UILabel alloc] init];self.alertTitleLabel.font = [UIFont boldSystemFontOfSize:17.0f];self.alertTitleLabel.textAlignment = NSTextAlignmentCenter;self.alertTitleLabel.frame = CGRectMake(TitleHorizontalOffset, TitleMarginTop, SelfWidth - TitleHorizontalOffset * 2, self.alertTitleLabel.font.lineHeight);[self addSubview:self.alertTitleLabel];//contentCGFloat contentLabelWidth = SelfWidth - ContentHorizontalOffset * 2;CGFloat contentH = [self heightWithContent:_content byWidth:contentLabelWidth andFontSize:13 andLineSpacing:3];self.alertContentLabel = [[UILabel alloc] initWithFrame:CGRectMake(ContentHorizontalOffset, CGRectGetMaxY(self.alertTitleLabel.frame) + ContentMarginTop, contentLabelWidth, contentH)];self.alertContentLabel.numberOfLines = 0;self.alertContentLabel.textAlignment = NSTextAlignmentCenter;self.alertContentLabel.font = [UIFont systemFontOfSize:13.0f];[self addSubview:self.alertContentLabel];//selfCGFloat selfHeight = TitleMarginTop + self.alertTitleLabel.font.lineHeight + ContentMarginTop + contentH + BtnMarginTop + kButtonHeight;CGFloat selfMarginLeft = (ScreenWidth - SelfWidth) / 2;self.frame = CGRectMake(selfMarginLeft, (ScreenHeight - selfHeight) / 2, SelfWidth, selfHeight);self.clipsToBounds = YES;self.layer.cornerRadius = 10.0;self.backgroundColor = [UIColor whiteColor];//collectionView[self addSubview:self.collectionView];_collectionView.delegate = self;_collectionView.dataSource = self;[_collectionView registerNib:[UINib nibWithNibName:@"XBAlertBtnCell" bundle:[NSBundle mainBundle]] forCellWithReuseIdentifier:btnCellOneID];[_collectionView registerNib:[UINib nibWithNibName:@"XBAlertBtnCellTwo" bundle:[NSBundle mainBundle]] forCellWithReuseIdentifier:btnCellTwoID];//X按钮UIButton *xButton = [UIButton buttonWithType:UIButtonTypeCustom];[xButton setImage:[UIImage imageNamed:@"btn_close_normal.png"] forState:UIControlStateNormal];[xButton setImage:[UIImage imageNamed:@"btn_close_selected.png"] forState:UIControlStateHighlighted];xButton.frame = CGRectMake(self.frame.size.width - 32, 0, 32, 32);[self addSubview:xButton];[xButton addTarget:self action:@selector(dismissAlert) forControlEvents:UIControlEventTouchUpInside];}
为了能够切合原生方式的调用,提供了-(void)addAction:(dispatch_block_t)actionBlock withTitle:(NSString*)title方法,该方法用于向XBAlertView添加按钮以及对应的响应block。
-(void)addAction:(dispatch_block_t)actionBlock withTitle:(NSString*)title{if(actionBlock && ![self isBlankString:title]){[self.blockArray addObject:actionBlock];[self.btnTitleArray addObject:title];}}
调用后会先保存到数组当中。
在这之后,调用方调用XBAlertView的show方法进行展示。
- (void)show{if(self.btnTitleArray.count == 0 || self.btnTitleArray.count > 2){//更新view的frame[self updateFrame];}[self.collectionView reloadData];UIViewController *topVC = [self appRootViewController];[topVC.view addSubview:self];}
show方法首先会根据两个数组是否有值来决定是否更新collectionView的frame。之后调用collectionView的reloadData,数据源就是这两个数组。这样加载后collectionView就有了需要展示的按钮。
然后获取[UIApplication sharedApplication].keyWindow.rootViewController,在这个控制器的view上添加上已经布局好的XBAlertView。
但是为了营造阴影效果,在XBAlertView被添加到父view之前,会调用以下方法创建一个遮罩层。这样就能达到显示的要求。
- (void)willMoveToSuperview:(UIView *)newSuperview{if (newSuperview == nil) {return;}UIViewController *topVC = [self appRootViewController];if (!self.backImageView) {self.backImageView = [[UIView alloc] initWithFrame:topVC.view.bounds];self.backImageView.backgroundColor = [UIColor blackColor];self.backImageView.alpha = 0.6f;self.backImageView.autoresizingMask = UIViewAutoresizingFlexibleHeight | UIViewAutoresizingFlexibleWidth;}[topVC.view addSubview:self.backImageView];CGRect afterFrame = CGRectMake((CGRectGetWidth(topVC.view.bounds) - self.frame.size.width) * 0.5, (CGRectGetHeight(topVC.view.bounds) - self.frame.size.height) * 0.5, self.frame.size.width, self.frame.size.height);self.frame = afterFrame;[super willMoveToSuperview:newSuperview];}
那么接下来就是点击响应了,因为每个按钮就是collectionView的一个cell,所以按钮的点击就转为了cell的didSelectItemAtIndexPath方法。在该方法中根据索引从前面保存好的数组取出相对应的block,并调用
- (void)collectionView:(UICollectionView *)collectionView didSelectItemAtIndexPath:(NSIndexPath *)indexPath{dispatch_block_t block = self.blockArray[indexPath.row];block();[self dismissAlert];}
那么为了将隐藏弹出框封装到里面,会主动调用dismissAlert方法隐藏弹出框。
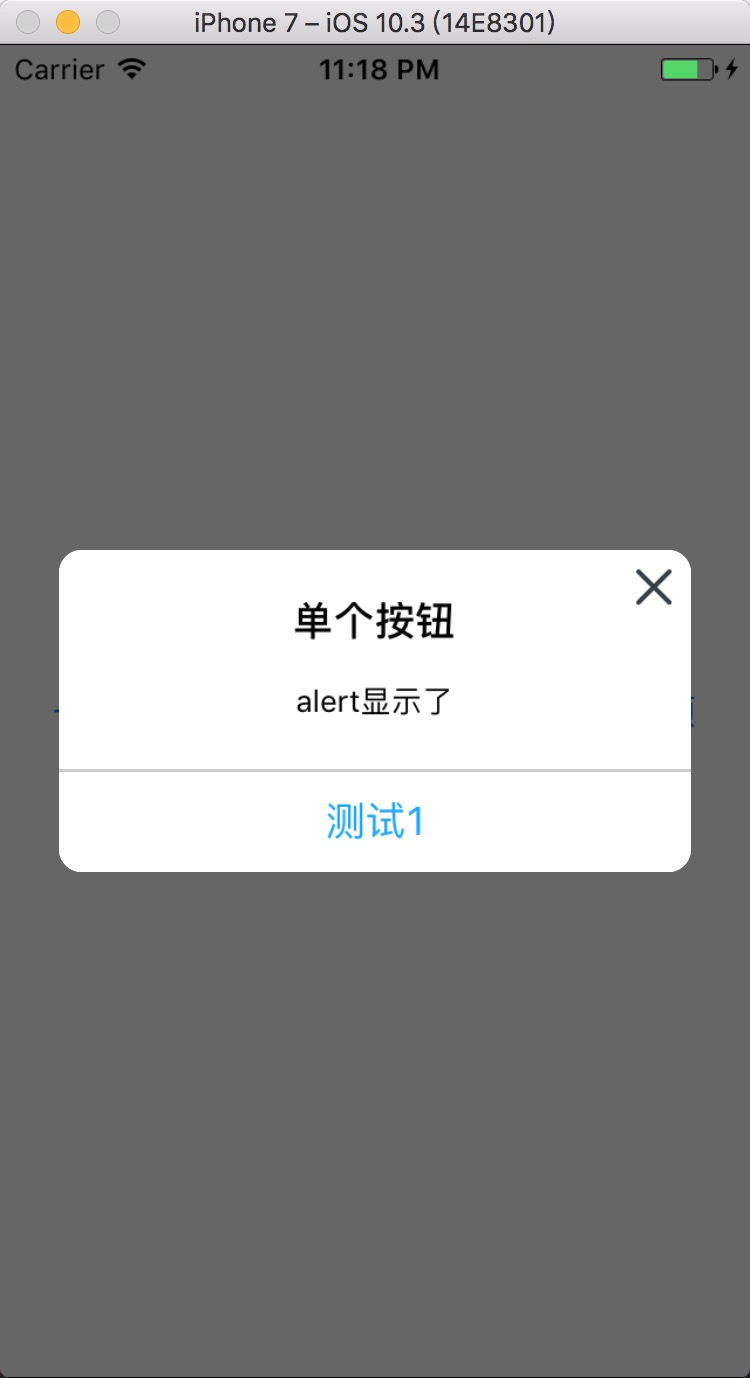
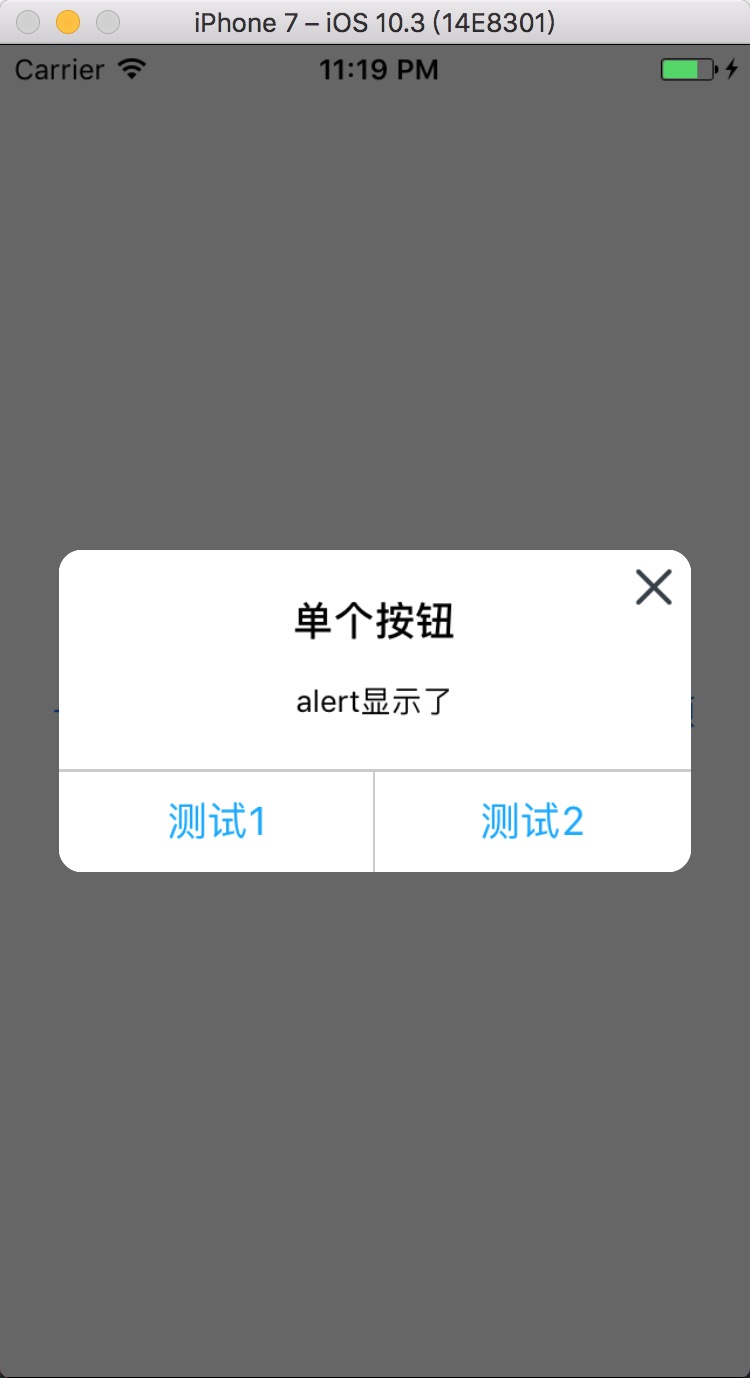
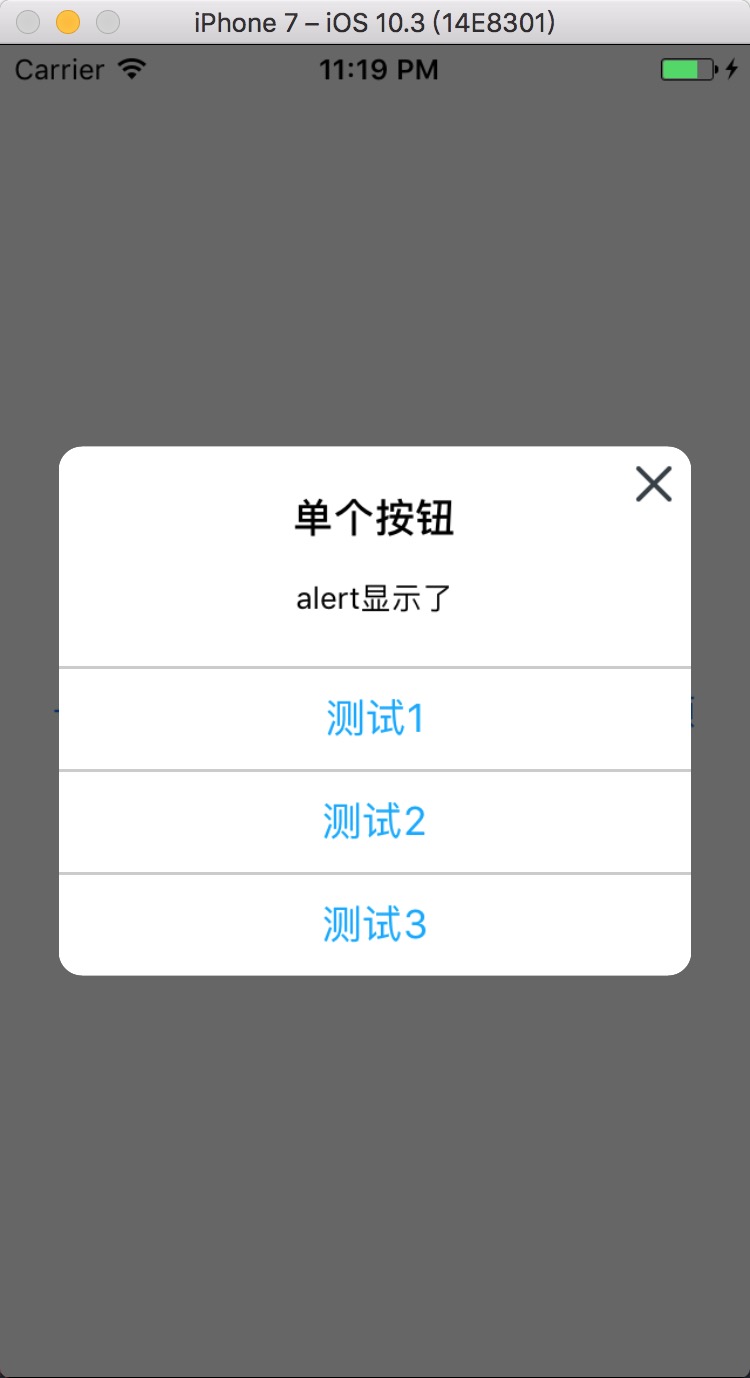
二、运行效果
下载解压后,直接用xcode打开,即可运行


")


还没有评论,来说两句吧...