CentOS 7 搭建 GIT 服务
yum 源仓库里的 Git是1.8,先卸载掉,安装最新的2.9
yum remove git
安装依赖
yum install curl-devel expat-devel gettext-devel openssl-devel zlib-develyum install gcc perl-ExtUtils-MakeMaker
下载新版的 Git 源码包 ,我下的是 git-2.9.5.tar.xz
xz -d git-2.9.5.tar.xz
得到 git-2.9.5.tar
解压
tar -xvf git-2.9.5.tar -C ../
编译安装
cd git-2.9.5/./configure --prefix=/home/qinwei/git && make install
添加环境变量 vim .bash_profile
export PATH=/home/qinwei/git/bin:$PATHsource .bash_profile
输入 git version,显示下面则说明成功了
git version 2.9.5
在用户的根目录下
mkdir .sshcd .ssh/touch authorized_keys
点击 Help,有个 show SSH key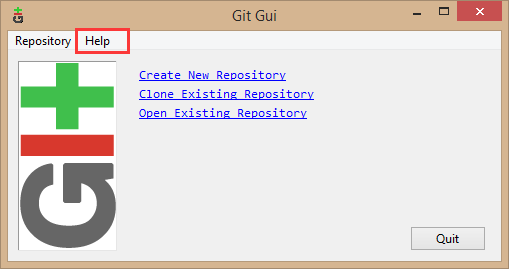
如果没有key的话,点击右上角的Generate Key,就会生成
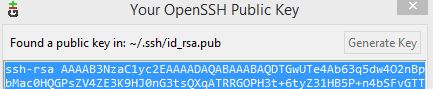
拷贝生成的key到authorized_keys中
在git目录下,创建repositories
mkdir repositoriescd repositories/git init --bare test.git
git init –bare 生成的是一个裸仓库,是没有工作区的,只会记录git提交的历史信息.
git仓库与项目源码分离
cd /home/qinwei/git/repositories/test.git/hooks/cat >post-receive
输入
git --work-tree=/home/qinwei/my-code --git-dir=/home/qinwei/git/repositories/test.git checkout -f
后按 enter
chmod +x post-receive
在本地GIT 客户端中
git clone qinwei@your IP:/home/qinwei/git/repositories/test.gitgit add spring-boot/git commint -m "initialization"git push
这时候去虚拟机上,进入my-code目录就会看到上传的spring-boot 文件夹
配置ssh免密码登录:
切换root用户
vim /etc/ssh/sshd_config
将/etc/ssh/sshd_config中将RSA认证打开(找到以下内容,并去掉注释符”#“
)
RSAAuthentication yesPubkeyAuthentication yesAuthorizedKeysFile .ssh/authorized_keys
修改权限(很重要):
修改 .ssh 目录的权限为 700
修改 .ssh/authorized_keys 文件的权限为 600
chmod 700 ~/.sshchmod 600 ~/.ssh/authorized_keys


运行Django项目")


还没有评论,来说两句吧...