Android学习随笔(11)------广播BroadcastReceiver
学习流程来自《第一行代码》(第二版)
为了便于进行系统级别的消息通知,Android引入了一套广播消息机制。Android中的每个应用程序都可以对自己感兴趣的广播进行注册,可以是系统的广播消息,也可以是其他应用的。
广播接收器中不允许开启线程,扮演一种打开其他程序组件的角色。(启动服务或创建状态栏通知)
广播类型 :
- 标准广播(Normal broadcasts) 完全异步执行的广播。在广播发出后,所有广播接收器几乎会在同一时刻接受到这条广播消息,没有先后顺序,无法被截断。
- 有序广播(Ordered broadcasts) 同步执行的广播。在广播发出后,同一个时刻只有一个广播接收器能收到,这个广播接收器执行完后,广播才会继续传递,接受器有优先级,若有一个广播接收器截断了此广播,之后的接收器无法收到此广播。
接收系统广播
有一些应用会在手机网络关闭时,对用户发出一条反馈网络断开的消息。根据这个场景我们实现一个广播接收器来监听网络变化。
动态注册监听
在代码中注册广播被称为动态注册。
public class MainActivity extends AppCompatActivity {private IntentFilter intentFilter;private NetworkChangeReceiver networkChangeReceiver; // 动态注册监听@Overrideprotected void onCreate(Bundle savedInstanceState) {super.onCreate(savedInstanceState);setContentView(R.layout.activity_main);intentFilter = new IntentFilter();intentFilter.addAction("android.net.conn.CONNECTIVITY_CHANGE"); //广播器想要监听什么广播,就添加相应的actionnetworkChangeReceiver = new NetworkChangeReceiver();registerReceiver(networkChangeReceiver,intentFilter);}@Overrideprotected void onDestroy() {super.onDestroy();unregisterReceiver(networkChangeReceiver); // 动态注册的广播接收器一定要取消注册, 只能在程序启动后才能接受到广播}class NetworkChangeReceiver extends BroadcastReceiver {@Overridepublic void onReceive(Context context, Intent intent) { // 每当网络发生变化,得到执行Toast.makeText(context, "network changes", Toast.LENGTH_SHORT).show();}}}
- 创建一个内部类NetworkChangeReceiver继承BroadcastReceiver。
- 重写父类的onReceiver()方法,添加一个Toast提醒我们网络发生了变化。
- 创建一个IntentFilter,添加我们想要监听的活动”android.net.conn.CONNECTIVITY_CHANGE”网络变化。
注册广播接收器registerReceiver()传入我们自定义的广播以及intentFilter。
添加访问系统网络的权限 :
动态注册的广播一定要取消,不然这个广播一直被引用,Activity不能被释放,占用手机内存。
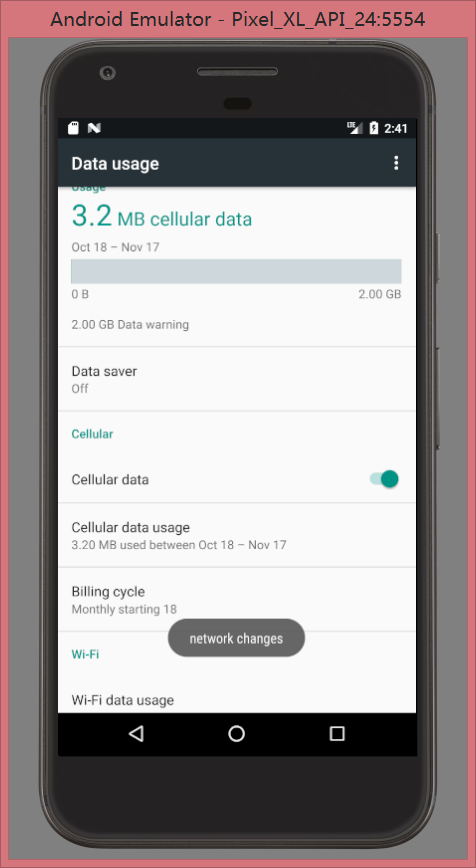
运行程序会在注册完成时收到一条广播,关闭/打开流量开关,有Toast消息提醒。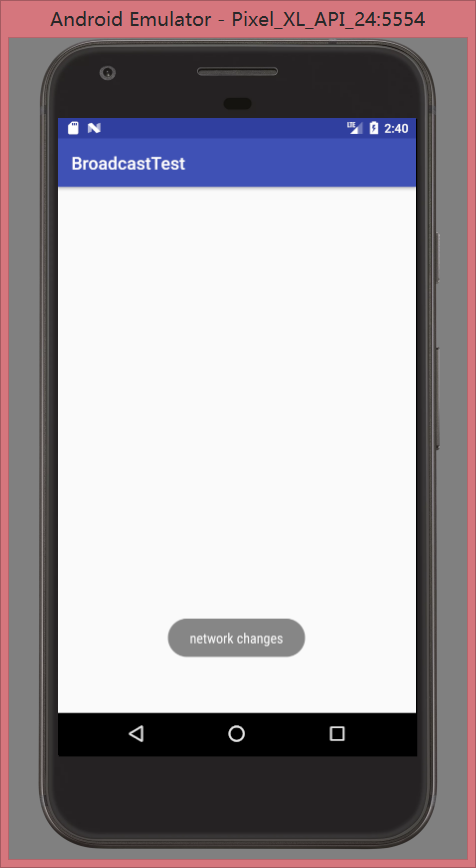

还可以判断网络是打开还是关闭:
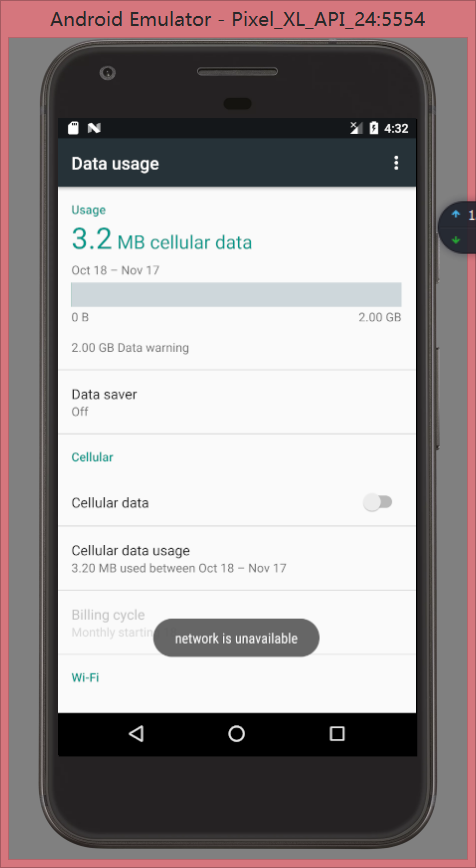
class NetworkChangeReceiver extends BroadcastReceiver {@Overridepublic void onReceive(Context context, Intent intent) { // 每当网络发生变化,得到执行ConnectivityManager connectivityManager = (ConnectivityManager) getSystemService(context.CONNECTIVITY_SERVICE); // 系统服务类,专门用于管理网络连接的NetworkInfo networkInfo = connectivityManager.getActiveNetworkInfo();if (networkInfo != null && networkInfo.isAvailable()) { // 判断当前是否有网络Toast.makeText(context, "network is available", Toast.LENGTH_SHORT).show();} else {Toast.makeText(context, "network is unavailable", Toast.LENGTH_SHORT).show();}}}
利用ConnectivityManager来获取网络状态,并且进行判断。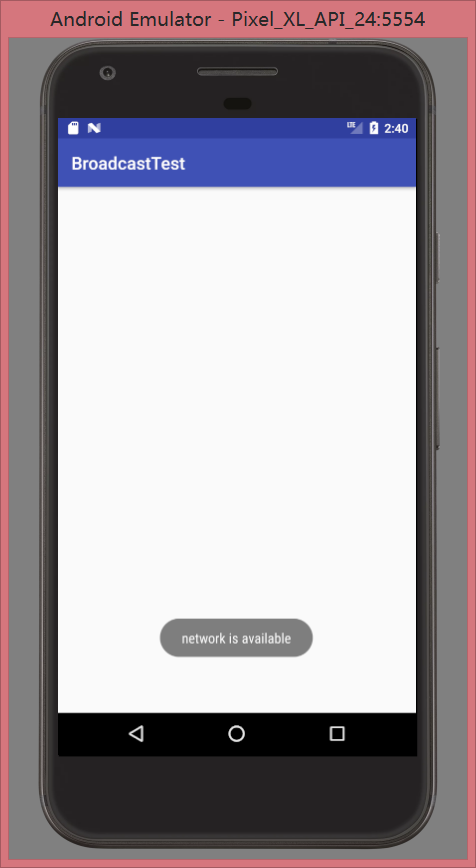

静态注册
利用静态注册来实现对开机启动的监听。
利用Android Studio提供的快捷方式来创建广播接收器。在包名上右击 New-Other-Broadcast Receiver。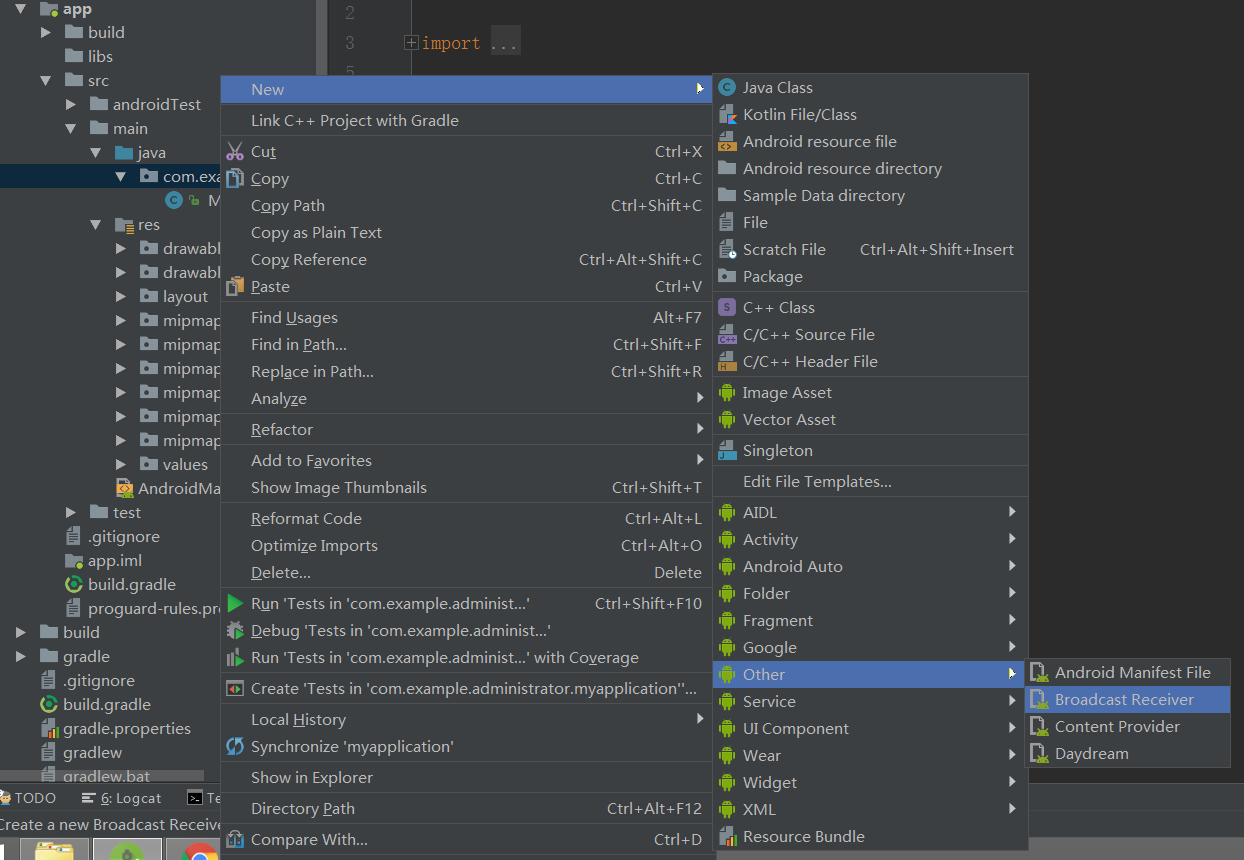
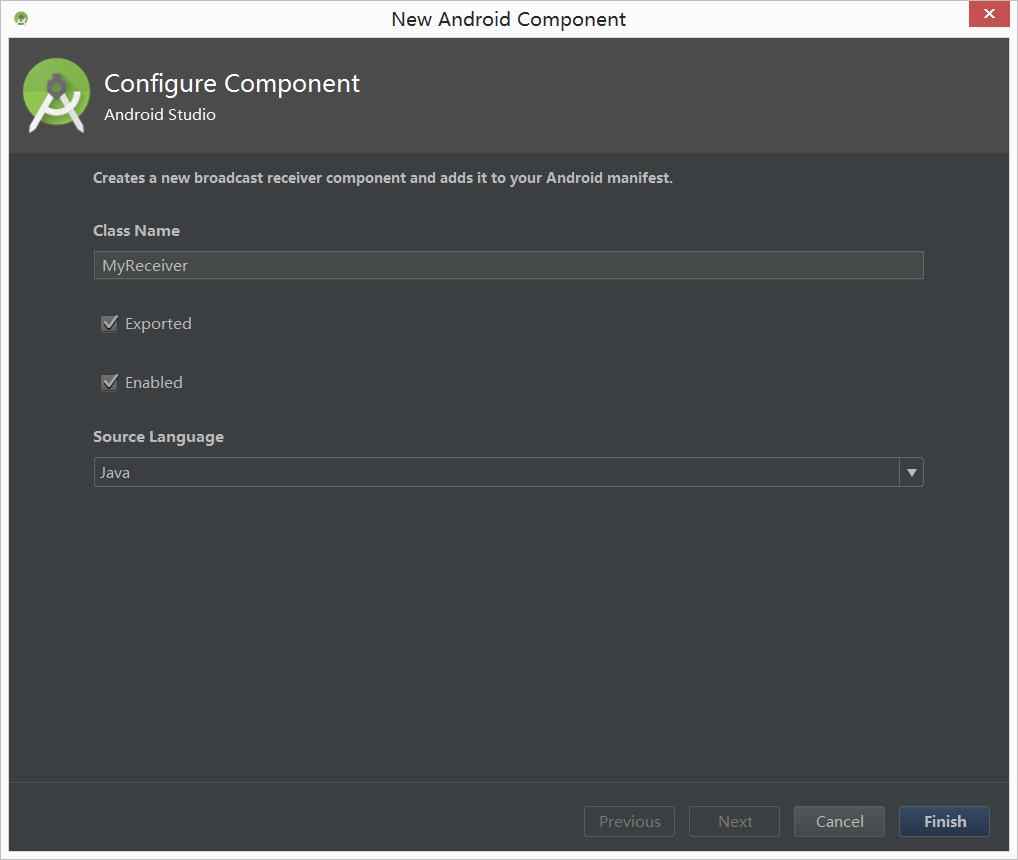
Exported表示是否允许这个广播接收器接收本程序以外的广播,
Enabled表示是否启用这个广播接收器。
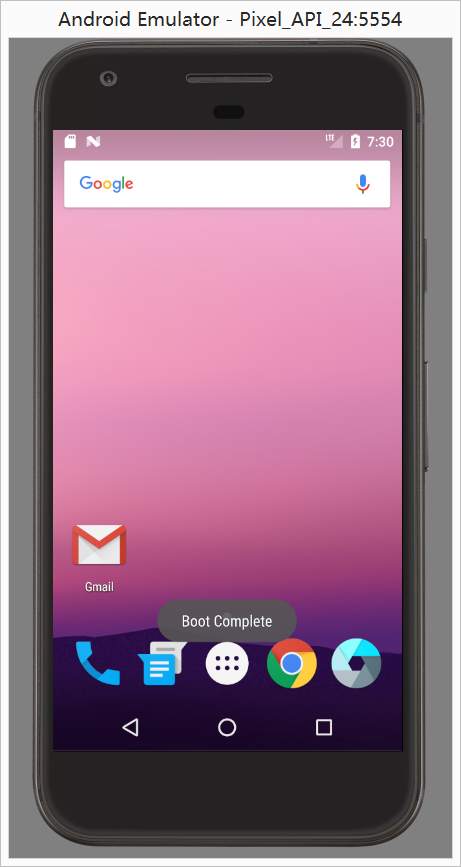
public class BootCompleteReceiver extends BroadcastReceiver {@Overridepublic void onReceive(Context context, Intent intent) {Toast.makeText(context, "Boot Complete", Toast.LENGTH_LONG).show();}}
在接收器的onReceiver()方法中完成对开机成功的提示。
Android Studio会自动帮我们在AndroidManifest.xml中注册静态监听器。但还是要手动添加权限
<?xml version="1.0" encoding="utf-8"?><manifest xmlns:android="http://schemas.android.com/apk/res/android" package="com.example.yezhou.com.broadcasttest"><uses-permission android:name="android.permission.ACCESS_NETWORK_STATE" /><uses-permission android:name="android.permission.RECEIVE_BOOT_COMPLETED" /><!-- 静态广播接收器注册 --><!-- 添加权限 --><application android:allowBackup="true" android:icon="@mipmap/ic_launcher" android:label="@string/app_name" android:roundIcon="@mipmap/ic_launcher_round" android:supportsRtl="true" android:theme="@style/AppTheme"><activity android:name=".MainActivity"><intent-filter><action android:name="android.intent.action.MAIN" /><category android:name="android.intent.category.LAUNCHER" /></intent-filter></activity><receiver android:name=".BootCompleteReceiver" android:enabled="true" android:exported="true"><intent-filter><action android:name="android.intent.action.BOOT_COMPLETED" /> <!-- 系统启动完成后会发出一条android.intent.action.BOOT_COMPLETED的广播,监听系统开机广播 --></intent-filter></receiver></application></manifest>
在onReceiver()方法中不宜写太复杂的代码。
自定义广播
主要体验一下标准广播与有序广播的区别。
标准广播
在一个应用里面实现对广播的发送和接收。
新建一个MyBroadcastReceiver
public class MainActivity extends AppCompatActivity {@Overrideprotected void onCreate(Bundle savedInstanceState) {super.onCreate(savedInstanceState);setContentView(R.layout.activity_main);Button button = (Button) findViewById(R.id.button);button.setOnClickListener(new View.OnClickListener() {@Overridepublic void onClick(View view) {Intent intent = new Intent("com.example.boardcasttest.MY_BROADCAST");sendBroadcast(intent);}});}}
AndroidManifest.xml :
<receiver android:name=".MyBoardcastReceiver" android:enabled="true" android:exported="true"><intent-filter><action android:name="com.example.broadcasttest.MY_BROADCAST" /></intent-filter></receiver>
添加要监听的广播名。
添加一个按钮用于发送广播 :
<?xml version="1.0" encoding="utf-8"?><LinearLayout xmlns:android="http://schemas.android.com/apk/res/android" android:layout_width="match_parent" android:layout_height="match_parent" android:orientation="vertical"><Button android:id="@+id/button" android:layout_width="wrap_content" android:layout_height="wrap_content" android:text="Send Broadcast" /></LinearLayout>public class MainActivity extends AppCompatActivity {@Overrideprotected void onCreate(Bundle savedInstanceState) {super.onCreate(savedInstanceState);setContentView(R.layout.activity_main);Button button = (Button) findViewById(R.id.button);button.setOnClickListener(new View.OnClickListener() {@Overridepublic void onClick(View view) {Intent intent = new Intent("com.example.broadcasttest.MY_BROADCAST");sendBroadcast(intent);}});}}
点击按钮,发送一个”com.example.broadcasttest.MY_BROADCAST”的广播。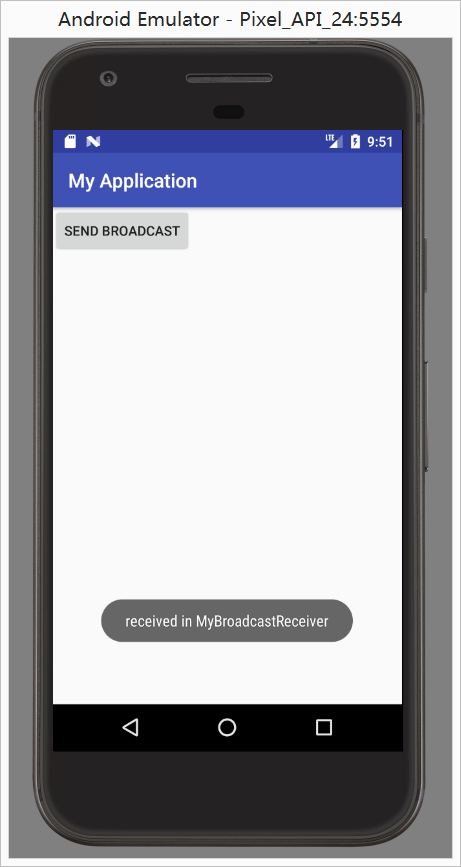
不同应用接收同一个标准广播
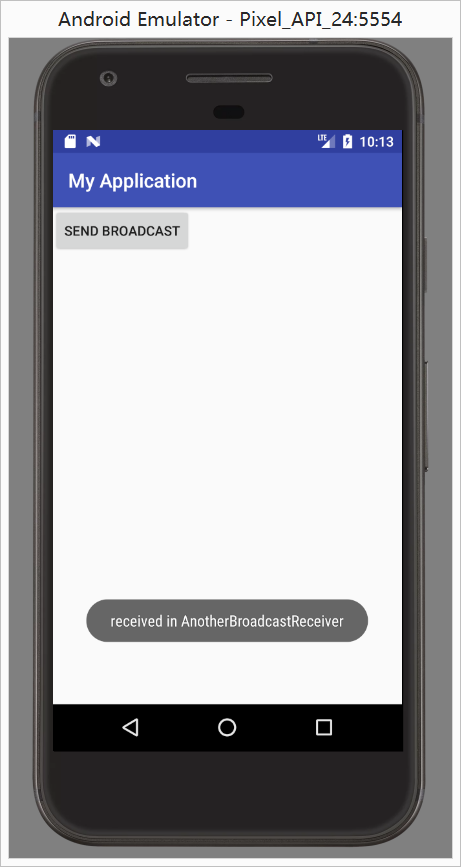
新建一个BroadcastTest2项目,在其中创建一个广播接收器用于接收上一个项目发出的”com.example.broadcasttest.MY_BROADCAST”广播。
新建一个BroadcastRecevier :
public class AnotherBroadcastReceiver extends BroadcastReceiver {@Overridepublic void onReceive(Context context, Intent intent) {Toast.makeText(context, "received in AnotherBroadcastReceiver", Toast.LENGTH_SHORT).show();}}
添加要监听的action :
<?xml version="1.0" encoding="utf-8"?><manifest xmlns:android="http://schemas.android.com/apk/res/android" package="com.example.administrator.mybroadcasttest2"><application android:allowBackup="true" android:icon="@mipmap/ic_launcher" android:label="@string/app_name" android:roundIcon="@mipmap/ic_launcher_round" android:supportsRtl="true" android:theme="@style/AppTheme"><activity android:name=".MainActivity"><intent-filter><action android:name="android.intent.action.MAIN" /><category android:name="android.intent.category.LAUNCHER" /></intent-filter></activity><receiver android:name=".AnotherBroadcastReceiver" android:enabled="true" android:exported="true"><intent-filter><action android:name="com.example.broadcasttest.MY_BROADCAST" /></intent-filter></receiver></application></manifest>
运行将此项目安装在设备上,再返回上一个项目中点击button。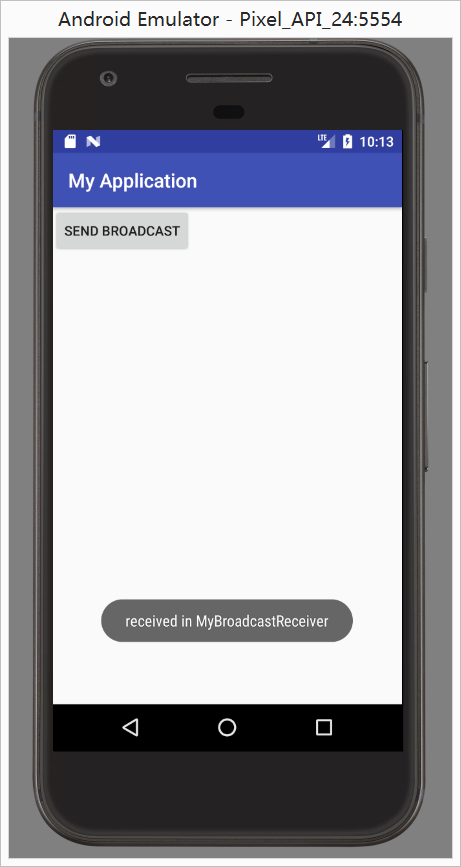
发送有序广播
在发送广播的项目BroadcastTest中修改发送广播的方式 :
Button button = (Button) findViewById(R.id.button);button.setOnClickListener(new View.OnClickListener() {@Overridepublic void onClick(View view) {Intent intent = new Intent("com.example.broadcasttest.MY_BROADCAST");sendOrderedBroadcast(intent, null); // 与权限相关字符串}});
sendOrderedBroadcast()方法发送有序广播。
在AndroidManifest.xml利用android:priority属性来设置广播接收器的优先级 :
<receiver android:name=".MyBoardcastReceiver" android:enabled="true" android:exported="true"><intent-filter android:priority="100"><action android:name="com.example.broadcasttest.MY_BROADCAST" /></intent-filter></receiver>
既然是有序广播,那么就可以设置是否允许广播继续传递
public class MyBoardcastReceiver extends BroadcastReceiver {@Overridepublic void onReceive(Context context, Intent intent) {Toast.makeText(context, "received in MyBroadcastReceiver", Toast.LENGTH_SHORT).show();abortBroadcast();}}
利用abortBroadcast()方法设置截断这条广播。
运行,只有MyBroadcastRecevier接收器有提示。
本地广播
利用本地广播机制,使得广播只能够在应用程序内部进行传递,并且只能接收来自本应用的广播。
public class MainActivity extends AppCompatActivity {private LocalReceiver localReceiver;private LocalBroadcastManager localBroadcastManager;@Overrideprotected void onCreate(Bundle savedInstanceState) {super.onCreate(savedInstanceState);setContentView(R.layout.activity_main);localBroadcastManager = LocalBroadcastManager.getInstance(this); // 获取实例Button button = (Button) findViewById(R.id.button);button.setOnClickListener(new View.OnClickListener() {@Overridepublic void onClick(View view) {Intent intent = new Intent("com.example.broadcasttest.MY_BROADCAST");localBroadcastManager.sendBroadcast(intent); // 发送本地广播}});IntentFilter intentFilter = new IntentFilter();intentFilter = new IntentFilter();intentFilter.addAction("com.example.broadcasttest.MY_BROADCAST");localReceiver = new LocalReceiver();localBroadcastManager.registerReceiver(localReceiver,intentFilter); // 本地广播管理器 注册接收器 接收器 接收内容}@Overrideprotected void onDestroy() {super.onDestroy();localBroadcastManager.unregisterReceiver(localReceiver);}class LocalReceiver extends BroadcastReceiver { // 本地广播@Overridepublic void onReceive(Context context, Intent intent) {Toast.makeText(context, "received local broadcast", Toast.LENGTH_SHORT).show();}}}
代码其实与动态注册相似。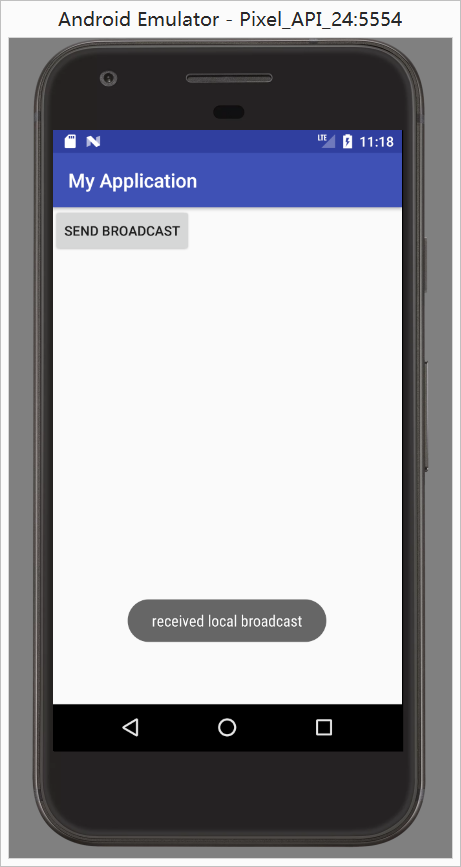
本地广播无法通过静态注册来接收。
实践 :强制下线功能
强制下线需要关闭所有活动,创建ActivityCollector :
public class ActivityCollector { // 活动管理public static List<Activity> activities = new ArrayList<>();public static void removeActivity(Activity activity) {activities.remove(activity);}public static void addActivity(Activity activity) {activities.add(activity);}public static void finishActivity() {for (Activity activity : activities) {if (!activity.isFinishing())activity.finish();}}}
创建BaseActivity作为所有活动的父类 :
public class BaseActivity extends AppCompatActivity {private ForceOfflineReceiver receiver;@Overrideprotected void onCreate(Bundle savedInstanceState) {super.onCreate(savedInstanceState);ActivityCollector.addActivity(this);}@Overrideprotected void onResume() { // 始终需要保证处于栈顶的活动才能接收到这条广播super.onResume();IntentFilter intentFilter = new IntentFilter();intentFilter.addAction("com.example.yezhou.com.broadcastbestpractice.FOR_OFFLINE");receiver = new ForceOfflineReceiver();registerReceiver(receiver,intentFilter);}@Overrideprotected void onPause() {super.onPause();if (receiver != null) {unregisterReceiver(receiver);receiver = null;}}@Overrideprotected void onDestroy() {super.onDestroy();ActivityCollector.removeActivity(this);}class ForceOfflineReceiver extends BroadcastReceiver {@Overridepublic void onReceive(final Context context, Intent intent) {AlertDialog.Builder builder = new AlertDialog.Builder(context); // 创建一个对话框builder.setTitle("warning"); // 设置对话框标题builder.setMessage("You are force to be offline.Please try to login again."); // 设置对话框内容builder.setCancelable(false); // 是否可以取消builder.setPositiveButton("OK", new DialogInterface.OnClickListener() {@Overridepublic void onClick(DialogInterface dialogInterface, int i) {ActivityCollector.finishActivity(); // 销毁所有活动Intent intent = new Intent(context, LoginActivity.class);context.startActivity(intent); // 重新启动LoginActivity}});builder.show();}}}
创建一个动态广播,(静态注册的广播接收器是没有办法弹出一个对话框的,出于安全原因的考虑,Android是不允许Activity或Dialog凭空出现的,一个Activity的启动必须要建立在另一个Activity的基础之上,也就是以此形成的返回栈。而Dialog则必须在一个Activity上面弹出(除非是System Alert类型的Dialog))
登录界面的代码activty_login.xml :
<?xml version="1.0" encoding="utf-8"?><LinearLayout xmlns:android="http://schemas.android.com/apk/res/android" android:orientation="vertical" android:layout_width="match_parent" android:layout_height="match_parent" ><LinearLayout android:orientation="horizontal" android:layout_width="match_parent" android:layout_height="60dp"><TextView android:layout_width="90dp" android:layout_height="wrap_content" android:layout_gravity="center_vertical" android:textSize="18sp" android:text="Account:"/><EditText android:id="@+id/account" android:layout_width="0dp" android:layout_height="wrap_content" android:layout_weight="1" android:layout_gravity="center_vertical"/></LinearLayout><LinearLayout android:orientation="horizontal" android:layout_width="match_parent" android:layout_height="60dp"><TextView android:layout_width="90dp" android:layout_height="wrap_content" android:layout_gravity="center_vertical" android:textSize="18sp" android:text="Password:"/><EditText android:id="@+id/password" android:layout_width="0dp" android:layout_height="wrap_content" android:layout_weight="1" android:layout_gravity="center_vertical" android:inputType="textPassword"/></LinearLayout><Button android:id="@+id/login" android:layout_width="wrap_content" android:layout_height="wrap_content" android:layout_gravity="center" android:text="Login"/></LinearLayout>public class LoginActivity extends BaseActivity { // 登录界面代码private EditText accountEdit;private EditText passwordEdit;private Button login;@Overrideprotected void onCreate(Bundle savedInstanceState) {super.onCreate(savedInstanceState);setContentView(R.layout.activity_login);accountEdit = (EditText) findViewById(R.id.account);passwordEdit = (EditText) findViewById(R.id.password);login = (Button) findViewById(R.id.login);login.setOnClickListener(new View.OnClickListener() {@Overridepublic void onClick(View view) {String account = accountEdit.getText().toString();String password = passwordEdit.getText().toString(); // account:admin password:123456if (account.equals("admin") && password.equals("123456")) {Intent intent = new Intent(LoginActivity.this, MainActivity.class);startActivity(intent);finish(); // 登录成功此Activity无用销毁} else {Toast.makeText(LoginActivity.this, "account or password is invalid", Toast.LENGTH_SHORT).show();}}});}}
登录之后进入的主界面 activity_main.xml :
<?xml version="1.0" encoding="utf-8"?><LinearLayout xmlns:android="http://schemas.android.com/apk/res/android" android:orientation="vertical" android:layout_width="match_parent" android:layout_height="match_parent" ><Button android:id="@+id/force_offline" android:layout_width="wrap_content" android:layout_height="wrap_content" android:layout_gravity="center" android:text="Send force offline broadcast" /></LinearLayout>
点击按钮即进行强制下线操作。
MainActivity.java :
public class MainActivity extends BaseActivity { //发出强制下线广播@Overrideprotected void onCreate(Bundle savedInstanceState) {super.onCreate(savedInstanceState);setContentView(R.layout.activity_main);Button forceOffLine = (Button) findViewById(R.id.force_offline);forceOffLine.setOnClickListener(new View.OnClickListener() {@Overridepublic void onClick(View view) {Intent intent = new Intent("com.example.yezhou.com.broadcastbestpractice.FOR_OFFLINE");sendBroadcast(intent);}});}}
把login活动设置为启动项 :
<application android:allowBackup="true" android:icon="@mipmap/ic_launcher" android:label="@string/app_name" android:roundIcon="@mipmap/ic_launcher_round" android:supportsRtl="true" android:theme="@style/AppTheme"><activity android:name=".MainActivity"></activity><activity android:name=".LoginActivity"><intent-filter><action android:name="android.intent.action.MAIN" /><category android:name="android.intent.category.LAUNCHER" /></intent-filter></activity></application>
登录界面,输入admin 密码123456,登录 :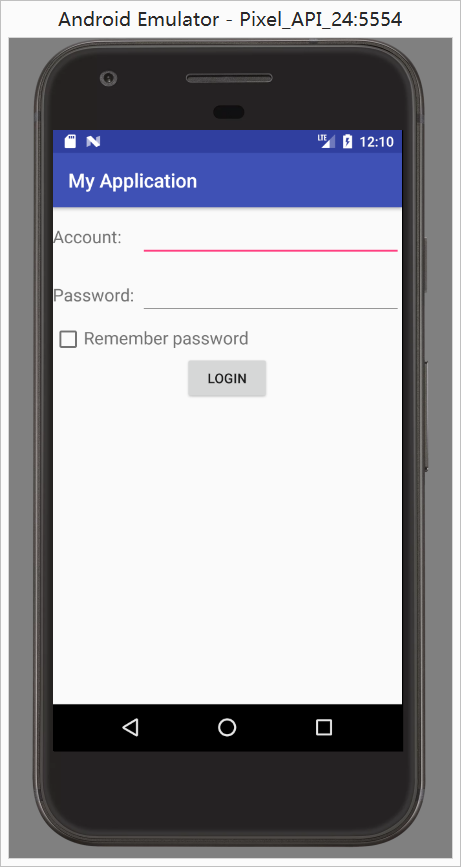
点击button :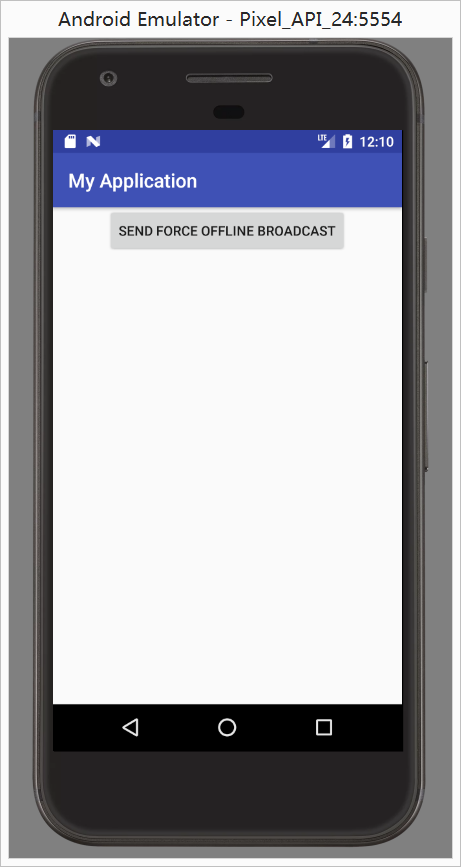
跳出对话框,点击OK: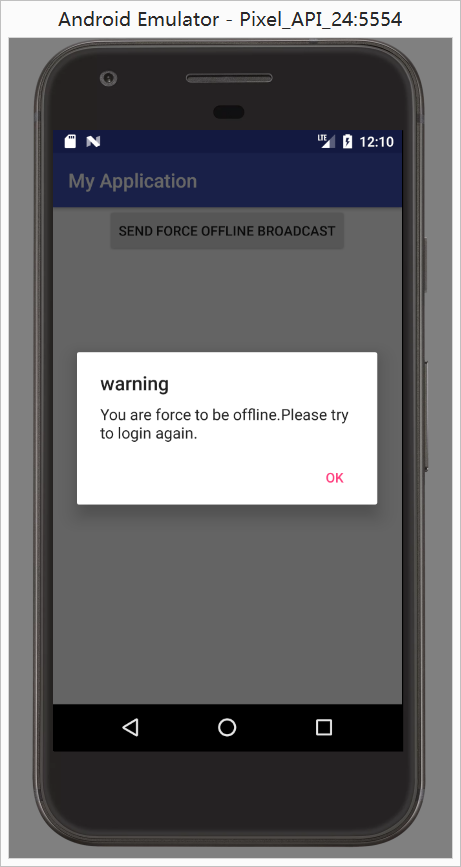
最终返回login界面。
此博文为个人学习笔记,仅供个人学习使用,希望对大家有帮助。


")

:symbol")


还没有评论,来说两句吧...