vue3 配置路由
使用 vue3 配置路由,步骤如下
1、安装路由
npm install vue-router@4
笔者这里的演示项目名称是 vue3-project
2、新建页面
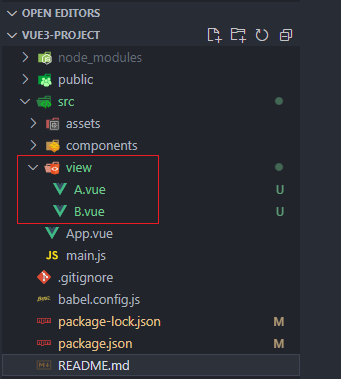
这里创建 view目录,然后在view目录下创建 A.vue B.vue 两个 vue页面文件
A.vue内容
<template><div>A</div></template>
B.vue内容
<template><div>B</div></template>
3、创建路由配置文件
新建 router目录,然后在 router目录下新建 index.js和 routes.js文件
index.js 文件内容如下
import {createRouter, createWebHistory} from 'vue-router'import routes from './routes'const router = createRouter({history: createWebHistory(),routes})export default router
routes.js 文件内容如下
const routes = [{name: 'a',path: '/a',component: () => import('@/view/A')},{name: 'b',path: '/b',component: () => import('@/view/B')},];export default routes
在 main.js中配置路由
import { createApp } from 'vue'import App from './App.vue'import router from './router/index'//注意use要在mount之前createApp(App).use(router).mount('#app')
4、添加 router-view
笔者这里为了演示在 app.vue文件中添加,读者可根据自己的情况进行添加
<template><HelloWorld msg="Welcome to Your Vue.js App"/><router-view></router-view></template><script>import HelloWorld from './components/HelloWorld.vue'export default {name: 'App',components: {HelloWorld}}</script><style>#app {font-family: Avenir, Helvetica, Arial, sans-serif;-webkit-font-smoothing: antialiased;-moz-osx-font-smoothing: grayscale;text-align: center;color: #2c3e50;margin-top: 60px;}</style>
路由控制在 HelloWorld.vue文件中
使用 this.$router.push()方法进行路由跳转
<template><div class="hello"><h1>{{ msg }}</h1><div><button @click="show('a')">A页面</button><button @click="show('b')">B页面</button></div></div></template><script>export default {name: 'HelloWorld',props: {msg: String},methods: {show(index) {if(index == 'a') {this.$router.push('/a')}if(index == 'b') {this.$router.push('/b')}}}}</script>
5、运行效果

至此完


![vue 报错 [Vue warn]: Duplicate keys detected: 'a'. This may cause an update error.](https://image.dandelioncloud.cn/images/20230531/2d80bd18d31e4608a6dee1e2add77ba8.png "vue 报错 [Vue warn]: Duplicate keys detected: 'a'. This may cause an update error.")


还没有评论,来说两句吧...