Redis 整合 Jedis SpringBoot
1-Redis 整合 Jedis
1.1-Jedis 环境准备
A、Jedis 的 Jar 包:
<dependency><groupId>redis.clients</groupId><artifactId>jedis</artifactId><version>3.3.0</version></dependency>
B、连接 Redis 注意:
- 禁用 CentOS 7 防火墙:执行命令
systemctl stop firewalld.service及systemctl disable firewalld.service。 - redis.conf 中注释
bind 127.0.0.1。 - redis.conf 中修改
protected-mode no。
C、创建 Jedis 工程: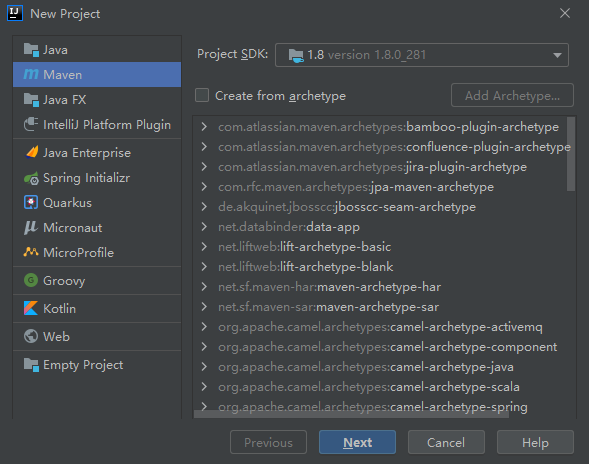
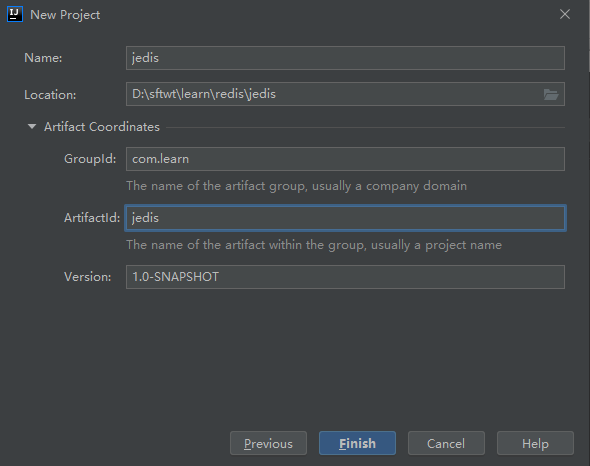
<?xml version="1.0" encoding="UTF-8"?><project xmlns="http://maven.apache.org/POM/4.0.0"xmlns:xsi="http://www.w3.org/2001/XMLSchema-instance"xsi:schemaLocation="http://maven.apache.org/POM/4.0.0 http://maven.apache.org/xsd/maven-4.0.0.xsd"><modelVersion>4.0.0</modelVersion><groupId>com.learn</groupId><artifactId>jedis</artifactId><version>1.0-SNAPSHOT</version><dependencies><dependency><groupId>redis.clients</groupId><artifactId>jedis</artifactId><version>3.3.0</version></dependency></dependencies></project>
D、创建包 com.learn.redis.jedis、类 JedisApiTest
package com.learn.redis.jedis;import redis.clients.jedis.Jedis;public class JedisApiTest {public static void main(String[] args) {Jedis jedis = new Jedis("192.168.31.80", 6379);String pong = jedis.ping();System.out.println("连接成功");jedis.close();}}
1.2-Jedis 常用操作
1.2.1-Jedis Api Key
Jedis jedis = new Jedis("192.168.31.80", 6379);jedis.set("k1", "v1");jedis.set("k2", "v2");jedis.set("k3", "v3");Set<String> keys = jedis.keys("*");System.out.println(keys.size());for (String key : keys) {System.out.println(key);}System.out.println(jedis.exists("k1"));System.out.println(jedis.ttl("k1"));System.out.println(jedis.get("k1"));jedis.close();
1.2.2-Jedis Api String
Jedis jedis = new Jedis("192.168.31.80", 6379);jedis.mset("str1", "v1", "str2", "v2", "str3", "v3");System.out.println(jedis.mget("str1", "str2", "str3"));jedis.close();
1.2.3-Jedis Api List
Jedis jedis = new Jedis("192.168.31.80", 6379);jedis.lpush("mylist", "a", "b", "c");List<String> list = jedis.lrange("mylist", 0, -1);for (String element : list) {System.out.println(element);}jedis.close();
1.2.4-Jedis Api Set
Jedis jedis = new Jedis("192.168.31.80", 6379);jedis.sadd("orders", "order01");jedis.sadd("orders", "order02");jedis.sadd("orders", "order03");jedis.sadd("orders", "order04");Set<String> smembers = jedis.smembers("orders");for (String order : smembers) {System.out.println(order);}jedis.srem("orders", "order02");jedis.close();
1.2.5-Jedis Api Hash
Jedis jedis = new Jedis("192.168.31.80", 6379);jedis.hset("hash1", "userName", "lisi");System.out.println(jedis.hget("hash1", "userName"));Map<String, String> map = new HashMap<String, String>();map.put("telphone", "13810169999");map.put("address", "atguigu");map.put("email", "abc@163.com");jedis.hmset("hash2", map);List<String> result = jedis.hmget("hash2", "telphone", "email");for (String element : result) {System.out.println(element);}jedis.close();
1.2.6-Jedis Api Zset
Jedis jedis = new Jedis("192.168.31.80", 6379);jedis.zadd("zset01", 100d, "z3");jedis.zadd("zset01", 90d, "l4");jedis.zadd("zset01", 80d, "w5");jedis.zadd("zset01", 70d, "z6");Set<String> zrange = jedis.zrange("zset01", 0, -1);for (String e : zrange) {System.out.println(e);}jedis.close();
1.3-Jedis 实例
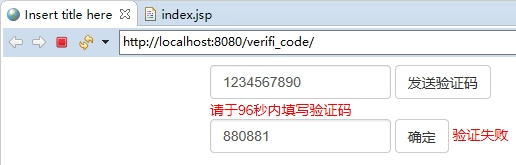
1.3.1-手机验证码
功能要求:
- 输入手机号,点击发送后随机生成 6 位数字码,2 分钟有效。
- 输入验证码,点击验证,返回成功或失败。
- 每个手机号每天只能输入 3 次。
2-Redis 整合 SpringBoot
SpringBoot 整合 Redis 非常简单,只需按如下步骤整合即可:
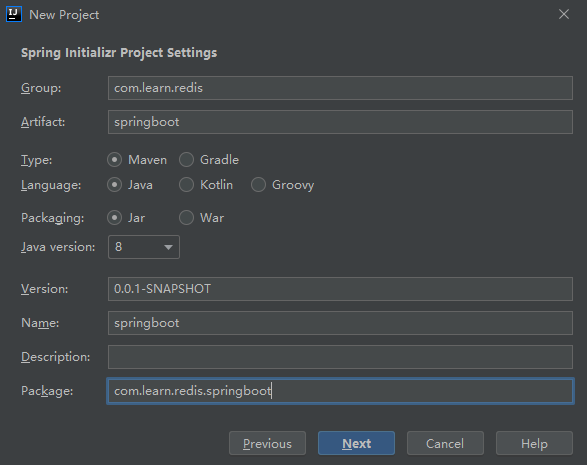
A、创建 SpringBoot 工程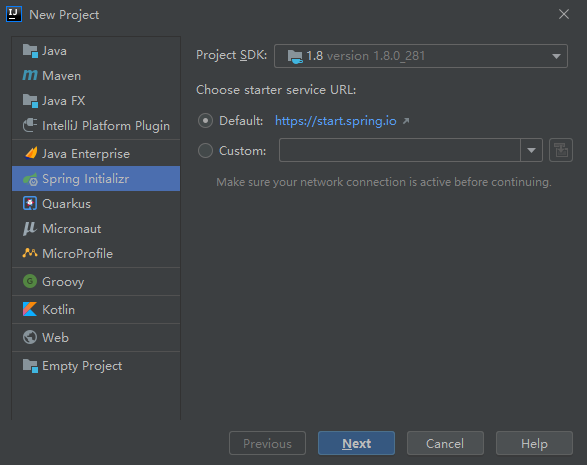
B、pom.xml 中引入 Redis 依赖
<?xml version="1.0" encoding="UTF-8"?><project xmlns="http://maven.apache.org/POM/4.0.0" xmlns:xsi="http://www.w3.org/2001/XMLSchema-instance"xsi:schemaLocation="http://maven.apache.org/POM/4.0.0 https://maven.apache.org/xsd/maven-4.0.0.xsd"><modelVersion>4.0.0</modelVersion><parent><groupId>org.springframework.boot</groupId><artifactId>spring-boot-starter-parent</artifactId><version>2.5.2</version><relativePath/></parent><groupId>com.learn.redis</groupId><artifactId>springboot</artifactId><version>0.0.1-SNAPSHOT</version><name>springboot</name><dependencies><dependency><groupId>org.springframework.boot</groupId><artifactId>spring-boot-starter</artifactId></dependency><dependency><groupId>org.springframework.boot</groupId><artifactId>spring-boot-starter-test</artifactId><scope>test</scope></dependency><!-- Redis --><dependency><groupId>org.springframework.boot</groupId><artifactId>spring-boot-starter-data-redis</artifactId></dependency><!-- SpringBoot 2.X 集成 Redis --><dependency><groupId>org.apache.commons</groupId><artifactId>commons-pool2</artifactId><version>2.6.0</version></dependency><dependency><groupId>org.springframework.boot</groupId><artifactId>spring-boot-starter-web</artifactId></dependency><dependency><groupId>com.fasterxml.jackson.core</groupId><artifactId>jackson-core</artifactId><version>2.12.1</version></dependency><dependency><groupId>com.fasterxml.jackson.core</groupId><artifactId>jackson-annotations</artifactId><version>2.11.4</version></dependency><dependency><groupId>com.fasterxml.jackson.core</groupId><artifactId>jackson-databind</artifactId><version>2.11.4</version></dependency></dependencies><build><plugins><plugin><groupId>org.springframework.boot</groupId><artifactId>spring-boot-maven-plugin</artifactId></plugin></plugins></build></project>
C、application.properties 添加 Redis 配置
# Redis 服务器地址spring.redis.host=192.168.31.80# Redis 服务器端口spring.redis.port=6379# Redis 数据库索引(默认为 0)spring.redis.database=0# 连接超时时间(毫秒)spring.redis.timeout=1800000# 连接池最大连接数(使用负值表示没有限制)spring.redis.lettuce.pool.max-active=20# 最大阻塞等待时间(负数表示没限制)spring.redis.lettuce.pool.max-wait=-1# 连接池中的最大空闲连接spring.redis.lettuce.pool.max-idle=5# 连接池中的最小空闲连接spring.redis.lettuce.pool.min-idle=0
D、创建包 com.learn.redis.springboot.config,类 RedisConfig
package com.learn.redis.springboot.config;import com.fasterxml.jackson.annotation.JsonAutoDetect;import com.fasterxml.jackson.annotation.PropertyAccessor;import com.fasterxml.jackson.databind.ObjectMapper;import org.springframework.cache.CacheManager;import org.springframework.cache.annotation.CachingConfigurerSupport;import org.springframework.cache.annotation.EnableCaching;import org.springframework.context.annotation.Bean;import org.springframework.context.annotation.Configuration;import org.springframework.data.redis.cache.RedisCacheConfiguration;import org.springframework.data.redis.cache.RedisCacheManager;import org.springframework.data.redis.connection.RedisConnectionFactory;import org.springframework.data.redis.core.RedisTemplate;import org.springframework.data.redis.serializer.Jackson2JsonRedisSerializer;import org.springframework.data.redis.serializer.RedisSerializationContext;import org.springframework.data.redis.serializer.RedisSerializer;import org.springframework.data.redis.serializer.StringRedisSerializer;import java.time.Duration;@EnableCaching@Configurationpublic class RedisConfig extends CachingConfigurerSupport {@Beanpublic RedisTemplate<String, Object> redisTemplate(RedisConnectionFactory factory) {RedisTemplate<String, Object> template = new RedisTemplate<>();RedisSerializer<String> redisSerializer = new StringRedisSerializer();Jackson2JsonRedisSerializer jackson2JsonRedisSerializer = new Jackson2JsonRedisSerializer(Object.class);ObjectMapper om = new ObjectMapper();om.setVisibility(PropertyAccessor.ALL, JsonAutoDetect.Visibility.ANY);om.enableDefaultTyping(ObjectMapper.DefaultTyping.NON_FINAL);jackson2JsonRedisSerializer.setObjectMapper(om);template.setConnectionFactory(factory);// Key 序列化方式template.setKeySerializer(redisSerializer);// Value 序列化方式template.setValueSerializer(jackson2JsonRedisSerializer);// Value HashMap 序列化方式template.setHashValueSerializer(jackson2JsonRedisSerializer);return template;}@Beanpublic CacheManager cacheManager(RedisConnectionFactory factory) {RedisSerializer<String> redisSerializer = new StringRedisSerializer();Jackson2JsonRedisSerializer jackson2JsonRedisSerializer = new Jackson2JsonRedisSerializer(Object.class);// 解决查询缓存转换异常的问题ObjectMapper om = new ObjectMapper();om.setVisibility(PropertyAccessor.ALL, JsonAutoDetect.Visibility.ANY);om.enableDefaultTyping(ObjectMapper.DefaultTyping.NON_FINAL);jackson2JsonRedisSerializer.setObjectMapper(om);// 配置序列化(解决乱码的问题),过期时间 600 秒RedisCacheConfiguration config = RedisCacheConfiguration.defaultCacheConfig().entryTtl(Duration.ofSeconds(600)).serializeKeysWith(RedisSerializationContext.SerializationPair.fromSerializer(redisSerializer)).serializeValuesWith(RedisSerializationContext.SerializationPair.fromSerializer(jackson2JsonRedisSerializer)).disableCachingNullValues();RedisCacheManager cacheManager = RedisCacheManager.builder(factory).cacheDefaults(config).build();return cacheManager;}}
E、创建包 com.learn.redis.springboot.controller,类 RedisTestController
package com.learn.redis.springboot.controller;import org.springframework.beans.factory.annotation.Autowired;import org.springframework.data.redis.core.RedisTemplate;import org.springframework.web.bind.annotation.GetMapping;import org.springframework.web.bind.annotation.RequestMapping;import org.springframework.web.bind.annotation.RestController;@RestController@RequestMapping("/redis/test")public class RedisTestController {@Autowiredprivate RedisTemplate redisTemplate;@GetMappingpublic String testRedis() {// Redis 设置值redisTemplate.opsForValue().set("name", "lucy");// Redis 获取值String name = (String) redisTemplate.opsForValue().get("name");return name;}}
F、测试
- 启动项目,访问地址:http://localhost:8080/redis/test


还没有评论,来说两句吧...