LNMP安装zabbix
监控服务zabbix部署
- 1.监控服务zabbix安装
- 2.zabbix服务端web界面安装与配置
- 3.网页安装zabbix
上篇lnmp部署
zabbix简介
zabbix自定义监控
| 主机 | IP |
|---|---|
| zyy180 | 192.168.30.150/24 |
1.监控服务zabbix安装
1.安装依赖包[root@zyy180 ~]#yum -y install net-snmp-devel libevent-devel2.解压[root@zyy180 ~]#cd /usr/src///将压缩包拖进来[root@zyy180 ~]#tar xf zabbix-5.0.1.tar.gz3.创建用户[root@zyy180 ~]#useradd -r -M -s /sbin/nologin zabbix4.恢复表结构,并创建一个数据库用户[root@zyy180 ~]#mysql -uroot -p mysql密码mysql> create database zabbix character set utf8 collate utf8_bin;mysql> grant all on zabbix.* to zabbix@localhost identified by 'zabbix123!';mysql> flush privileges;mysql> quit5.使用备份[root@zyy180 ~]# cd /usr/src/zabbix-5.0.1/database/mysql/[root@zyy180 ~]#mysql -uzabbix -pzabbix123! zabbix < schema.sql[root@zyy180 ~]#mysql -uzabbix -pzabbix123! zabbix < images.sql[root@zyy180 ~]#mysql -uzabbix -pzabbix123! zabbix < data.sql5.编译并安装[root@zyy180 mysql]# cd /usr/src/zabbix-5.0.1[root@localhost zabbix-5.0.1]# ./configure --enable-server \--enable-agent \--with-mysql \--with-net-snmp \--with-libcurl \--with-libxml2[root@zyy180 zabbix-5.0.1]# make install6.修改zabbix信息[root@zyy180 zabbix-5.0.1]# cd /usr/local/etc/[root@zyy180 etc]# vim zabbix_server.confDBPassword=zabbix123! 密码DBUser=zabbix //数据库用户DBName=zabbix //数据库名字DBHost=localhost //IP7.启动服务[root@zyy180 etc]# zabbix_server[root@zyy180 etc]# zabbix_agentd[root@zyy180 ~]# ss -anltState Recv-Q Send-Q Local Address:Port Peer Address:PortLISTEN 0 128 *:80 *:*LISTEN 0 128 *:22 *:*LISTEN 0 100 127.0.0.1:25 *:*LISTEN 0 128 *:10050 *:*LISTEN 0 128 *:10051 *:*LISTEN 0 128 *:9000 *:*LISTEN 0 128 :::22 :::*LISTEN 0 100 ::1:25 :::*LISTEN 0 80 :::3306 :::*
2.zabbix服务端web界面安装与配置
1.修改/etc/php.ini的配置并重启php-fpm[root@zyy180 ~]#sed -ri 's/(post_max_size =).*/\1 16M/g' /etc/php.ini[root@zyy180 ~]#sed -ri 's/(max_execution_time =).*/\1 300/g' /etc/php.ini[root@zyy180 ~]#sed -ri 's/(max_input_time =).*/\1 300/g' /etc/php.ini[root@zyy180 ~]#sed -i '/;date.timezone/a date.timezone = Asia/Shanghai' /etc/php.ini[root@zyy180 lamp]# service php-fpm restart2.创建zabbix网站[root@zyy180 ~]# mkdir /usr/local/nginx/html/zabbix[root@zyy180 ~]# cp -a /usr/src/zabbix-5.0.1/ui/* /usr/local/nginx/html/zabbix/[root@zyy180 ~]# chown -R nginx.nginx /usr/local/nginx/html给权限[root@zyy180 ~]# chmod 777 /usr/local/nginx/html/zabbix/conf3.修改nginx虚拟主机[root@zyy180 ~]# vim /usr/local/nginx/conf/nginx.conflocation ~ \.php$ {root html/zabbix; ##确定网页目录根位置fastcgi_pass 127.0.0.1:9000;fastcgi_index index.php;fastcgi_param SCRIPT_FILENAME $document_root$fastcgi_script_name;include fastcgi_params;}location / {root html/zabbix; ##html/zabbixindex index.php index.html index.htm;}检查语法是否有错误[root@zyy180 zabbix-5.0.1]# nginx -tnginx: the configuration file /usr/local/nginx/conf/nginx.conf syntax is oknginx: configuration file /usr/local/nginx/conf/nginx.conf test is successful重读配置文件[root@zyy180 ~]# nginx -s reload[root@zyy180 ~]# ss -anltState Recv-Q Send-Q Local Address:Port Peer Address:PortLISTEN 0 128 *:80 *:*LISTEN 0 128 *:22 *:*LISTEN 0 100 127.0.0.1:25 *:*LISTEN 0 128 *:10050 *:*LISTEN 0 128 *:10051 *:*LISTEN 0 128 *:9000 *:*LISTEN 0 128 :::22 :::*LISTEN 0 100 ::1:25 :::*LISTEN 0 80 :::3306 :::*
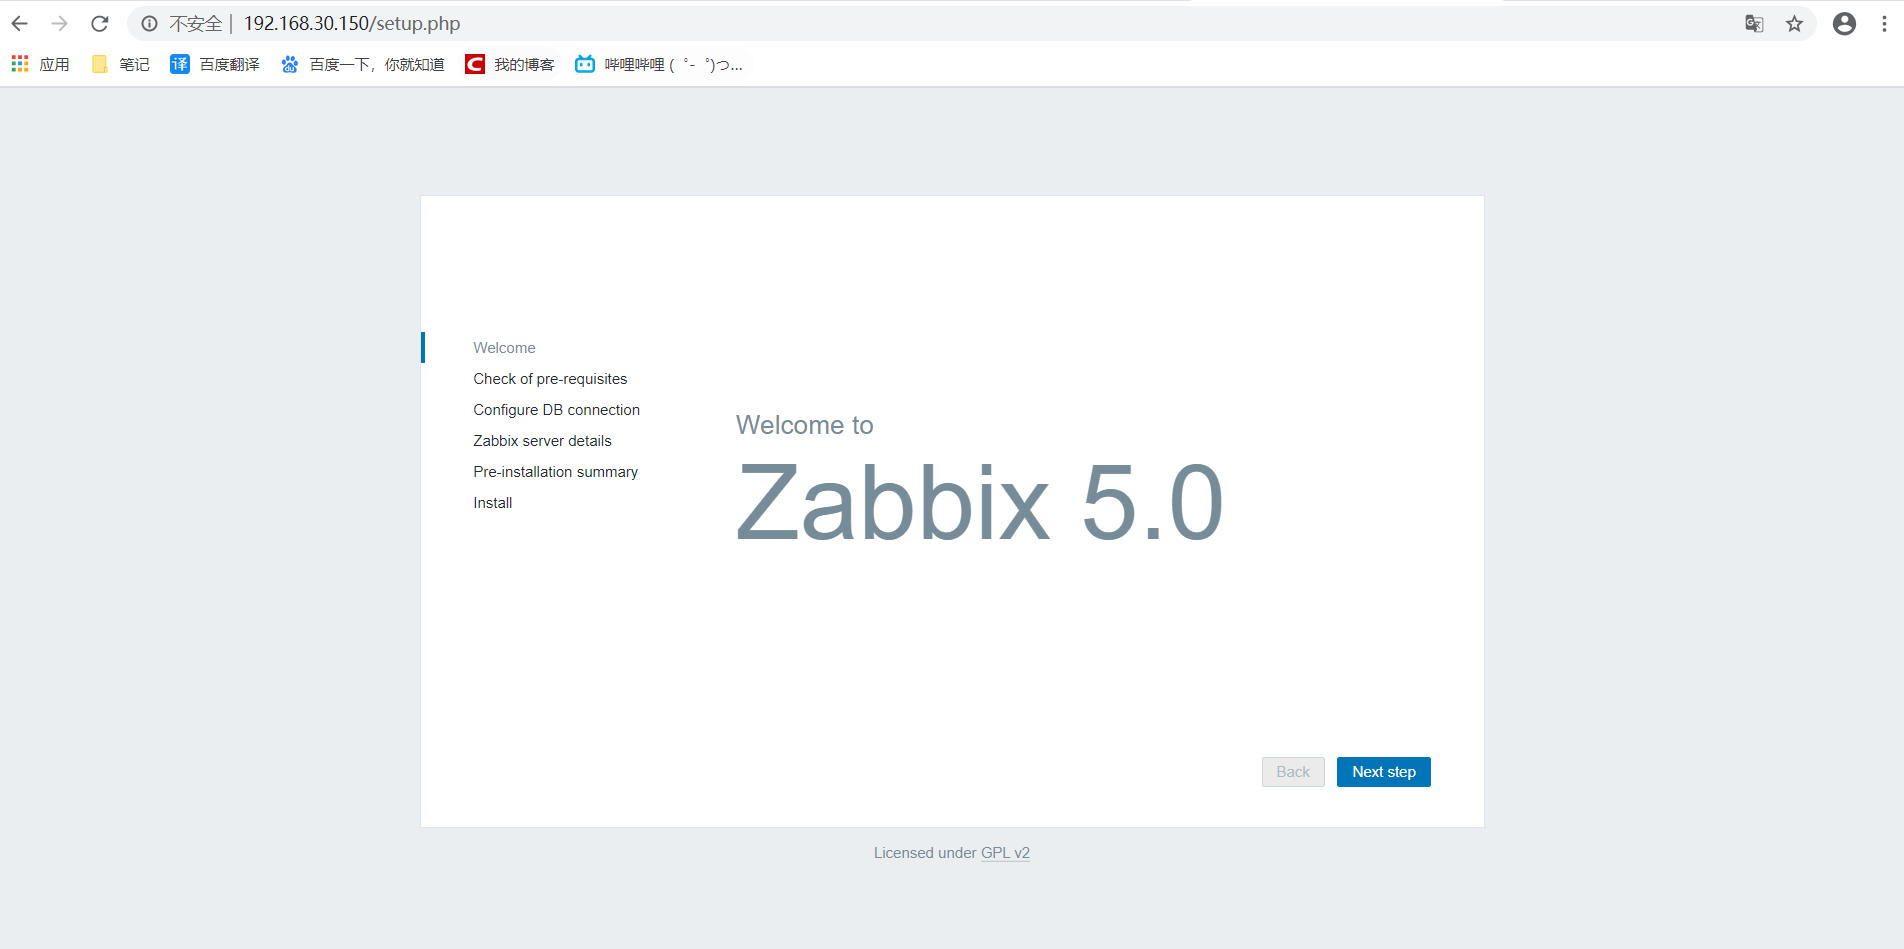
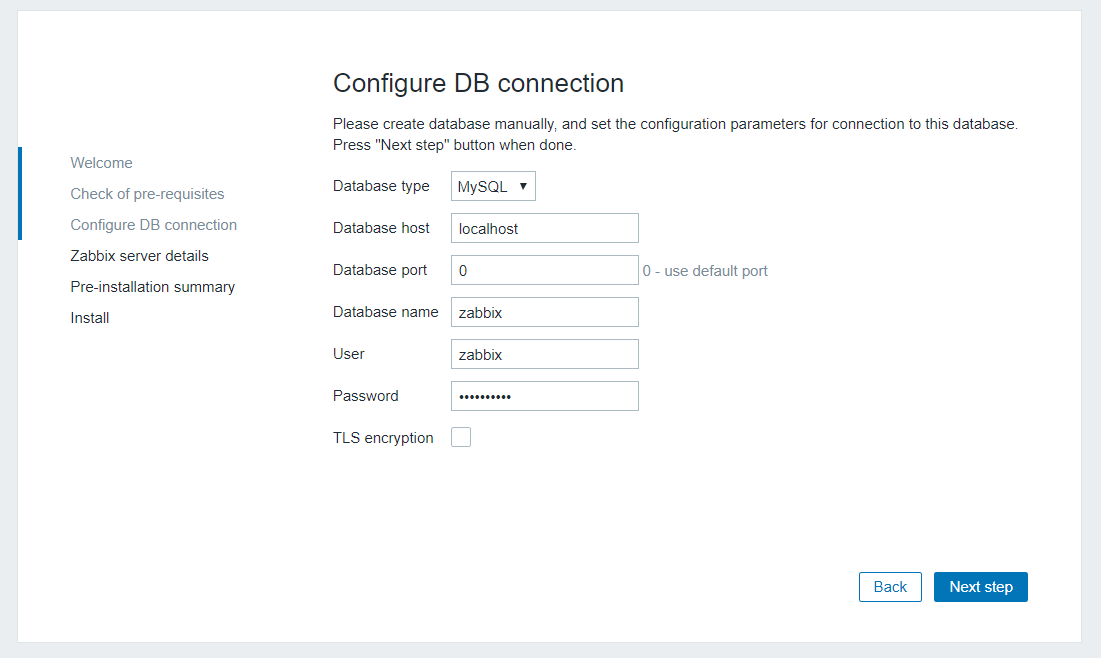
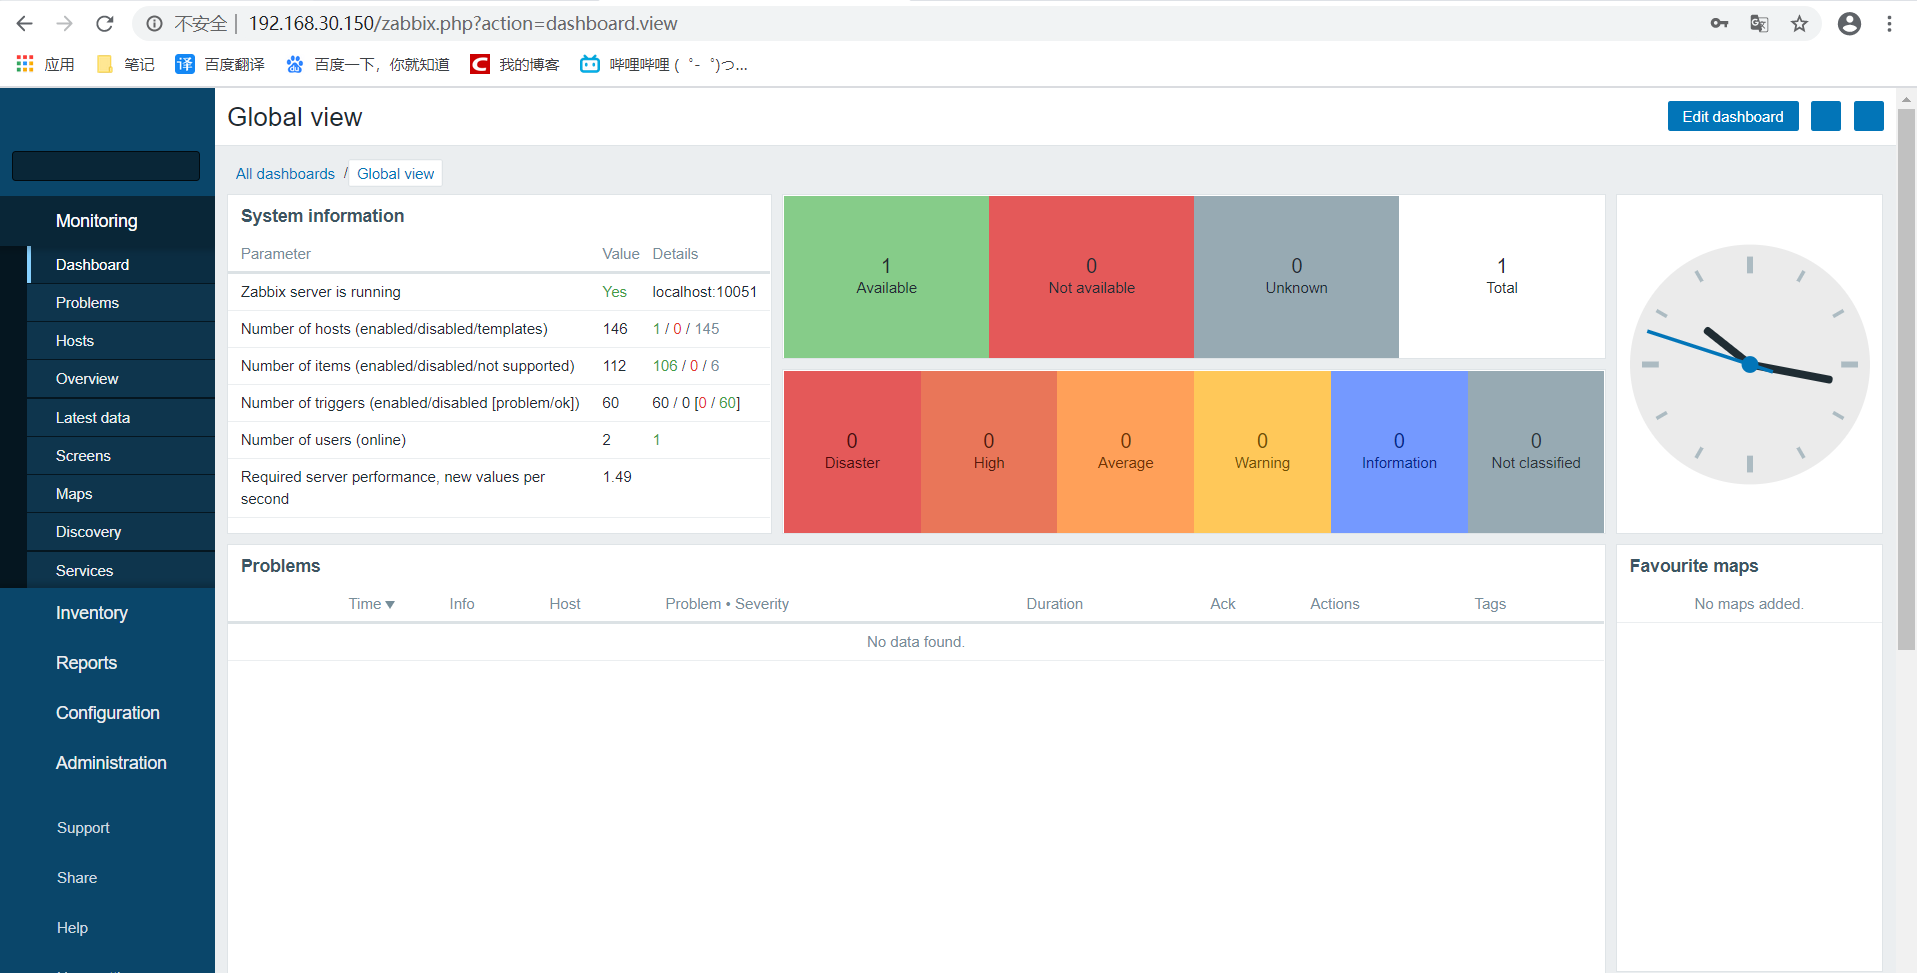
3.网页安装zabbix
把权限还原[root@zyy180 ~]# chmod 755 /usr/local/nginx/html/zabbix/conf


![[Win]python入门安装教程](https://image.dandelioncloud.cn/images/20230528/17c51fee60ef435185c83f2c907f1820.png "[Win]python入门安装教程")


还没有评论,来说两句吧...