Ribbon实现负载均衡
环境:IDEA,springboot2.3.1
eureka7001这个是我本地配置了hosts,可以改为localhost
1:首先是注册中心pom文件,添加eureka服务端,然后是application.yml文件配置
<dependency><groupId>org.springframework.cloud</groupId><artifactId>spring-cloud-starter-netflix-eureka-server</artifactId></dependency>server:port: 7001eureka:instance:hostname: eureka7001client:register-with-eureka: falsefetch-registry: falseservice-url:defaultZone: http://eureka7001:7001/eureka/
完成之后在启动类添加相应注解@EnableEurekaServer
@SpringBootApplication@EnableEurekaServerpublic class Eureka7001Application {public static void main(String[] args) {SpringApplication.run(Eureka7001Application.class, args);}}
启动项目访问http://eureka7001:7001/
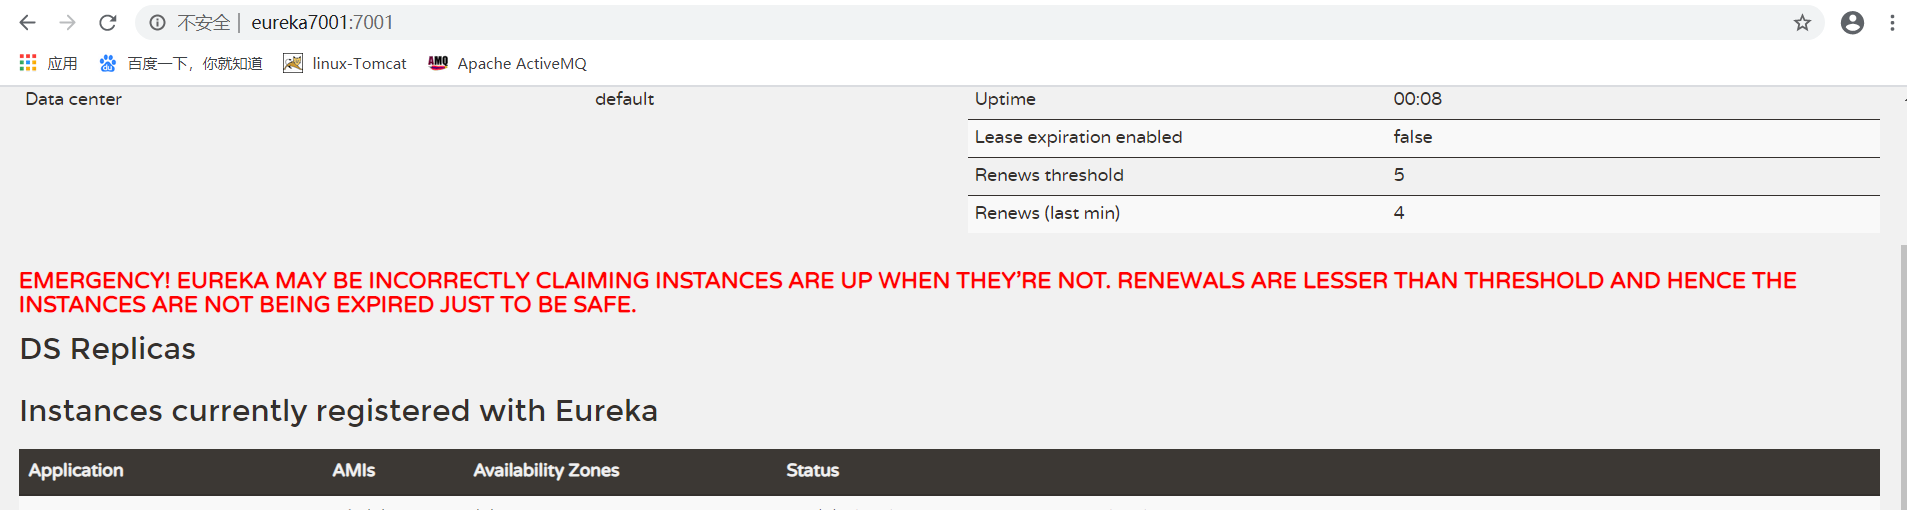
服务注册中心完成
2:ribbon服务提供者
首先是pom和application配置
<dependency><groupId>org.springframework.cloud</groupId><artifactId>spring-cloud-starter-netflix-eureka-client</artifactId></dependency>server:port: 8001mybatis:config-location: classpath:mybatis/mybatis.cfg.xml #mybatistype-aliases-package: com.sinosoft.springcloud.cloudapi.entities #所有实体类所在路径mapper-locations: classpath:mybatis/mapper/**/*.xmlspring:application:name: product-deptdatasource:type: com.alibaba.druid.pool.DruidDataSource #当前数据源操作类型driver-class-name: com.mysql.cj.jdbc.Driver #mysql驱动包url: jdbc:mysql://ip:3306/cloud01 #数据库地址username: rootpassword: MyNewPass4!dbcp2:min-idle: 5 #数据库连接池最少维持连接数initial-size: 5max-total: 5max-wait-millis: 200eureka:client:service-url:defaultZone: http://eureka7001:7001/eureka/ #注册中心地址
然后是controller,service以及dao代码
@RestControllerpublic class DeptController {@Autowiredprivate DeptService deptService;@RequestMapping("/deptList")public List<DeptEntity> queryDeptEntityList(){return deptService.queryListDeptEmtity();}}@Servicepublic class DeptServiceImpl implements DeptService {@Autowiredprivate DeptDao dao;@Overridepublic List<DeptEntity> queryListDeptEmtity() {return dao.selListDeptEntity();}}@Mapperpublic interface DeptDao {List<DeptEntity> selListDeptEntity();}
然后是启动类,添加@EnableEurekaClient
@SpringBootApplication@EnableEurekaClientpublic class Product8001Application {public static void main(String[] args) {SpringApplication.run(Product8001Application.class, args);}}
启动访问http://localhost:8001/deptList
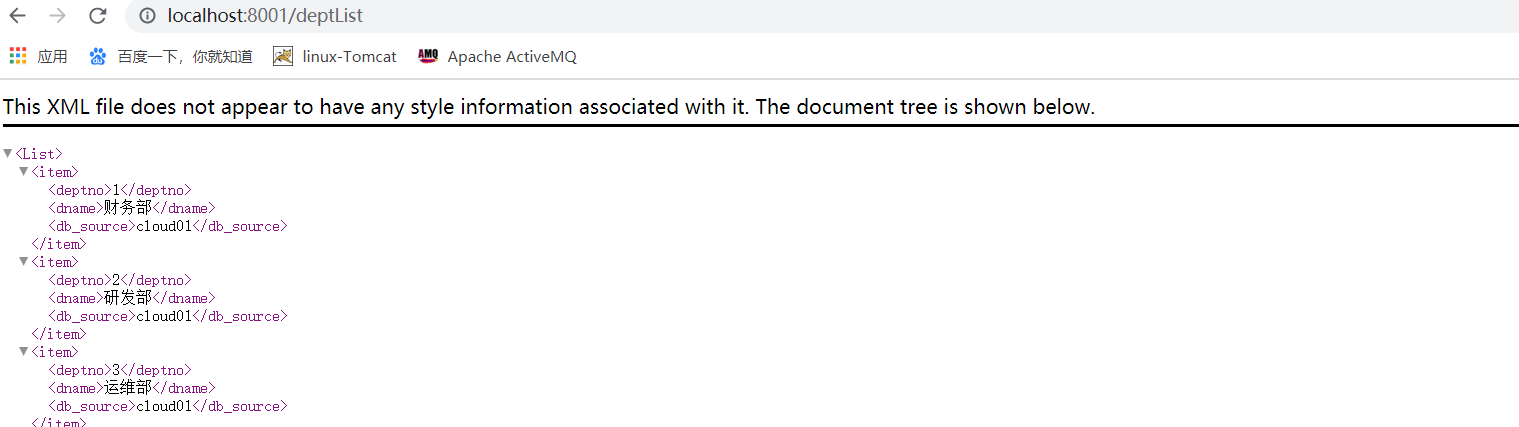
再新建一个相同的服务提供者,端口号改为8002,数据库使用另一个,这样查询的数据不一样就能保证使用的是不同的服务提供者,不再贴出代码
3:消费者
消费者pom和application.yml,有时候坐标无效,可以添加版本号试试
<dependency><groupId>org.springframework.cloud</groupId><artifactId>spring-cloud-starter-netflix-eureka-client</artifactId></dependency><dependency><groupId>org.springframework.cloud</groupId><artifactId>spring-cloud-starter-netflix-ribbon</artifactId></dependency>server:port: 80spring:application:name: dept80eureka:client:service-url:defaultZone: http://eureka7001:7001/eureka/
然后是controller代码,注意product-dept是服务提供者名称
@RestControllerpublic class DeptController {@Autowiredprivate RestTemplate restTemplate;private static String RIBBO_URL="http://product-dept";@SuppressWarnings("unchecked")@RequestMapping("/deptList")public List<DeptEntity> queryEntityList(){return restTemplate.getForObject(RIBBO_URL+"/deptList",List.class);}}
新建类,添加注解@LoadBalanced实现负载均衡
@Configurationpublic class ConfigBean {@Bean@LoadBalancedpublic RestTemplate getRestTemplate(){return new RestTemplate();}}
然后启动类
@SpringBootApplication@EnableEurekaClientpublic class Dept80Application {public static void main(String[] args) {SpringApplication.run(Dept80Application.class, args);}}
多次访问http://localhost:80/deptList,发现会轮询访问两个微服务
至此ribbon的负载均衡完成


leetcode 404. 左叶子之和")


")


还没有评论,来说两句吧...