SpringCloud Hoxton.SR3版本 配置中心config搭建教程
引言
最近在搭建配置中心的时候遇到了很多问题,因为刚开始接触springcloud 对里面的很多只是并不是很了解,但是看了文档以后觉得 应该是很简单的,结果在搭建过程中都是大坑啊。下面先介绍正确的配置过程,然后在分享其中遇到的坑。
项目版本
spring-boot-version:2.2.5.RELEASE
spring-cloud.version:Hoxton.SR3
注意:spring cloud 不同版本之间的差异还是很大的,所以读者一定要注意自己的版本
本文中的实例采用maven+父子工程的结构来实现,client端和server端拥有相同的父工程。
父工程搭建
关于如何创建工程这里就不介绍了,父工程中最为关键的部分就是pom文件中的相关配置。
<?xml version="1.0" encoding="UTF-8"?><project xmlns="http://maven.apache.org/POM/4.0.0" xmlns:xsi="http://www.w3.org/2001/XMLSchema-instance"xsi:schemaLocation="http://maven.apache.org/POM/4.0.0 http://maven.apache.org/xsd/maven-4.0.0.xsd"><modelVersion>4.0.0</modelVersion><parent><groupId>org.springframework.boot</groupId><artifactId>spring-boot-starter-parent</artifactId><version>2.2.5.RELEASE</version><relativePath/> <!-- lookup parent from repository --></parent><groupId>com.jack.springcloud</groupId><artifactId>weather</artifactId><version>1.0-SNAPSHOT</version><packaging>pom</packaging><modules><module>weatherconfigserver</module><module>weatherconfigclient</module></modules><name>weather</name><!-- FIXME change it to the project's website --><url>http://www.example.com</url><properties><project.build.sourceEncoding>UTF-8</project.build.sourceEncoding><java.source.level>1.8</java.source.level><java.target.level>1.8</java.target.level><maven.compiler.source>1.7</maven.compiler.source><maven.compiler.target>1.7</maven.compiler.target><maven.compiler.plugin.version>3.3</maven.compiler.plugin.version><spring.cloud.version>Hoxton.SR3</spring.cloud.version></properties><dependencies><dependency><groupId>org.springframework.cloud</groupId><artifactId>spring-cloud-starter-netflix-eureka-client</artifactId></dependency><!-- Spring Cloud 负载均衡组件--><dependency><groupId>org.springframework.cloud</groupId><artifactId>spring-cloud-starter-openfeign</artifactId></dependency><!--Spring Cloud 负载均衡组件--><dependency><groupId>org.springframework.cloud</groupId><artifactId>spring-cloud-starter-netflix-zuul</artifactId></dependency><!--Spring Cloud 配置组件--><dependency><groupId>junit</groupId><artifactId>junit</artifactId><version>4.12</version><scope>test</scope></dependency></dependencies><dependencyManagement><dependencies><dependency><groupId>org.springframework.cloud</groupId><artifactId>spring-cloud-dependencies</artifactId><version>${spring.cloud.version}</version><type>pom</type><scope>import</scope></dependency></dependencies></dependencyManagement><!--仓库配置--><repositories><repository><id>spring-snapshots</id><name>Spring Snapshots</name><url>https://repo.spring.io/snapshot</url><snapshots><enabled>true</enabled></snapshots></repository><repository><id>spring-milestones</id><name>Spring Milestones</name><url>https://repo.spring.io/milestone</url><snapshots><enabled>false</enabled></snapshots></repository></repositories><build><plugins><plugin><groupId>org.apache.maven.plugins</groupId><artifactId>maven-compiler-plugin</artifactId><version>${maven.compiler.plugin.version}</version><configuration><source>${java.source.level}</source><target>${java.target.level}</target><encoding>${project.build.sourceEncoding}</encoding><skip>true</skip></configuration></plugin></plugins></build></project>
ConfiServer服务端搭建
在idea中我们选择新建model 然后选择 Spring Initializr 即可。
1、pom文件中主要修改parent为我们自己的父工程,然后在pom中增加confi-server的配置
<parent><groupId>com.jack.springcloud</groupId><artifactId>weather</artifactId><version>1.0-SNAPSHOT</version></parent><dependency><groupId>org.springframework.cloud</groupId><artifactId>spring-cloud-config-server</artifactId></dependency>
2、在启动类上 增加configserver开启注解
@SpringBootApplication@EnableConfigServerpublic class WeatherconfigserverApplication {public static void main(String[] args) {SpringApplication.run(WeatherconfigserverApplication.class, args);}}
3、配置文件配置
spring.application.name: micro-weather-config-serverserver.port= 8809#github仓库地址spring.cloud.config.server.git.uri=https://github.com/zhenghaoxiao/springcloudconfig#存放配置的目录名称spring.cloud.config.server.git.searchPaths=rpo
注意:端口不能用8888
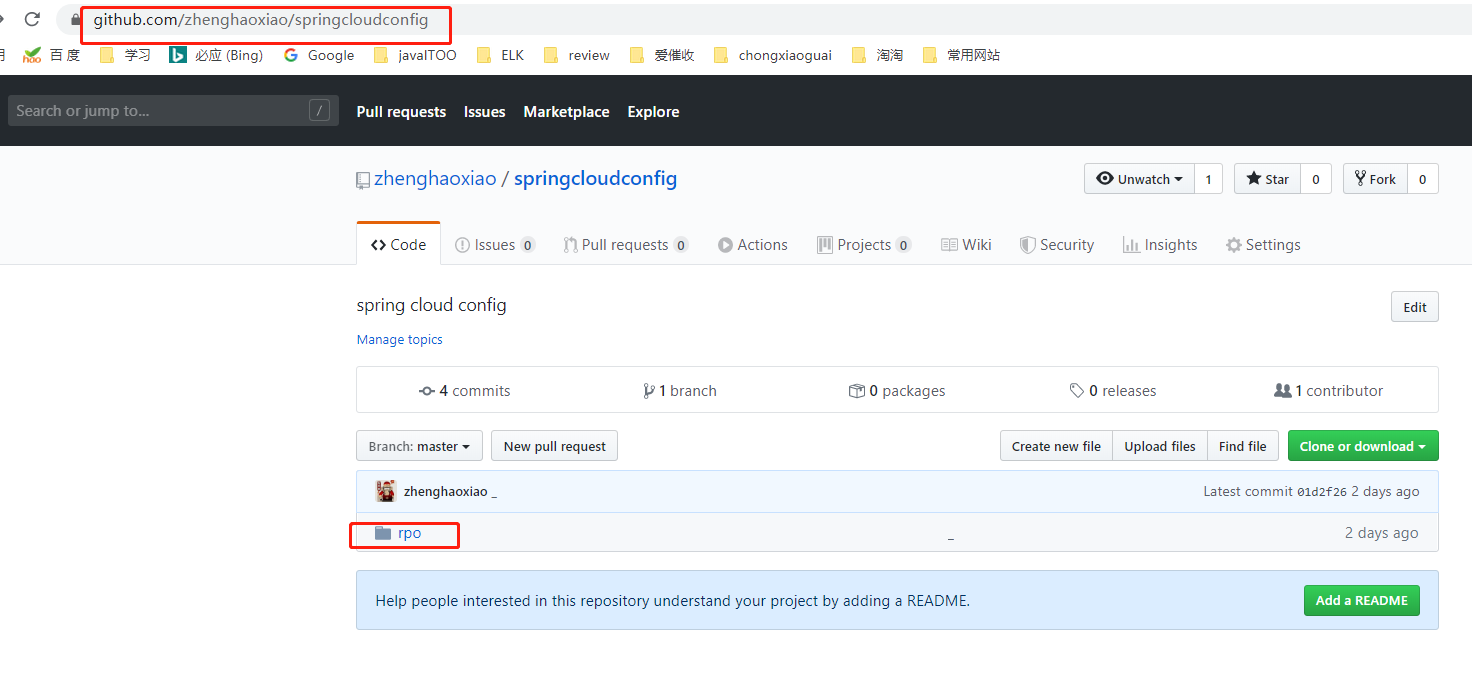
关于github上文件的说明,在我们搭建完client以后一起介绍说明
ConfigClient端搭建
client端非常 简单就是一个普通 springboot工程,不用增加额外的注解
1、配置文件配置,注意配置文件名称为bootstrap.properties
server.port=8006spring.application.name=micro-weather-config-clientspring.cloud.config.label=masterspring.cloud.config.profile=devspring.cloud.config.uri=http://localhost:8809/
2、测试代码
@Servicepublic class HelloService {@Value("${auther}")private String auther;public String hello() {return auther;}}
github上配置文件名称规则
springcloud config 的URL与配置文件的映射关系如下:
/{application}/{profile}[/{label}]
/{application}-{profile}.yml
/{label}/{application}-{profile}.yml
/{application}-{profile}.properties
/{label}/{application}-{profile}.properties
上面的url会映射{application}-{profile}.properties对应的配置文件,{label}对应git上不同的分支,默认为master。
所以github上文件的名称为:micro-weather-config-client-dev.properties
到这里整个config 的搭建就完成了,下面我们开始测试一下
1、首先启动server
如果server启动成功, 他会将github远程服务器上的配置文件同步到 本地一份,本地文件存储位置为
Windows默认临时目录:C:\Users\wyb\AppData\Local\Temp
Linux默认临时目录:/tmp
该配置项可根据该配置项进行调整
spring.cloud.config.server.git.basedir=指定目录
到该目录下面检查是否有新建的以config-repo-xxxxx开头的目录,有的话说明服务端Git配置这块没有问题。
2、启动客户端
如果客户端能正常启动,没有提示注入失败,
Could not resolve placeholder ‘auther’ in value “${auther}“
那就说明搭建成功了,当然也可以将配置中的内容 返回到页面进行检验。
下面分享一下搭建过程中坑
1、将client 端和server的依赖都放在父pom中引用, 导致项目失败。我们需要在各个model中单独依赖个字的依赖项
2、client端配置文件使用了application.properties,没有使用bootstrap.properties导致失败
3、服务端使用了8888端口,client端使用bootstrap.properties文件名称, 导致项目失败
上面是一些导致失败的原因,现在还不是非常清楚其中导致失败的原理,随着学习的深入会陆续解析其中的原因。如果你也遇到不同的问题,欢迎留言交流。


")
")


还没有评论,来说两句吧...