React学习1
前言
最近做一个项目需要用到react,就开始学习一下react吧
目录
1.起步
2.安装脚手架
3.JSX 的基本使用
4.React组件
5.React 事件处理
事件绑定
事件对象
6.有状态组件和无状态组件
state的基本使用
setState的基本使用
7.this指向问题
1.箭头函数
2.Function.prototype.bind()
3.class的实例方法
8.表单处理
受控组件
props
组件通讯3种方式
子传父
兄弟组件
props校验
10.Context
11.组件的生命周期
创建时
更新时
卸载时
12.render-props和高阶组件
render props模式
高阶组件
创建高阶组件
displayName
传递props
1.起步
1.React安装
npm i react react-dom<div id="root"></div><!-- 1 引入js文件 --><script src="./node_modules/react/umd/react.development.js"></script><script src="./node_modules/react-dom/umd/react-dom.development.js"></script><script>// 2 创建react元素// 参数一:元素名称// 参数二:元素属性// 参数三:元素的子节点const title = React.createElement('h1', null, 'Hello React')// 3 渲染react元素// 参数一:要渲染的react元素// 参数二:挂载点ReactDOM.render(title, document.getElementById('root'))</script>
2.安装脚手架
npx create-react-app my-app
导入react
import React from 'react'import ReactDOM from 'react-dom'
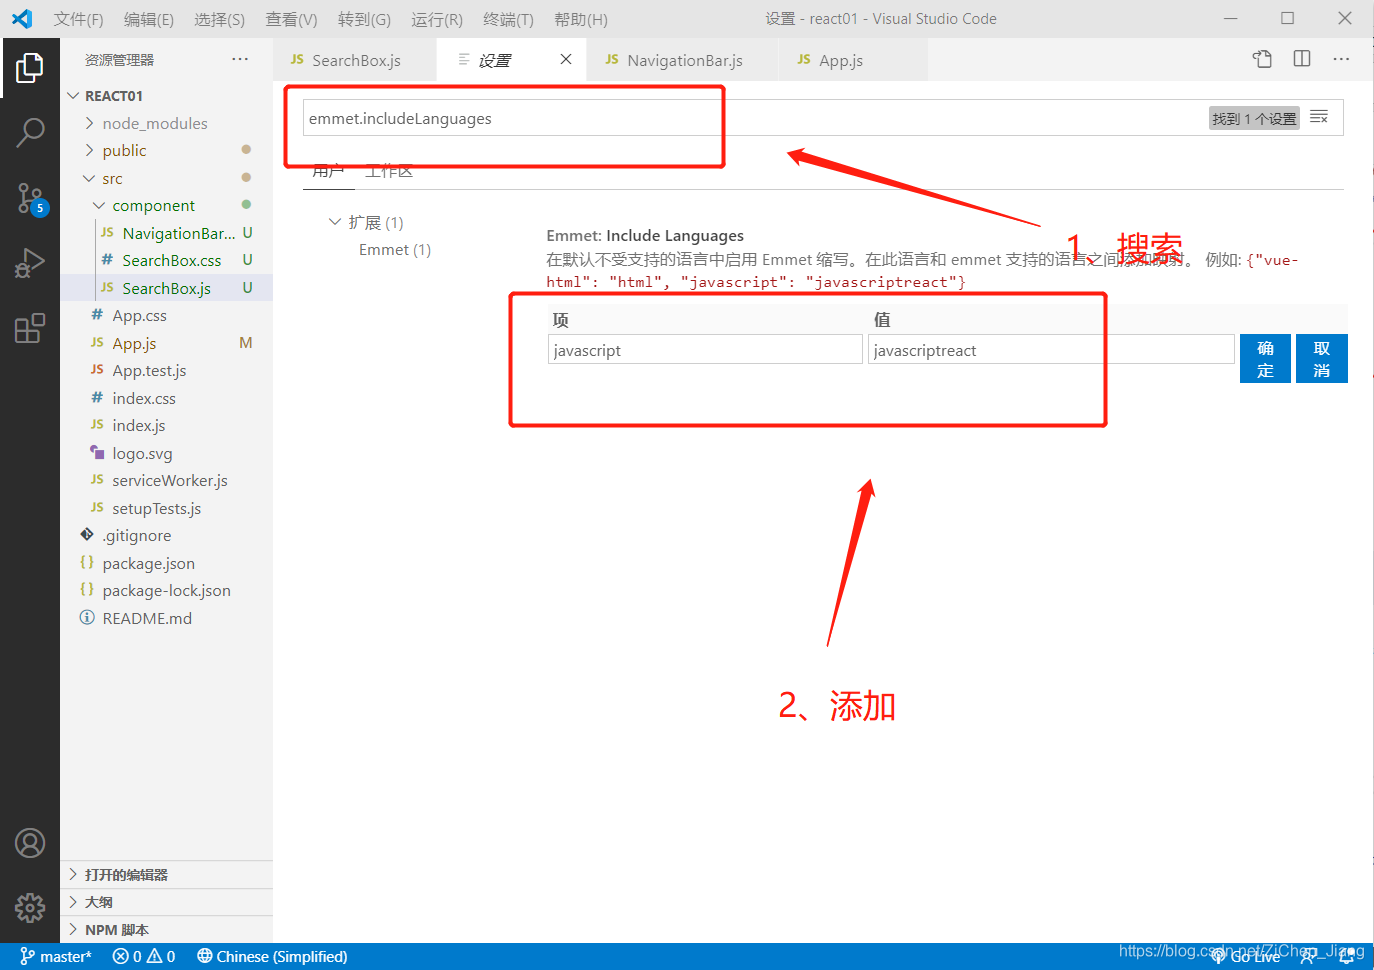
3.JSX 的基本使用
JSX自动补全html标签
const title = <h1>hello jsx</h1>
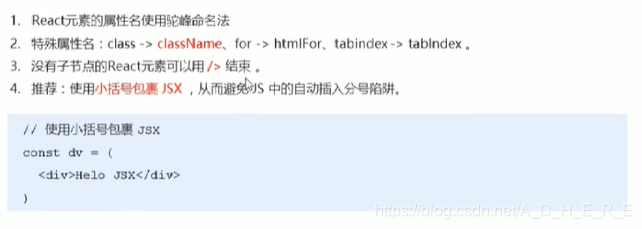
注意点
JS表达式
/*JSX中使用JavaScript表达式*/const name = 'Jack'const age = 19const title = (<h1>Hello JSX, {name}, 年龄:{age}</h1>)
JSX中使用JavaScript表达式的注意点:
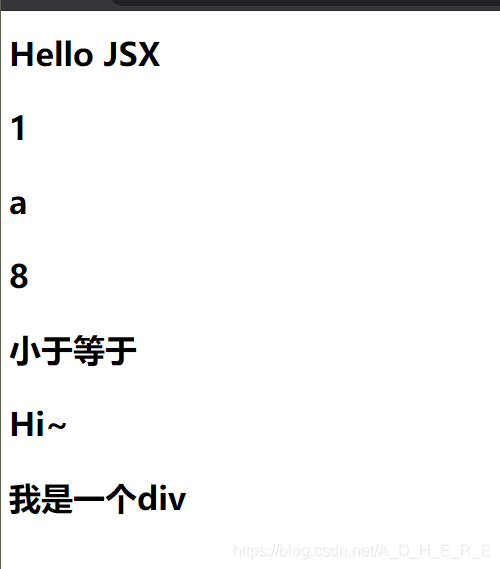
import React from 'react'import ReactDOM from 'react-dom'/*JSX中使用JavaScript表达式的注意点:*/// 函数调用表达式const sayHi = () => 'Hi~'const dv = <div>我是一个div</div>const title = (<h1>Hello JSX<p>{1}</p><p>{'a'}</p><p>{1 + 7}</p><p>{3 > 5 ? '大于' : '小于等于'}</p><p>{sayHi()}</p>{dv}{/* 错误演示 */}{/* <p>{ {a: '6'} }</p> */}{/* { if (true) {} } */}{/* { for (var i = 0; i < 10; i++) {} } */}</h1>)// 渲染react元素ReactDOM.render(title, document.getElementById('root'))
结果
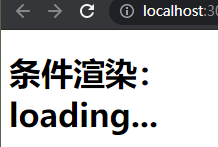
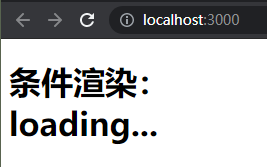
条件渲染
const isLoading = true// 逻辑与运算符:const loadData = () => {return isLoading && (<div>loading...</div>)}const title = (<h1>条件渲染:{loadData()}</h1>)
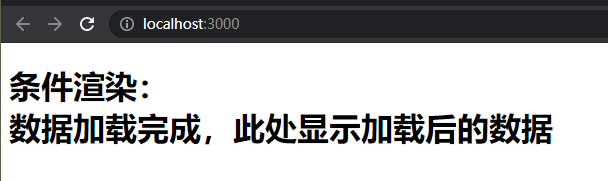
const isLoading = true// if-elseconst loadData = () => {if (isLoading) {return <div>loading...</div>}return <div>数据加载完成,此处显示加载后的数据</div>}
const isLoading = false// 三元表达式:const loadData = () => {return isLoading ? (<div>loading...</div>) : (<div>数据加载完成,此处显示加载后的数据</div>)}
列表渲染
/*列表渲染:*/// 歌曲列表:const songs = [{id: 1, name: '痴心绝对'},{id: 2, name: '像我这样的人'},{id: 3, name: '南山南'},]const list = (<ul>{songs.map(item => <li key={item.id}>{item.name}</li>)}</ul>)// 渲染react元素ReactDOM.render(list, document.getElementById('root'))
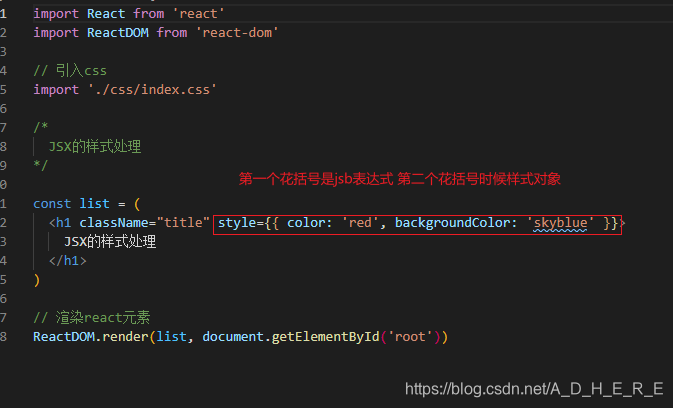
css
4.React组件
创建组件的两种方法
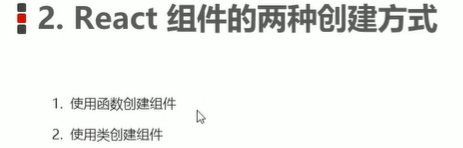
函数组件
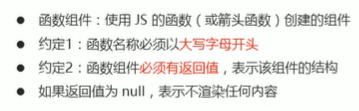

const Hello=()=> <div>函数组件</div>// 渲染react元素ReactDOM.render(<Hello/>, document.getElementById('root'))
类组件

class Hello extends React.Component {render() {return (<div>第一个类组件</div>)}}// 渲染react元素ReactDOM.render(<Hello/>, document.getElementById('root'))
5.React 事件处理
事件绑定

类组件事件绑定
class App extends React.Component {// 事件处理程序handleClick() {console.log('单击事件触发了')}render() {return (<button onClick={this.handleClick}>点我,点我</button>)}}
函数组件事件绑定
function App() {// 事件处理程序function handleClick() {console.log('函数组件中的事件绑定,事件触发了')}return (<button onClick={handleClick}>点我</button>)}
事件对象
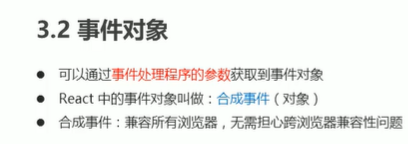
class App extends React.Component {handleClick(e) {// 阻止浏览器的默认行为e.preventDefault()console.log('a标签的单击事件触发了')}render() {return (<a href="http://itcast.cn/" onClick={this.handleClick}>zjhhhhh</a>)}}
6.有状态组件和无状态组件
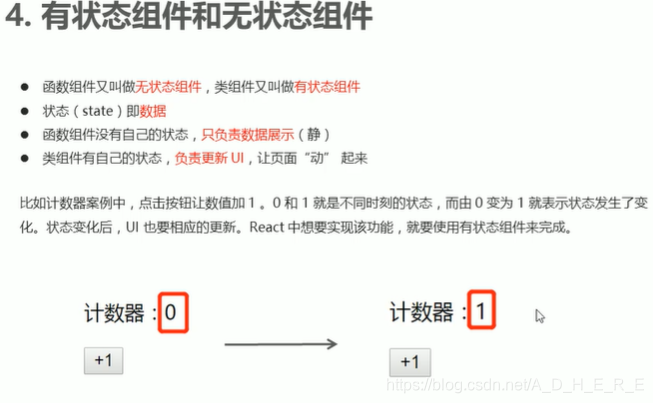
state的基本使用
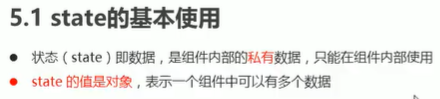
class App extends React.Component {/* constructor() {super()// 初始化statethis.state = {count: 0}} */// (es6)简化语法初始化state(推荐)state = {count: 10}render() {return (<div><h1>计数器:{ this.state.count }</h1></div>)}}
setState的基本使用
class App extends React.Component {state = {count: 0,test: 'a'}render() {return (<div><h1>计数器:{ this.state.count }</h1><button onClick={() => {this.setState({count: this.state.count + 1})// 错误!!!// this.state.count += 1}}>+1</button></div>)}}
7.this指向问题
JSX中掺杂过多JS逻辑代码,会显得非常混乱,所以我们将逻辑抽离到单独的方法中,保证JSX 结构清晰
如下列代码
class App extends React.Component {state = {count: 0}// 事件处理程序onIncrement() {console.log('事件处理程序中的this:', this)this.setState({count: this.state.count + 1})}render() {return (<div><h1>计数器:{ this.state.count }</h1><button onClick={this.onIncrement}>+1</button>{/* <button onClick={() => {this.setState({count: this.state.count + 1})}}>+1</button> */}</div>)}}
但是运行会报错
原因是事件处理程序中this的值为undefined,我们希望this指向组件实例(render方法的this即为组件实例)
有三种解决方法
1.箭头函数

class App extends React.Component {constructor() {super()this.state = {count: 0}this.onIncrement = this.onIncrement.bind(this)}// 事件处理程序onIncrement() {console.log('事件处理程序中的this:', this)this.setState({count: this.state.count + 1})}render() {return (<div><h1>计数器:{ this.state.count }</h1><button onClick={this.onIncrement}>+1</button></div>)}}
2.Function.prototype.bind()

class App extends React.Component {constructor() {super()this.state = {count: 0}this.onIncrement = this.onIncrement.bind(this)}// 事件处理程序onIncrement() {console.log('事件处理程序中的this:', this)this.setState({count: this.state.count + 1})}render() {return (<div><h1>计数器:{ this.state.count }</h1><button onClick={this.onIncrement}>+1</button></div>)}}
3.class的实例方法

class App extends React.Component {state = {count: 0}// 事件处理程序onIncrement = () => {console.log('事件处理程序中的this:', this)this.setState({count: this.state.count + 1})}render() {return (<div><h1>计数器:{ this.state.count }</h1><button onClick={this.onIncrement}>+1</button></div>)}}
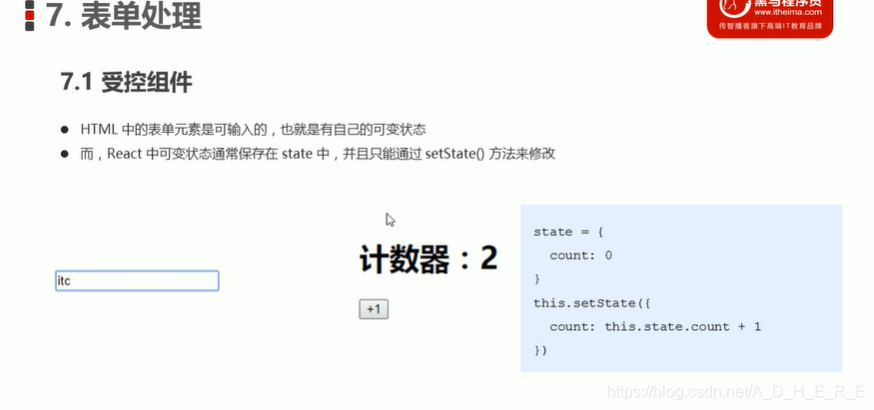
8.表单处理
受控组件" class="reference-link">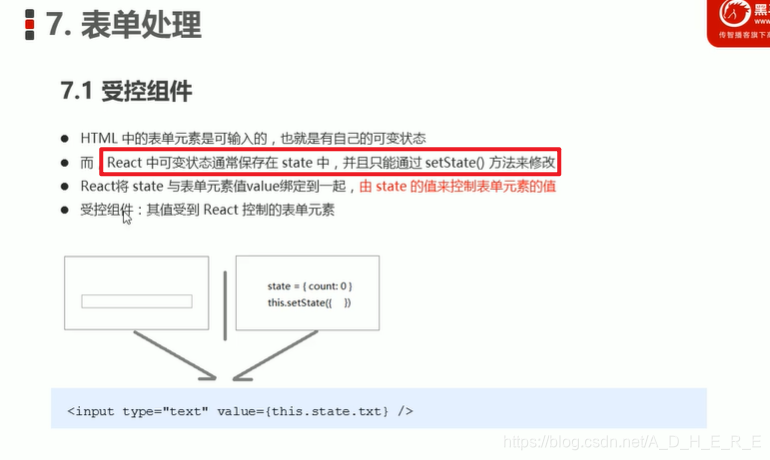 受控组件
受控组件
class App extends React.Component {state = {txt: ''}handleChange = e => {this.setState({txt: e.target.value})}render() {return (<div><input type="text" value={this.state.txt} onChange={this.handleChange} /></div>)}}
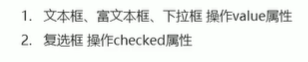
class App extends React.Component {state = {txt: '',content: '',city: 'bj',isChecked: false}handleChange = e => {this.setState({txt: e.target.value})}// 处理富文本框的变化handleContent = e => {this.setState({content: e.target.value})}// 处理下拉框的变化handleCity = e => {this.setState({city: e.target.value})}// 处理复选框的变化handleChecked = e => {this.setState({isChecked: e.target.checked})}render() {return (<div>{/* 文本框 */}<input type="text" value={this.state.txt} onChange={this.handleChange} /><br/>{/* 富文本框 */}<textarea value={this.state.content} onChange={this.handleContent}></textarea><br/>{/* 下拉框 */}<select value={this.state.city} onChange={this.handleCity}><option value="sh">上海</option><option value="bj">北京</option><option value="gz">广州</option></select><br/>{/* 复选框 */}<input type="checkbox" checked={this.state.isChecked} onChange={this.handleChecked} /></div>)}}
多表单元素的优化

class App extends React.Component {state = {txt: '',content: '',city: 'bj',isChecked: false}handleForm = e => {// 获取当前DOM对象const target = e.target// 根据类型获取值const value = target.type === 'checkbox'? target.checked: target.value// 获取nameconst name = target.namethis.setState({[name]: value})}render() {return (<div>{/* 文本框 */}<input type="text" name="txt" value={this.state.txt} onChange={this.handleForm} /><br/>{/* 富文本框 */}<textarea name="content" value={this.state.content} onChange={this.handleForm}></textarea><br/>{/* 下拉框 */}<select name="city" value={this.state.city} onChange={this.handleForm}><option value="sh">上海</option><option value="bj">北京</option><option value="gz">广州</option></select><br/>{/* 复选框 */}<input type="checkbox" name="isChecked" checked={this.state.isChecked} onChange={this.handleForm} /></div>)}}
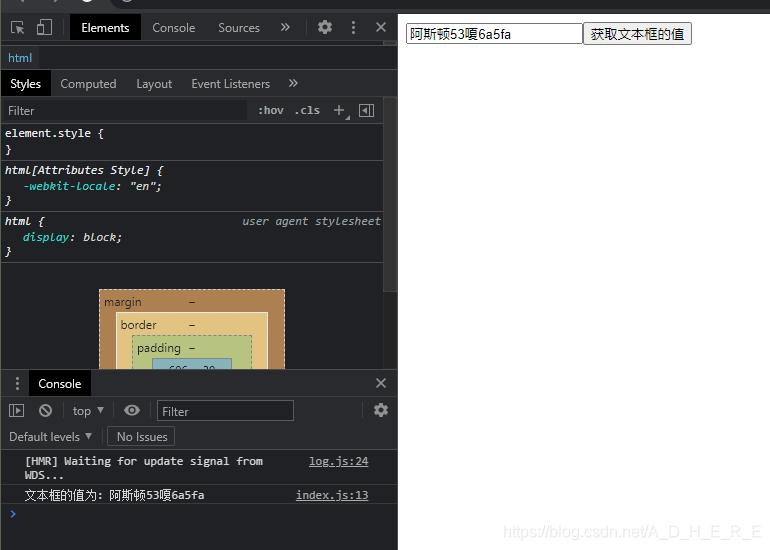
非受控组件

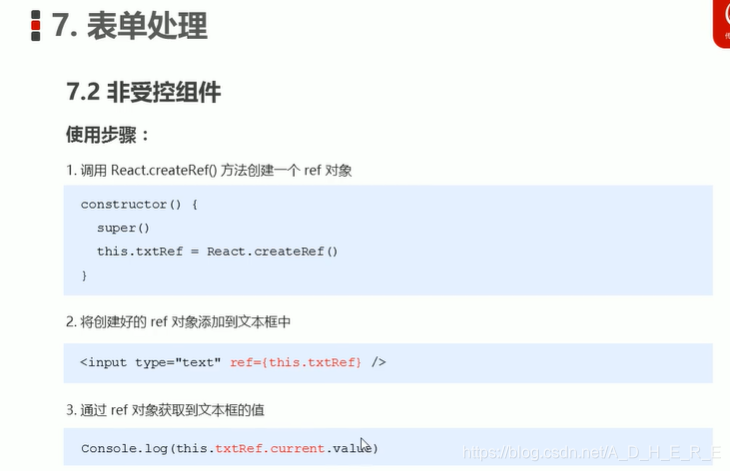
class App extends React.Component {constructor() {super()this.txtRef=React.createRef()}gettxt=()=> {console.log('文本框的值为:',this.txtRef.current.value);}render() {return (<div><input type="text" ref={this.txtRef}/><button onClick={this.gettxt}>获取文本框的值</button></div>)}}
9. props

const Hello = props => {console.log('props:', props)props.fn()return (<div><h1>props:</h1>{props.tag}</div>)}ReactDOM.render(<Helloname="rose"age={19}colors={['red', 'green', 'blue']}fn={() => console.log('这是一个函数')}tag={<p>这是一个p标签</p>}/>,document.getElementById('root'))

组件通讯3种方式" class="reference-link"> 组件通讯3种方式


子传父

class Parent extends React.Component {state = {parentMsg: ''}// 提供回调函数,用来接收数据getChildMsg = data => {console.log('接收到子组件中传递过来的数据:', data)this.setState({parentMsg: data})}render() {return (<div className="parent">父组件:{this.state.parentMsg}<Child getMsg={this.getChildMsg} /></div>)}}// 子组件class Child extends React.Component {state = {msg: '刷抖音'}handleClick = () => {// 子组件调用父组件中传递过来的回调函数this.props.getMsg(this.state.msg)}render() {return (<div className="child">子组件:{' '}<button onClick={this.handleClick}>点我,给父组件传递数据</button></div>)}}ReactDOM.render(<Parent />, document.getElementById('root'))
兄弟组件

// 父组件class Counter extends React.Component {// 提供共享状态state = {count: 0}// 提供修改状态的方法onIncrement = () => {this.setState({count: this.state.count + 1})}render() {return (<div><Child1 count={this.state.count} /><Child2 onIncrement={this.onIncrement} /></div>)}}const Child1 = props => {return <h1>计数器:{props.count}</h1>}const Child2 = props => {return <button onClick={() => props.onIncrement()}>+1</button>}ReactDOM.render(<Counter />, document.getElementById('root'))

props校验


安装prop-types
npm i prop-types
props默认值

10.Context


步骤
(1) 创建context得到两个组件
const { Provider, Consumer } = React.createContext()
(2)用Provider组件包裹根组件(value代表要传的值)
class App extends React.Component {render() {return (<Provider value="pink"><div className="app"><Node /></div></Provider>)}}
(3)目标子组件包裹要Consumer组件 (data就是传过来的值, {data}在标签中渲染data)
const Child = props => {return (<div className="child"><Consumer>{data => <span>我是子节点 -- {data}</span>}</Consumer></div>)}

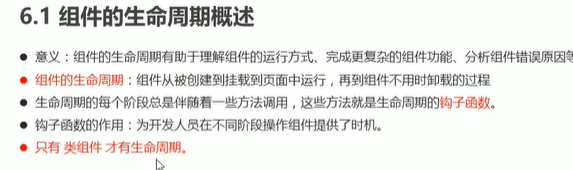
11.组件的生命周期

创建时

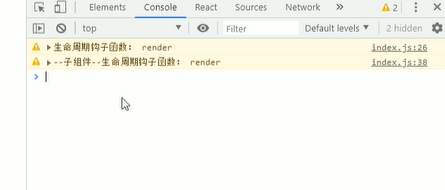
更新时

setState和forceUpdate()
class App extends React.Component {constructor(props) {super(props)// 初始化statethis.state = {count: 0}}// 打豆豆handleClick = () => {this.setState({count: this.state.count + 1}) }render() {console.warn('生命周期钩子函数: render')return (<div><Counter count={this.state.count} /><button onClick={this.handleClick}>打豆豆</button></div>)}}class Counter extends React.Component {render() {console.warn('--子组件--生命周期钩子函数: render')return <h1>统计豆豆被打的次数:{this.props.count}</h1>}}
强制更新
// 演示强制更新:this.forceUpdate()class Counter extends React.Component {render() {console.warn('--子组件--生命周期钩子函数: render')return <h1 id="title">统计豆豆被打的次数:{this.props.count}</h1>}// 注意:如果要调用 setState() 更新状态,必须要放在一个 if 条件中// 因为:如果直接调用 setState() 更新状态,也会导致递归更新!!!componentDidUpdate(prevProps) {console.warn('--子组件--生命周期钩子函数: componentDidUpdate')// 正确做法:// 做法:比较更新前后的props是否相同,来决定是否重新渲染组件console.log('上一次的props:', prevProps, ', 当前的props:', this.props)if (prevProps.count !== this.props.count) {this.setState({})// 发送ajax请求的代码}// 错误演示!!!// this.setState({})// 获取DOM// const title = document.getElementById('title')// console.log(title.innerHTML)}}

卸载时
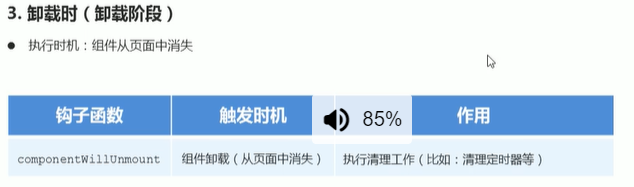
class Counter extends React.Component {componentDidMount() {// 开启定时器this.timerId = setInterval(() => {console.log('定时器正在执行~')}, 500)}render() {return <h1>统计豆豆被打的次数:{this.props.count}</h1>}componentWillUnmount() {console.warn('生命周期钩子函数: componentWillUnmount')// 清理定时器clearInterval(this.timerId)}}
12.render-props和高阶组件
render props模式" class="reference-link"> render props模式

class Mouse extends React.Component {// 鼠标位置statestate = {x: 0,y: 0}// 鼠标移动事件的事件处理程序handleMouseMove = e => {this.setState({x: e.clientX,y: e.clientY})}// 监听鼠标移动事件componentDidMount() {window.addEventListener('mousemove', this.handleMouseMove)}render() {// return nullreturn this.props.render(this.state)}}class App extends React.Component {render() {return (<div><h1>render props 模式</h1><Mouserender={mouse => {return (<p>鼠标位置:{mouse.x} {mouse.y}</p>)}}/></div>)}}
把鼠标变成一只猫
<Mouserender={mouse => {return (<imgsrc={img}alt="猫"style={{position: 'absolute',top: mouse.y - 64,left: mouse.x - 64}}/>)}}/></div>)}}
更推荐用children属性代替render属性,即在Mouse组件嵌套一个子节点

<Mouse>{mouse => (<imgsrc={img}alt="猫"style={{position: 'absolute',top: mouse.y - 64,left: mouse.x - 64}}/>)}</Mouse>
组件中的render函数也要改变
render() {return this.props.children(this.state)}
代码优化

高阶组件
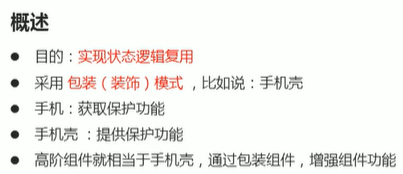


创建高阶组件" class="reference-link">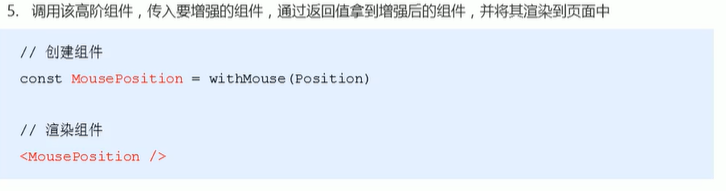 创建高阶组件
// 创建高阶组件function withMouse(WrappedComponent) {// 该组件提供复用的状态逻辑class Mouse extends React.Component {// 鼠标状态state = {x: 0,y: 0}handleMouseMove = e => {this.setState({x: e.clientX,y: e.clientY})}// 控制鼠标状态的逻辑componentDidMount() {window.addEventListener('mousemove', this.handleMouseMove)}componentWillUnmount() {window.removeEventListener('mousemove', this.handleMouseMove)}render() {return <WrappedComponent {...this.state} />}}return Mouse}
包装组件
const Position = props => (<p>鼠标当前位置:(x: {props.x}, y: {props.y})</p>)// 猫捉老鼠的组件:const Cat = props => (<imgsrc={img}alt=""style={{position: 'absolute',top: props.y - 64,left: props.x - 64}}/>)// 获取增强后的组件:const MousePosition = withMouse(Position)// 调用高阶组件来增强猫捉老鼠的组件:const MouseCat = withMouse(Cat)
渲染包装后的组件
class App extends React.Component {render() {return (<div><h1>高阶组件</h1>{/* 渲染增强后的组件 */}<MousePosition /><MouseCat /></div>)}}
displayName

// 创建高阶组件function withMouse(WrappedComponent) {// 该组件提供复用的状态逻辑class Mouse extends React.Component {// 鼠标状态state = {x: 0,y: 0}handleMouseMove = e => {this.setState({x: e.clientX,y: e.clientY})}// 控制鼠标状态的逻辑componentDidMount() {window.addEventListener('mousemove', this.handleMouseMove)}componentWillUnmount() {window.removeEventListener('mousemove', this.handleMouseMove)}render() {return <WrappedComponent {...this.state} />}}// 设置displayNameMouse.displayName = `WithMouse${getDisplayName(WrappedComponent)}`return Mouse}function getDisplayName(WrappedComponent) {return WrappedComponent.displayName || WrappedComponent.name || 'Component'}

传递props

const MousePosition = withMouse(Position)
往被包装的组件传递props,这时被包装的组件拿不到这个props
<MousePosition a="1" />
需要高阶组件传给他
render() {console.log('Mouse:', this.props)return <WrappedComponent {...this.state} {...this.props} />}


")


还没有评论,来说两句吧...