SpringBoot整合ActiveMQ
目录
一、队列
(一)生产者
(二)消费者
二、发布订阅
(一)Topic生产者
(二)Topic消费者
一、队列
(一)生产者
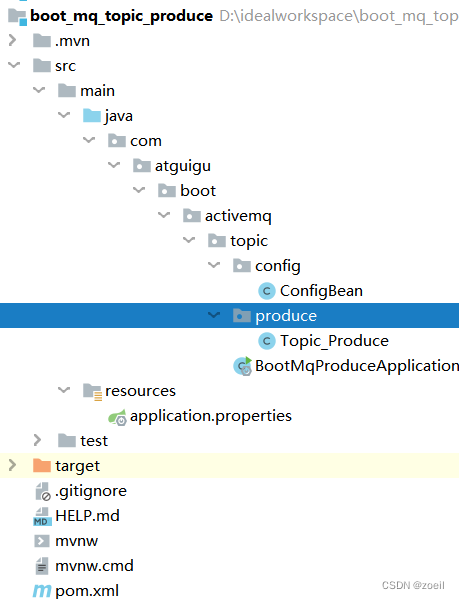
1.新建Maven工程并设置包名类名


2.Pom.xml
<dependencies><dependency><groupId>org.springframework.boot</groupId><artifactId>spring-boot-starter</artifactId></dependency><dependency><groupId>org.springframework.boot</groupId><artifactId>spring-boot-starter-test</artifactId><scope>test</scope></dependency><!--spring boot整合activemq的jar包--><dependency><groupId>org.springframework.boot</groupId><artifactId>spring-boot-starter-activemq</artifactId><version>2.1.5.RELEASE</version></dependency><dependency><groupId>junit</groupId><artifactId>junit</artifactId><scope>test</scope></dependency></dependencies>
3.application.yml
server:port: 7777 #端口号spring:activemq:broker-url: tcp://193.179.123.10:61616user: adminpassword: adminjms:pub-sub-domain: false #false=queue true=topic#自己定义队列名称myqueue: boot-activemq-queue
4.configBean
// 让spring管理的注解,相当于spring中在xml 中写了个bean@Component// 开启jms适配@EnableJmspublic class ConfigBean {// 注入配置文件中的 myqueue@Value("${myqueue}")private String myQueue ;@Bean // bean id="" class="…"public ActiveMQQueue queue(){return new ActiveMQQueue(myQueue);}}
5.Queue_produce
@Componentpublic class Queue_produce {@Autowiredprivate JmsMessagingTemplate jmsMessagingTemplate;@Autowiredprivate Queue queue;public void produceMsg() {jmsMessagingTemplate.convertAndSend(String.valueOf(queue),"******:"+ UUID.randomUUID().toString().substring(0,6));}}
5.BootMqProduceApplication
@SpringBootApplicationpublic class BootMqProduceApplication {public static void main(String[] args) {SpringApplication.run(BootMqProduceApplication.class, args);}}
6.测试类
@SpringBootTest(classes = BootMqProduceApplication.class)@RunWith(SpringJUnit4ClassRunner.class)@WebAppConfigurationpublic class TestActiveMQ {@Autowiredprivate Queue_produce produce;@Testpublic void testsend() throws Exception{produce.produceMsg();}}
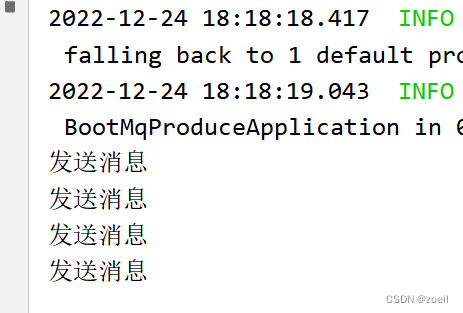
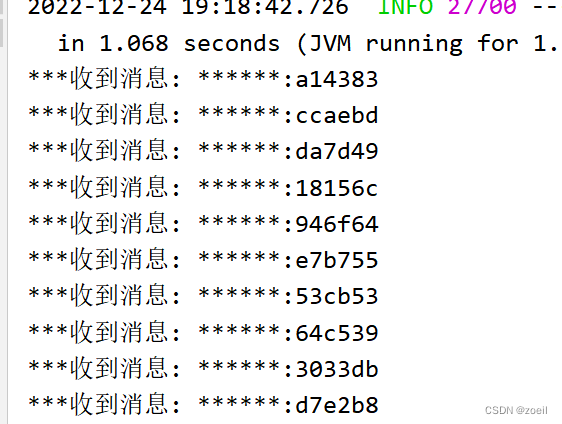
测试结果
7.每隔3秒钟往MQ投递消息
(1)修改Queue_produce
@Componentpublic class Queue_produce {@Autowiredprivate JmsMessagingTemplate jmsMessagingTemplate;@Autowiredprivate Queue queue;// public void produceMsg() {// jmsMessagingTemplate.convertAndSend(String.valueOf(queue),"******:"+ UUID.randomUUID().toString().substring(0,6));// }@Scheduled(fixedDelay = 3000L)public void produceMsgScheduled() {jmsMessagingTemplate.convertAndSend(String.valueOf(queue),"******:"+ UUID.randomUUID().toString().substring(0,6));}}
(2)主启动类增加注解
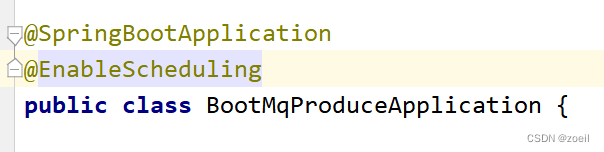
(3) 直接开启主启动类,间隔3秒发消息
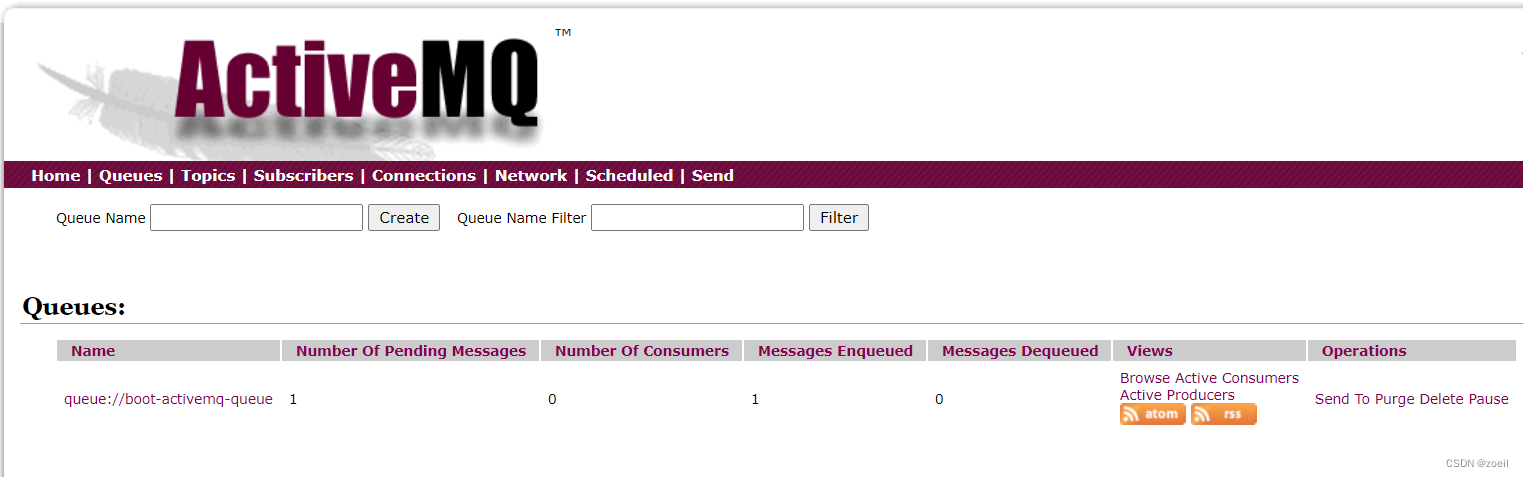
 注意:这里队列的名字变化为queue://boot-activemq-queue
(二)消费者
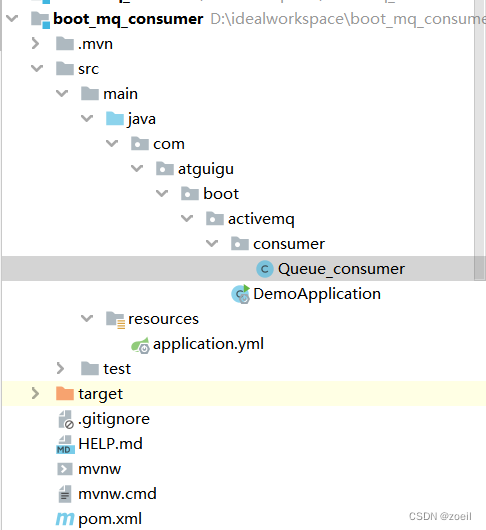
1.新建Maven工程并设置包名类名
2.Pom.xml文件与前面一致
3.application.yml
server:port: 8888 #端口号与前面不同,每个微服务有不同的微服务端口号spring:activemq:broker-url: tcp://193.179.123.10:61616user: adminpassword: adminjms:pub-sub-domain: false #false=queue true=topic#监听队列的名称myqueue: queue://boot-activemq-queue
4.Queue_Consumer
@Componentpublic class Queue_consumer {//读取yml文件中的myqueue@JmsListener(destination = "${myqueue}")public void receive(TextMessage textMessage) throws JMSException {System.out.println("***收到消息: "+textMessage.getText());}}
5.运行主启动类
二、发布订阅
(一)Topic生产者
1.新建Maven工程并设置包名类名
2.Pom.xml文件与前面一致
3.application.properties
server.port=6666spring.activemq.broker-url=tcp://193.179.123.10:61616spring.activemq.user=adminspring.activemq.password=adminspring.jms.pub-sub-domain=truemytopic=boot-activemq-topic
4.ConfigBean
@Component@EnableJmspublic class ConfigBean {@Value("${mytopic}")public String mytopicName;@Beanpublic ActiveMQTopic topic() {return new ActiveMQTopic(mytopicName);}}
5.Topic_Produce
@Componentpublic class Topic_Produce {@Autowiredprivate JmsTemplate jmsTemplate;@Autowiredprivate Topic topic;@Scheduled(fixedDelay = 3000)public void produceScheduled() {jmsTemplate.convertAndSend(topic, "主题消息:"+UUID.randomUUID().toString().substring(0,6));}}
6.启动主启动类,每隔3秒发送一条主题

(二)Topic消费者
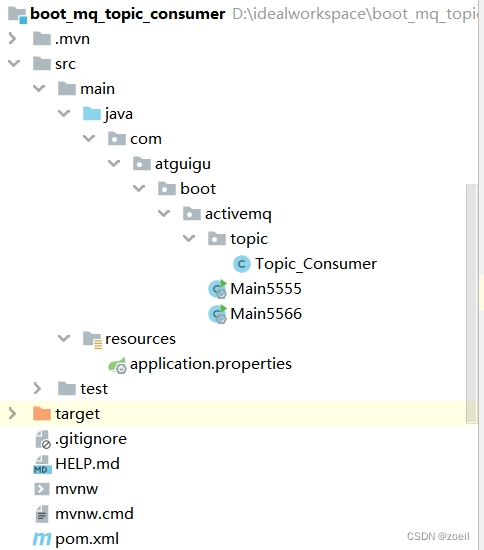
1.新建Maven工程并设置包名类名
2.Pom.xml同上
3.application.properties
#等下改为5566模拟两个用户进行监听server.port=5566spring.activemq.broker-url=tcp://193.179.123.10:61616spring.activemq.user=adminspring.activemq.password=adminspring.jms.pub-sub-domain=truemytopic=boot-activemq-topic
4.Topic_Consumer
@Componentpublic class Topic_Consumer {@JmsListener(destination = "boot-activemq-topic")public void receive(TextMessage textMessage) throws JmsException, JMSException {System.out.println("监听到主题:"+textMessage.getText());}}
5.模拟两个订阅者主启动类,先启动订阅者再启动消费者
5566订阅者
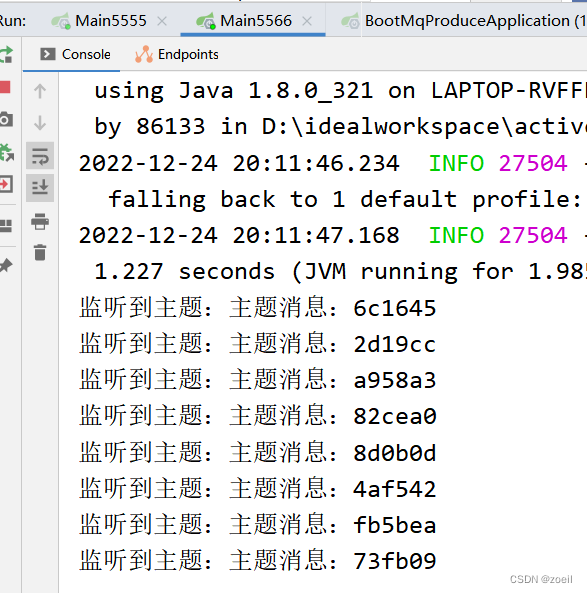
5555订阅者
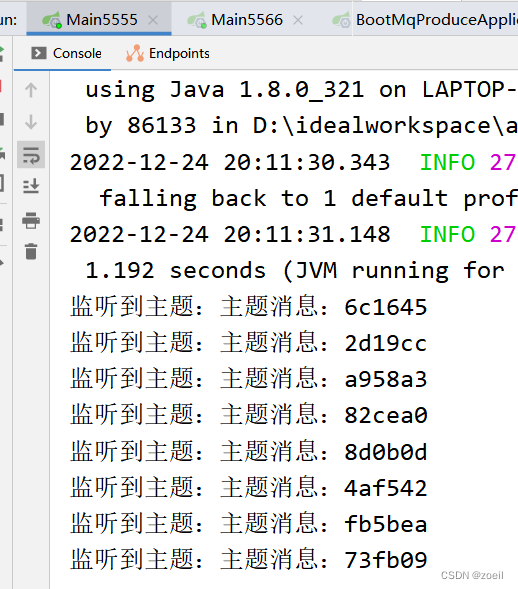
两个消费者


还没有评论,来说两句吧...