【开发技巧/经验分享】使用SpringCloudCofig实现远程配置管理(服务端、客户端实现)
1. 为什么需要需要远程配置管理?
首先我们分析传统的配置管理,传统项目中我们的配置文件都是写死在项目中,如果更改一些配置可能导致整个应用需要重新编译,并且我们在开发中也是整个开发团队一起开发的,如果其中一个人修改了配置那么所有的配置都将受到影响,所以在这一方面会有配置冲突的问题,而下面要提到的SpringCloudConfig就是为了解决以上问题而衍生出来的。
2. 如何使用SpringCloudConfig?
2.1 配置中心服务端实现
2.1.1 构建项目,并导入相关依赖,所需配置项如下所示
<?xml version="1.0" encoding="UTF-8"?><project xmlns="http://maven.apache.org/POM/4.0.0" xmlns:xsi="http://www.w3.org/2001/XMLSchema-instance" xsi:schemaLocation="http://maven.apache.org/POM/4.0.0 https://maven.apache.org/xsd/maven-4.0.0.xsd"><dependencies><dependency><groupId>org.springframework.boot</groupId><artifactId>spring-boot-starter-web</artifactId></dependency><dependency><groupId>org.springframework.cloud</groupId><artifactId>spring-cloud-config-server</artifactId></dependency><dependency><groupId>org.springframework.cloud</groupId><artifactId>spring-cloud-starter-netflix-eureka-client</artifactId></dependency><dependency><groupId>org.springframework.boot</groupId><artifactId>spring-boot-starter-test</artifactId><scope>test</scope></dependency></dependencies><dependencyManagement><dependencies><dependency><groupId>org.springframework.cloud</groupId><artifactId>spring-cloud-dependencies</artifactId><version>${spring-cloud.version}</version><type>pom</type><scope>import</scope></dependency></dependencies></dependencyManagement></project>
2.1.2 编写相关配置文件
spring:application:name: order-configcloud:config:server:git:uri: https://gitee.com/coder1024/order-config #指定远程git仓库目录basedir: /Users/qingyun/IdeaProjects/springcloud-wechatordersys/basedir #指定本地git仓库目录 建议不要放在项目中 防止git把项目覆盖username: 你的git服务用户名password: 你的git服务密码eureka: #因为配置需要被其他服务使用所以这里需要将服务注册到eureka中client:service-url:defaultZone: http://localhost:8761/eureka,http://localhost:8762/eureka
2.1.3 在主启动类上添加@EnableConfigServer注解,开启配置中心服务端
package com.qingyun.orderconfig;import org.springframework.boot.SpringApplication;import org.springframework.boot.autoconfigure.SpringBootApplication;import org.springframework.cloud.config.server.EnableConfigServer;import org.springframework.cloud.netflix.eureka.EnableEurekaClient;@SpringBootApplication@EnableEurekaClient@EnableConfigServerpublic class OrderConfigApplication {public static void main(String[] args) {SpringApplication.run(OrderConfigApplication.class, args);}}
2.1.4 开启服务进行测试
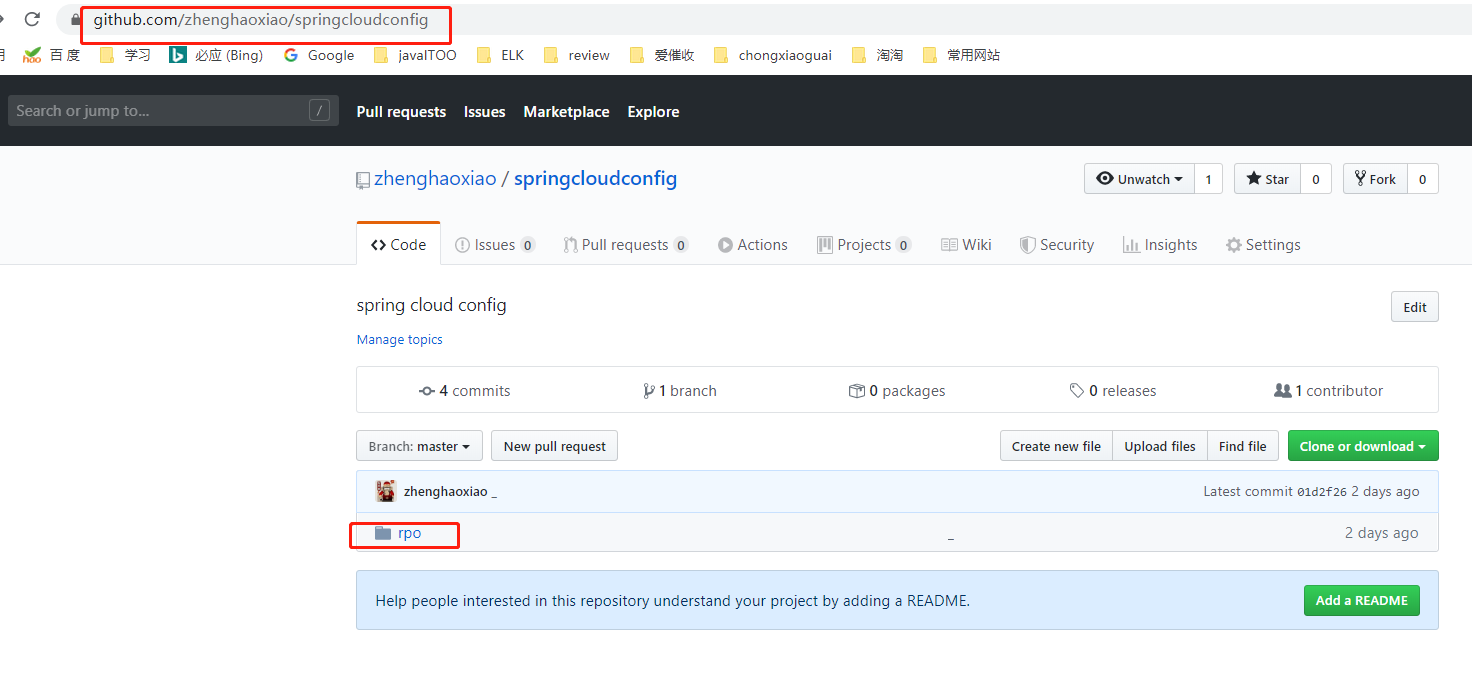
事先在远程库中创建好配置文件
通过浏览器访问
修改后缀为.properties
由此可见配置中心能够灵活的根据配置文件的给定后缀名灵活的转换格式,实质上这个规则的表达式为/{name}-{profiles}.后缀名,name表示的是服务名(文件名),profiles表示是环境(dev开发环境、prod生产环境、test测试环境)。
当然配置中心的规则可不止上面一种,比如还有一种规则为/{lable}/{name}-{profiles}.后缀名,{lable}表示的仓库中的一个分支。
2.2 配置中心服务端实现
2.2.1 在需要使用到配置服务的工程中导入相关依赖,所需依赖如下所示
<dependency><groupId>org.springframework.cloud</groupId><artifactId>spring-cloud-config-client</artifactId></dependency>
2.2.2 将application.yml改成bootstrap.yml,并去除一些本地上不必要的配置(bootstrap要比application配置文件优先加载)
spring:application:name: productServicecloud:config:discovery:enabled: true #开启配置中心发现service-id: config-server #配置中心的名称profiles:active: testeureka:client:service-url:defaultZone: http://localhost:8761/eureka,http://localhost:8762/eureka
这里需要注意的是,像一些比如端口号指定、数据库配置等信息使用了配置中心后在本地都可以不再配置,直接拉取远程配置就好。但是这也也要特别注意像,eureka、服务名必须要配置,要不然无法找到配置中心拉取相关配置。
2.2.3 在远程创建于服务名称相同的配置文件。
productServer.yml
spring:datasource:driver-class-name: com.mysql.jdbc.Driverurl: jdbc:mysql://localhost:3306/wechat_ordersys?useUnicode=true&characterEncoding=utf-8&useSSL=falseusername: rootpassword: 123456
productServer-test.yml
server:port: 8082spring:datasource:driver-class-name: com.mysql.jdbc.Driverurl: jdbc:mysql://localhost:3306/wechat_ordersys?useUnicode=true&characterEncoding=utf-8&useSSL=falseusername: rootpassword: 123456
productServer-dev.yml
server:port: 8081spring:datasource:driver-class-name: com.mysql.jdbc.Driverurl: jdbc:mysql://localhost:3306/wechat_ordersys?useUnicode=true&characterEncoding=utf-8&useSSL=falseusername: rootpassword: 123456
我们这里创建多个配置文件是为了方便配置文件的切换,因为实际开发中肯定会有开发环境(dev后缀)、测试环境(test后缀)等,而没有加后缀的在加载的时候也会一起跟对应的配置组合,没有加后缀的配置文件一般用与配置一些服务中的公共配置。
2.2.4 启动项目
test环境
dev环境
从上图可以分析出,在项目中可以通过spring.profiles.active动态选择运行环境。
3. 这种方式存什么不足?
这种方式虽然解决了组织开发中的配置冲突,但是它无法做到配置信息的实时更新,也就是没有做到更改了配置后无需重新启动、编译项目。


还没有评论,来说两句吧...