SpringMVC文件上传
#SpringMVC文件上传
目录
文章目录
- 1 导入Jar包
- 2 配置文件上传解析器
- 3 前端页面
- 4 后台代码
- 4.1 文件上传路径问题
- 5 最后
在Web开发中,文件上传通常都是必不可少的,本文就来介绍一下SpringMVC文件上传的方法。
文件上传分为两种:
- 单文件
- 多文件
本文直接写多文件上传(单文件上传也只是多文件上传的一种而已)。
1 导入Jar包
commons-fileupload
commons-io
需要导入如上jar包,版本号按个人需要,下载地址
2 配置文件上传解析器
在SpringMVC配置文件中,写入如下配置:
<!--文件上传解析器 --><!--Spring MVC默认不能识别multipart格式的文件内容 --><bean id="multipartResolver" class="org.springframework.web.multipart.commons.CommonsMultipartResolver"><property name="defaultEncoding" value="utf-8"></property><!-- 限制大小为10M --><property name="maxUploadSize" value="10485760"></property><!-- 限制大小为40K 默认为10K --><property name="maxInMemorySize" value="40960"></property></bean>
参数说明:
maxUploadSize
- 最大上传文件大小,单位为字节
- 10*1024*1024 = 10485760(好些网上的文字,这里计算结果都是错误的…计算数据大小应该是每个程序员都必须熟练掌握)
maxInMemorySize
- 设置缓存大小
3 前端页面
比较简单页面代码,通过表单将数据提交到后台(必须是post请求)
<%@ page language="java" contentType="text/html; charset=utf-8"pageEncoding="utf-8"%><%@taglib prefix="c" uri="http://java.sun.com/jsp/jstl/core"%><!DOCTYPE html PUBLIC "-//W3C//DTD HTML 4.01 Transitional//EN" "http://www.w3.org/TR/html4/loose.dtd"><html><head><meta http-equiv="Content-Type" content="text/html; charset=utf-8"><title>Insert title here</title></head><body><form action="${pageContext.request.contextPath }/mupload" method="post" enctype="multipart/form-data">file:<input type="file" name="uploadFiles" multiple="multiple"/><input type="submit" value="上传"/></form></body></html>
如果只想上传单个文件,将input标签中的multiple属性去掉即可。
4 后台代码
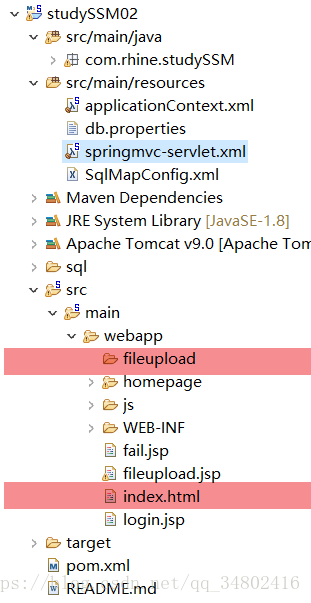
先在webapp目录下建一个fileupload文件夹,用于存放上传到服务器的图片。
默认大家对SpringMVC中Controller的写法已经熟悉,这里只贴出来该方法体的代码。
通过数组的形式,将接收到的文件一一保存到设置好的路径。
@RequestMapping("/mupload") public String mfileUpload(MultipartFile[] uploadFiles, HttpServletRequest req) throws IOException { //发布到服务器应设置的路径 //String serverPath = req.getServletContext().getRealPath("/fileupload"); //本地路径,方便测试 String localPath = "C:\\Development\\Code\\studySSM02\\src\\main\\webapp\\fileupload"; for(MultipartFile tempFile : uploadFiles) { String filename = tempFile.getOriginalFilename(); File file = new File(localPath, filename); tempFile.transferTo(file); } return "index"; }
4.1 文件上传路径问题
事实上当我们部署应用程序时,我们应该上传的文件路径应该是代码中的serverPath,仅仅是为了在本地测试方便才使用了localPath。
如果你使用的是eclipse,设置的上传路径是serverPath这种写法,文件会保存到以下目录(以我的项目为例):
C:\Development\Code\.metadata\.plugins\org.eclipse.wst.server.core\tmp0\wtpwebapps\studySSM02\fileupload
而不是我们项目中的webapp中的fileupload文件夹。
这是因为eclipse为我们克隆了一个tomcat的服务器目录,我们上传的文件并不会保存到我们项目所在的目录下。
有兴趣可以仔细看看这篇写得很透彻的参考文章
5 最后
这里只是实现了最简单的文件上传,其实要真正写一个可以使用的文件上传这还远远不够,前端和后台都还要加入更多的东西。简单提一下,比如前端要能文件拖拽上传和回显,后台要能做好异常处理等。这才是需要花更多时间去思考的地方。


Spring Cloud 学习笔记之Spring Cloud Stream")


")


还没有评论,来说两句吧...