【Vue工程】001-Vite 创建 Vue-TypeScript 项目
【Vue工程】001-Vite 创建 Vue-Ts 项目
文章目录
- 【Vue工程】001-Vite 创建 Vue-Ts 项目
- 一、环境
- 二、创建项目
- 1、pnpm 创建 Vite 项目
- 2、设置项目名
- 3、选择vue
- 4、选择 TypeScript
- 5、创建完成
- 6、安装与启动
- 7、访问 `http://localhost:5173/\`
- 8、默认生成的项目结构
- 9、修改 `tsconfig.json`
- 10、修改 `tsconfig.node.json`
- 11、新建 `src/typings.d.ts`
- 12、在 `package.json` 中新增 ts 类型检查脚本
- 三、配置路径别名
- 1、安装 `@types/node` 依赖
- 2、修改 `vite.config.ts`
- 3、ts 路径映射
- 四、其他说明
- 1、`@types/node` 依赖
- 概述
- 安装
- 依赖包
- 2、配置 `moduleResolution` 选项
一、环境
# Windows 10 IoT 企业版 LTSCD:\MyResearch\vue-admin>node -vv18.15.0D:\MyResearch\vue-admin>pnpm -v8.3.1
二、创建项目
1、pnpm 创建 Vite 项目
pnpm create vite
2、设置项目名
D:\MyResearch\vue-admin>pnpm create vite../../.pnpm-store/v3/tmp/dlx-8988 | +1 +Packages are hard linked from the content-addressable store to the virtual store.Content-addressable store is at: D:\.pnpm-store\v3Virtual store is at: ../../.pnpm-store/v3/tmp/dlx-8988/node_modules/.pnpm../../.pnpm-store/v3/tmp/dlx-8../../.pnpm-store/v3/tmp/dlx-8988 | Progress: resolved 1, reused 0, downloaded 1, added 1, doneme: » vite-project? Project name: » my-vue-ts
3、选择vue
选择之后按回车键下一步!
# 省略...? Select a framework: » - Use arrow-keys. Return to submit.Vanilla> VueReactPreactLitSvelteOthers
4、选择 TypeScript
选择之后按回车键下一步!
? Select a variant: » - Use arrow-keys. Return to submit.> TypeScriptJavaScriptCustomize with create-vue ↗Nuxt ↗
5、创建完成
Scaffolding project in D:\MyResearch\vue-admin\my-vue-ts...Done. Now run:cd my-vue-tspnpm installpnpm run dev
6、安装与启动
D:\MyResearch\vue-admin>cd my-vue-tsD:\MyResearch\vue-admin\my-vue-ts>pnpm installWARN deprecated sourcemap-codec@1.4.8: Please use @jridgewell/sourcemap-codec insteadPackages: +47+++++++++++++++++++++++++++++++++++++++++++++++Packages are copied from the content-addressable store to the virtual store.Content-addressable store is at: D:\.pnpm-store\v3Virtual store is at: node_modules/.pnpmDownloading registry.npmmirror.com/typescript/5.0.2: 7.05 MB/7.05 MB, donenode_modules/.pnpm/esbuild@0.17.18/node_modules/esbuild: Running postinstall script, done in 241msProgress: resolved 69, reused 34, downloaded 13, added 47, donedependencies:+ vue 3.2.47devDependencies:+ @vitejs/plugin-vue 4.1.0+ typescript 5.0.2 (5.0.4 is available)+ vite 4.3.2 (4.3.3 is available)+ vue-tsc 1.4.2 (1.6.0 is available)Done in 22.9sD:\MyResearch\vue-admin\my-vue-ts>pnpm run dev> my-vue-ts@0.0.0 dev D:\MyResearch\vue-admin\my-vue-ts> viteVITE v4.3.2 ready in 358 ms➜ Local: http://localhost:5173/➜ Network: use --host to expose➜ press h to show help
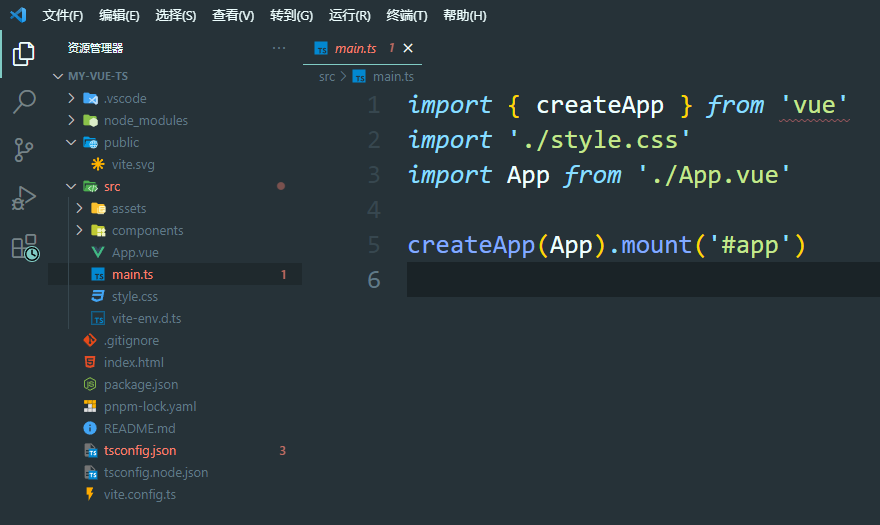
7、访问 http://localhost:5173/

8、默认生成的项目结构
9、修改 tsconfig.json
{"compilerOptions": {// 将代码编译为最新版本的 JS"target": "ESNext",// 使用 ES Module 格式打包编译后的文件"module": "ESNext",// 使用 Node 的模块解析策略"moduleResolution": "node",// 引入 ES 最新特性和 DOM 接口的类型定义"lib": ["ESNext","DOM","DOM.Iterable"],// 跳过对 .d.ts 文件的类型检查"skipLibCheck": true,// 允许引入 JSON 文件"resolveJsonModule": true,// 要求所有文件都是 ES Module 模块。"isolatedModules": true,// 不输出文件,即编译后不会生成任何js文件"noEmit": true,// 保留原始的 JSX 代码,不进行编译"jsx": "preserve",// 开启所有严格的类型检查"strict": true,// 报告未使用的局部变量的错误"noUnusedLocals": true,// 报告函数中未使用参数的错误"noUnusedParameters": true,// 确保switch语句中的任何非空情况都包含"noFallthroughCasesInSwitch": true,// 允许使用 import 引入使用 export = 导出的内容"esModuleInterop": true,// 允许使用js"allowJs": true,// 查询的基础路径"baseUrl": ".",// 路径映射,配合别名使用"paths": {"@/*": ["src/*"],"#/*": ["types/*"]}},// 需要检测的文件"include": ["src/**/*.ts","src/**/*.d.ts","src/**/*.tsx","src/**/*.vue"],// 为文件进行不同配置"references": [{"path": "./tsconfig.node.json"}]}
10、修改 tsconfig.node.json
{"compilerOptions": {"composite": true,"skipLibCheck": true,"module": "ESNext","moduleResolution": "Node","allowSyntheticDefaultImports": true},"include": ["vite.config.ts"]}
11、新建 src/typings.d.ts
提示:遇到 ts 报错,有些时候是配置未生效,可以重启 vscode 或 ts 服务( vscode 快捷键 ctrl+shift+p 调出命令行,输入 Restart TS Server )
// 声明 window 上自定义属性,如事件总线declare interface Window {eventBus: any;}// 声明 .vue 文件declare module '*.vue' {import {DefineComponent } from 'vue';const component: DefineComponent<object, object, any>;export default component;}
12、在 package.json 中新增 ts 类型检查脚本
执行:pnpm run ts 即可检查是否存在 ts 类型错误!
"ts": "vue-tsc --noEmit",
三、配置路径别名
1、安装 @types/node 依赖
yarn add @types/node -D
2、修改 vite.config.ts
import {defineConfig } from "vite";import vue from "@vitejs/plugin-vue";// 这个path用到了上面安装的 @types/nodeimport path from "path";// https://vitejs.dev/config/export default defineConfig({plugins: [vue()],// 在这里进行配置别名resolve: {alias: {// @代替src"@": path.resolve("./src"),// #代替types"#": path.resolve("./types"),},},});
3、ts 路径映射
参考上面, 已在修改 tsconfig.json 时通过 baseUrl 与 paths 属性完成。
// 查询的基础路径"baseUrl": ".",// 路径映射,配合别名使用"paths": {"@/*": ["src/*"],"#/*": ["types/*"]}
四、其他说明
1、@types/node 依赖
概述
@types/node 是一个 TypeScript 类型声明包,它包含 Node.js 中的所有类型定义。在 TypeScript 项目中,我们需要类型声明来提供类型信息,才能获得类型检查、自动补全等功能。但是 Node.js 本身的代码是由 JavaScript 编写的,没有类型信息。所以,@types/node 这个类型声明包为所有的 Node.js API 都提供了 TypeScript 的类型定义,类似:
tsinterface Response extends http.IncomingMessage {}function createServer(requestListener?: (req: http.IncomingMessage, res: http.ServerResponse) => void): http.Server;
这段代码为 http 模块的 requestListener 方法提供了类型定义。这样,在我们的 TS 代码中使用这个 API 时,就有了类型检查和提示。比如,我们这样使用:
tsimport * as http from 'http'const server = http.createServer((req, res) => {res.end()})
如果写成:
tsres.end(1) // 错误,end() 方法不接收参数
就会报错,因为 @types/node 已经声明 end() 方法不接受参数。所以,@types/node 类型声明包为我们提供了 Node.js 全部 API 的类型定义,让我们可以在 TypeScript 项目中无障碍地使用 Node.js。它是 TypeScript + Node.js 项目中必不可少的一个依赖。总的来说,@types/node 为 TypeScript 提供了:- Node.js 所有模块 API 的类型定义
- 丰富的类型检查和自动补全功能
- 更好的代码编写体验它让我们可以快速在 TS 项目中使用 Node.js,而不必硬编码所有的类型定义,大大提高了开发效率。
安装
pnpm install @types/node --save-dev
依赖包
devDependencies:+ @types/node 18.16.3
2、配置 moduleResolution 选项
如果 VS Code 报错:Cannot find module ‘vue’. Did you mean to set the ‘moduleResolution’ option to ‘node’, or to add aliases to the ‘paths’ option?
配置为:“moduleResolution”: “node”,
“moduleResolution” 选项有以下几种取值:
- “node” - 以 Node.js 兼容的方式解析模块,支持 .js, .json, .node 等后缀
- “classic” - 以传统的 TS 解析方式,只支持 .ts, .tsx, .d.ts 后缀
- “bundler” - 以 bundler 友好的方式解析,支持 .js, .jsx, .ts, .tsx, .css, .json 等后缀
所以,设置为 “node” 与 “bundler” 的区别在于:
“node”: - 只支持 Node.js 默认支持的后缀,像 .vue 需要额外配置 alias 或 paths 选项
- 模块只在运行时结合在一起,适合 Node.js 开发
“bundler”: - 支持更多 bundler 友好的后缀,像 .vue, .css 不需要额外配置就支持
- 编译后的模块会有更好的兼容性,适合 webpack 等 bundler 开发
所以,如果你的项目是一个:
Node.js 项目,推荐设置为 “node”。这样可以很好地与 Node.js 的模块解析方式兼容,但是某些 web 相关文件需要额外配置。
Webpack 或 vue-cli 等构建工具项目,推荐设置为 “bundler”。这样可以支持更丰富的模块类型,编译后也会有更好的兼容性,直接被这些构建工具识别。


还没有评论,来说两句吧...