React基本内容学习详细教程(1)
1.搭建react项目
React安装详细教程
IntelliJIDEA的搭建React项目详细教程
1)项目的目录结构
my-app/README.mdnode_modules/package.json.gitignorepublic/favicon.icoindex.htmlmanifest.jsonsrc/App.cssApp.jsApp.test.jsindex.cssindex.jslogo.svg
2)manifest.json 指定了开始页面 index.html
import logo from './logo.svg';import './App.css';function App() {return (<div className="App"><header className="App-header"><img src={logo} className="App-logo" alt="logo" /><p>学习react</p><p className="App-link">how to learn react</p></header></div>);}export default App;
3)src/index.js 修改
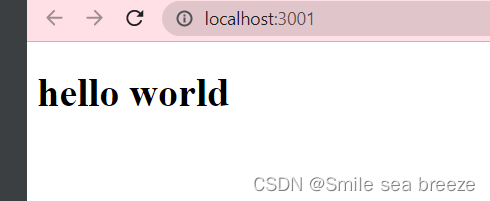
src/index.js 是一个入口文件,我们可以尝试直接修改 src/index.js 文件代码:
import React from 'react';import ReactDOM from 'react-dom';function Hello(props) {return <h1>Hello World!</h1>;}ReactDOM.render(<Hello />, document.getElementById('root'));
2. 详细内容
1)React 元素渲染
在index.html添加元素,将元素渲染到 DOM 中
<div id="example"></div>
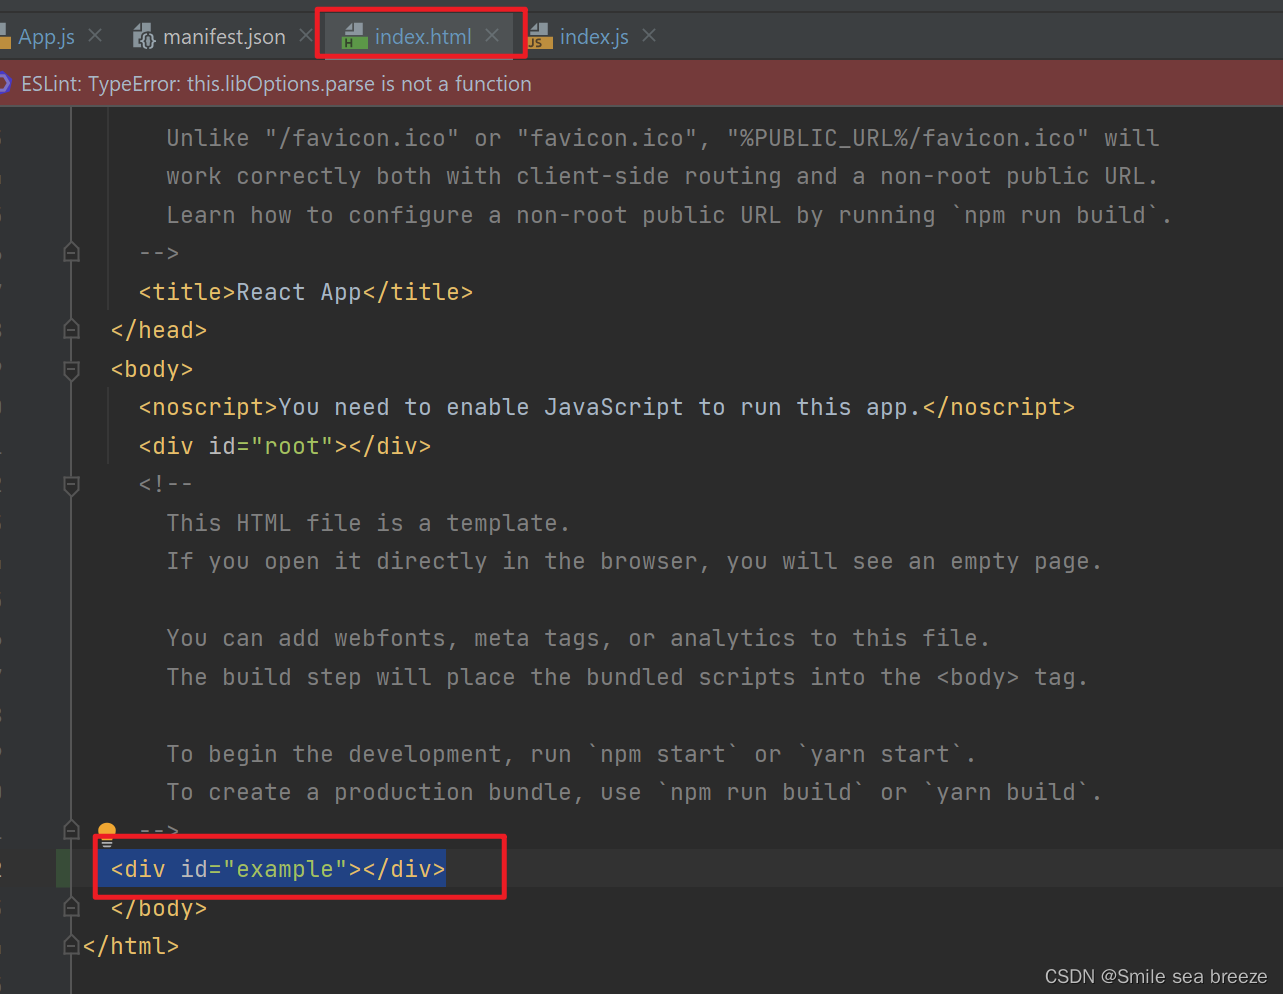
在此 div 中的所有内容都将由 React DOM 来管理,所以我们将其称为 “根” DOM 节点。
我们用 React 开发应用时一般只会定义一个根节点。但如果你是在一个已有的项目当中引入 React 的话,你可能会需要在不同的部分单独定义 React 根节点。
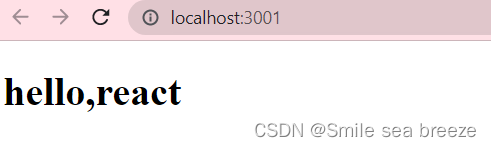
要将React元素渲染到根DOM节点中,我们通过把它们都传递给 ReactDOM.render() 的方法来将其渲染到页面上:
import React from 'react';import ReactDOM from 'react-dom';function Hello(props){return <h1> hello world</h1>}ReactDOM.render(<Hello/>,document.getElementById('root'));const element=<h1>hello,react</h1>ReactDOM.render(element,document.getElementById('example'))

2) 更新元素渲染
React 元素都是不可变的。当元素被创建之后,你是无法改变其内容或属性的。
目前更新界面的唯一办法是创建一个新的元素,然后将它传入 ReactDOM.render() 方法:
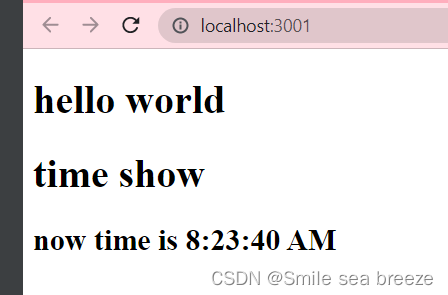
import React from 'react';import ReactDOM from 'react-dom';function Hello(props){return <h1> hello world</h1>}ReactDOM.render(<Hello/>,document.getElementById('root'));const element=<h1>hello,react</h1>ReactDOM.render(element,document.getElementById('example'))function tick(){const element=(<div><h1>time show</h1><h2> now time is {new Date().toLocaleTimeString()}</h2></div>);ReactDOM.render(element,document.getElementById('example'));}setInterval(tick,1000);//setInterval() 方法,每秒钟调用一次 ReactDOM.render()
将要展示的部分封装起来
function Clock(props){return (<div><div><h1>time show</h1><h2> now time is {props.date.toLocaleTimeString()}</h2></div></div>)}function tick(){ReactDOM.render(<Clock date={new Date()}/>,document.getElementById('example'));}setInterval(tick,1000);
创建一个 React.Component 的 ES6 类,该类封装了要展示的元素,需要注意的是在 render() 方法中,需要使用 this.props替换 props:
class Clock extends React.component{return (){return(<div><div><h1>time show</h1><h2> now time is {this.props.toLocaleTimeString()}</h2></div></div>);}}function tick(){ReactDOM.render(<Clock date={new Date()}/>,document.getElementById('example'));}setInterval(tick,1000);
3) React JSX
- JSX 是一个看起来很像 XML 的 JavaScript 语法扩展。
优点:
- JSX 执行更快,因为它在编译为 JavaScript 代码后进行了优化。
- 它是类型安全的,在编译过程中就能发现错误。
- 使用 JSX 编写模板更加简单快速。
const element =
Hello, world!
;它被称为 JSX, 一种 JavaScript 的语法扩展
- React 中使用 JSX 来描述用户界面。
- JSX 是在 JavaScript 内部实现的。
- 元素是构成 React 应用的最小单位,JSX 就是用来声明 React 当中的元素。
- 与浏览器的 DOM 元素不同,
React 当中的元素事实上是普通的对象,React DOM 可以确保 浏览器 DOM 的数据内容与 React 元素保持一致。 - 要将 React 元素渲染到
根 DOM 节点中,我们通过把它们都传递给ReactDOM.render()的方法来将其渲染到页面
index.html 添加元素
index.js
import React from 'react';import ReactDOM from 'react-dom';const element=<h1>hello,react</h1>ReactDOM.render(element,document.getElementById('example')
(1)使用 JSX
<!DOCTYPE html><html lang="en"><head><meta charset="utf-8" /><meta name="viewport" content="width=device-width, initial-scale=1" /><meta name="theme-color" content="#000000" /><title>React App</title></head><body><div id="example"></div></body></html>import React from 'react';import ReactDOM from 'react-dom';ReactDOM.render(<h1>{1+1}</h1>,document.getElementById('example'))
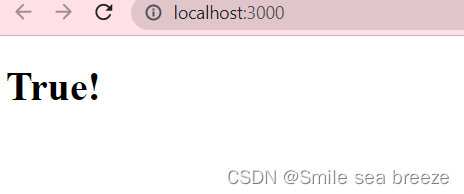
(2)JavaScript 表达式
在 JSX 中不能使用 if else 语句,但可以使用 conditional (三元运算) 表达式来替代。以下实例中如果变量 i 等于 1 浏览器将输出 true, 如果修改 i 的值,则会输出 false.
import React from 'react';import ReactDOM from 'react-dom';var i=1;ReactDOM.render(<div><h1>{i == 1 ? 'True!' : 'False'}</h1></div>,document.getElementById('example'));
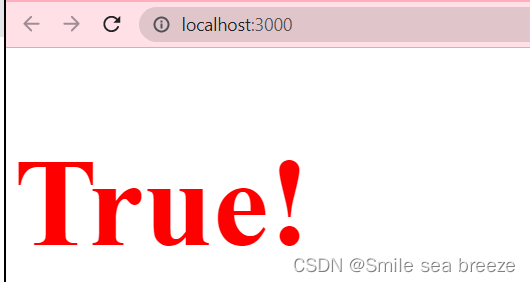
(3)样式
React 推荐使用内联样式。我们可以使用 camelCase 语法来设置内联样式. React 会在指定元素数字后自动添加 px
import React from 'react';import ReactDOM from 'react-dom';var i=1;var style ={fontSize:100,color: '#FF0000'};ReactDOM.render(<div><h1 style={style}>{i == 1 ? 'True!' : 'False'}</h1></div>,document.getElementById('example'));
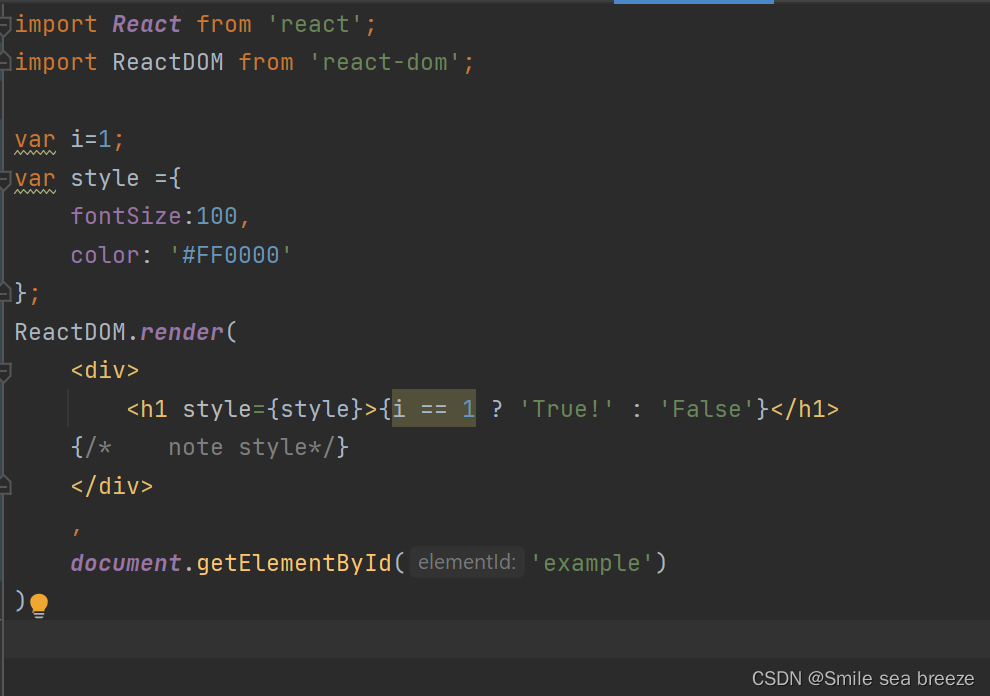
(3)注释
注释需要写在花括号中
import React from 'react';import ReactDOM from 'react-dom';var i=1;var style ={fontSize:100,color: '#FF0000'};ReactDOM.render(<div><h1 style={style}>{i == 1 ? 'True!' : 'False'}</h1>{/* note style*/}</div>,document.getElementById('example'));
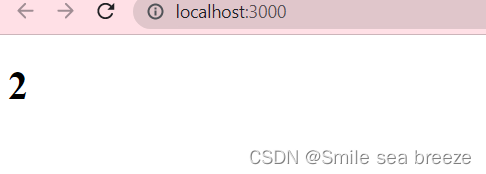
(4)数组
JSX 允许在模板中插入数组,数组会自动展开所有成员
import React from 'react';import ReactDOM from 'react-dom';var i=[<h1>1</h1>,<h1>4</h1>,];var style ={fontSize:50,color: '#FF0000'};ReactDOM.render(<div><div style={style}>{i}</div>{/* note style*/}</div>,document.getElementById('example'));
4)React 组件
(1)React 组件
function Hello(pros){return <h1 style={style}>hello,react</h1>}
也可以使用 ES6 class 来定义一个组件:
class Welcome extends React.Component{function Hello(pros){return <h1 style={style}>hello,react</h1>}}
注意,原生 HTML 元素名以小写字母开头,而自定义的 React 类名以大写字母开头,比如 Hello不能写成 hello。除此之外还需要注意组件类只能包含一个顶层标签,否则也会报错。
import React from 'react';import ReactDOM from 'react-dom';function Hello(pros){return <h1 style={style}>hello,react</h1>}var style ={fontSize:50,color: '#FF0000'};const ele= <Hello />;ReactDOM.render(ele,document.getElementById('example'));
如果我们需要向组件传递参数,可以使用 this.props 对象
import React from 'react';import ReactDOM from 'react-dom';function Hello(pros){return <h1 style={style}>hello,{pros.name}</h1>}var style ={fontSize:50,color: '#FF0000'};const ele= <Hello name="java"/>;ReactDOM.render(ele,document.getElementById('example'));

(2)复合组件
import React from 'react';import ReactDOM from 'react-dom';function Name(pros){return <h1 style={style}>hello,{pros.name}</h1>}function Age(pros){return <h1 style={style}>hello,{pros.age}</h1>}function Job(pros){return <h1 style={style}>hello,{pros.job}</h1>}var style ={fontSize:50,color: '#FF0000'};function Result(){return (<div><Name name={"Amy"}></Name><Age age={10}></Age><Job job={"student"}></Job></div>)}ReactDOM.render(<Result />,document.getElementById('example'));
5)React State(状态)
React 把组件看成是一个状态机(State Machines)。通过与用户的交互,实现不同状态,然后渲染 UI,让用户界面和数据保持一致。
React 里,只需更新组件的 state,然后根据新的 state 重新渲染用户界面(不要操作 DOM)。
在 render() 方法中使用 this.state 来修改当前的时间。
添加一个类构造函数来初始化状态 this.state,类组件应始终使用 props 调用基础构造函数。
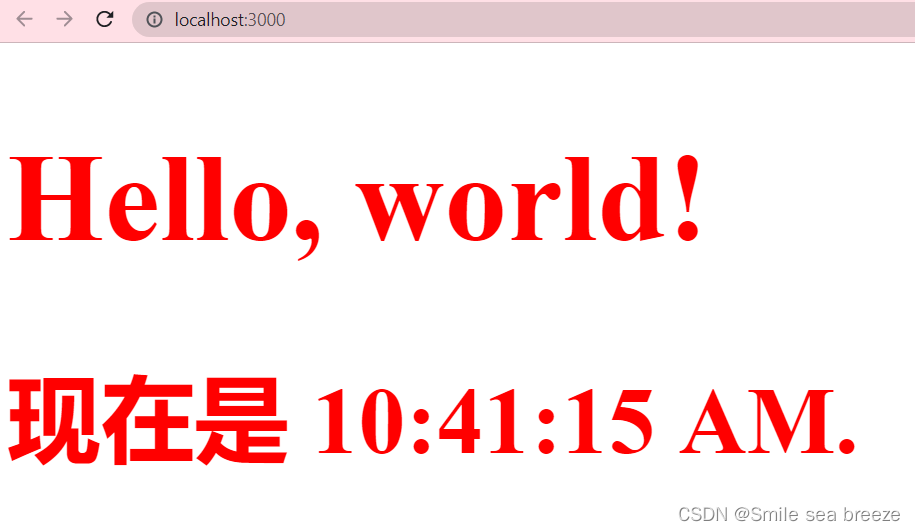
import React from 'react';import ReactDOM from 'react-dom';class Clock extends React.Component {constructor(props) {super(props);this.state = {date: new Date()};}render() {return (<div style={style}><h1 >Hello, world!</h1><h2 >现在是 {this.state.date.toLocaleTimeString()}.</h2></div>);}}var style ={fontSize:50,color: '#FF0000'};ReactDOM.render(<Clock/>,document.getElementById('example'));
(1)将生命周期方法添加到类中
以上代码只显示一次,如何让计时器每秒更新一次
将生命周期方法添加到类中
在具有许多组件的应用程序中,在销毁时释放组件所占用的资源非常重要。
每当 Clock 组件第一次加载到 DOM 中的时候,我们都想生成定时器,这在React 中被称为挂载。
同样,每当 Clock 生成的这个 DOM 被移除的时候,我们也会想要清除定时器,这在React 中被称为卸载。
import React from 'react';import ReactDOM from 'react-dom';class Clock extends React.Component {constructor(props) {super(props);this.state = {date: new Date()};}componentDidMount() {this.timerID = setInterval(()=>this.tick(),1000);}componentWillUnmount() {clearInterval(this.timerID);}tick(){this.setState({date: new Date()});}render() {return (<div style={style}><h1 >Hello, world!</h1><h2 >现在是 {this.state.date.toLocaleTimeString()}.</h2></div>);}}var style ={fontSize:50,color: '#FF0000'};ReactDOM.render(<Clock/>,document.getElementById('example'));

componentDidMount() 与 componentWillUnmount() 方法被称作生命周期钩子。
在组件输出到 DOM 后会执行 componentDidMount() 钩子,我们就可以在这个钩子上设置一个定时器。
this.timerID 为定时器的 ID,我们可以在 componentWillUnmount() 钩子中卸载定时器。
代码执行顺序:
当 被传递给ReactDOM.render()时,React 调用 Clock 组件的构造函数。 由于 Clock 需要显示当前时间,所以使用包含当前时间的对象来初始化 this.state 。 我们稍后会更新此状态。
React 然后调用 Clock 组件的render()方法。这是 React 了解屏幕上应该显示什么内容,然后 React 更新 DOM 以匹配 Clock 的渲染输出。
当 Clock 的输出插入到 DOM 中时,React 调用componentDidMount()生命周期钩子。 在其中,Clock 组件要求浏览器设置一个定时器,每秒钟调用一次tick()。
浏览器每秒钟调用 tick() 方法。 在其中,Clock 组件通过使用包含当前时间的对象调用setState()来调度UI更新。 通过调用 setState() ,React 知道状态已经改变,并再次调用render()方法来确定屏幕上应当显示什么。 这一次,render() 方法中的 this.state.date 将不同,所以渲染输出将包含更新的时间,并相应地更新 DOM。
一旦 Clock 组件被从 DOM 中移除,React 会调用componentWillUnmount()这个钩子函数,定时器也就会被清除。
(2)数据自顶向下流动
父组件或子组件都不能知道某个组件是有状态还是无状态,并且它们不应该关心某组件是被定义为一个函数还是一个类。
这就是为什么状态通常被称为局部或封装。 除了拥有并设置它的组件外,其它组件不可访问。
import React from 'react';import ReactDOM from 'react-dom';function NowTime(props) {return <h2>现在是 {props.date.toLocaleTimeString()}.</h2>;}class Clock extends React.Component {constructor(props) {super(props);this.state = {date: new Date()};}componentDidMount() {this.timerID = setInterval(()=>this.tick(),1000);}componentWillUnmount() {clearInterval(this.timerID);}tick(){this.setState({date: new Date()});}render() {return (<div style={style}><h1 >Hello, world!</h1><NowTime date={this.state.date}/></div>);}}var style ={fontSize:50,color: '#FF0000'};ReactDOM.render(<Clock/>,document.getElementById('example'));
这通常被称为自顶向下或单向数据流。 任何状态始终由某些特定组件所有,并且从该状态导出的任何数据或 UI 只能影响树中下方的组件。
如果你想象一个组件树作为属性的瀑布,每个组件的状态就像一个额外的水源,它连接在一个任意点,但也流下来。
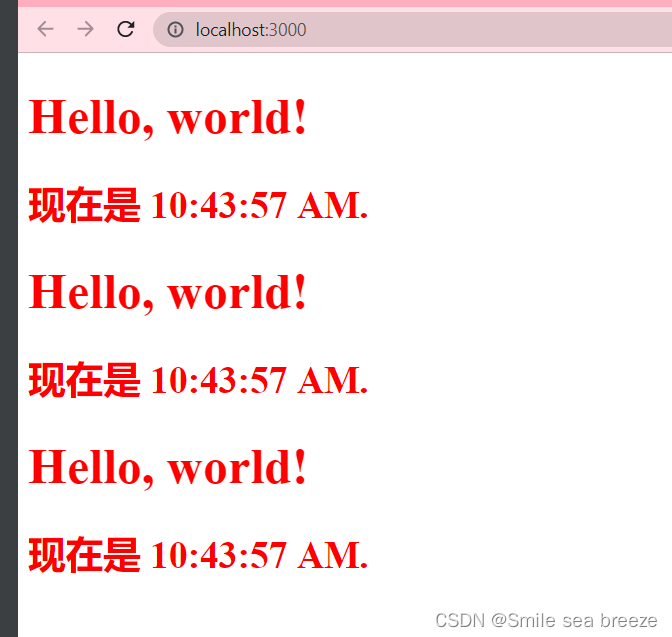
为了表明所有组件都是真正隔离的,我们可以创建一个 App 组件,它渲染三个Clock:
import React from 'react';import ReactDOM from 'react-dom';function NowTime(props) {return <h2>现在是 {props.date.toLocaleTimeString()}.</h2>;}class Clock extends React.Component {constructor(props) {super(props);this.state = {date: new Date()};}componentDidMount() {this.timerID = setInterval(()=>this.tick(),1000);}componentWillUnmount() {clearInterval(this.timerID);}tick(){this.setState({date: new Date()});}render() {return (<div style={style}><h1 >Hello, world!</h1><NowTime date={this.state.date}/></div>);}}var style ={fontSize:20,color: '#FF0000'};function Many(){return(<div><Clock /><Clock /><Clock /></div>)}ReactDOM.render(<Many/>,document.getElementById('example'));
6)React Props
state 和 props主要的区别在于props 是不可变的,而state 可以根据与用户交互来改变。这就是为什么有些容器组件需要定义state 来更新和修改数据。 而子组件只能通过 props 来传递数据。
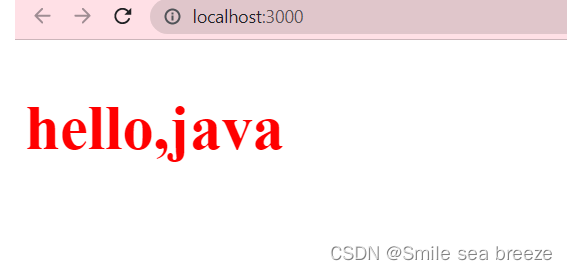
(1)使用 Props
name 属性通过 props.name 来获取。
import React from 'react';import ReactDOM from 'react-dom';function Hello(props) {return <h2 style={style}>hello,{props.name}</h2>;}const ele = <Hello name="java" />var style ={fontSize:50,color: '#FF0000'};ReactDOM.render(ele,document.getElementById('example'));
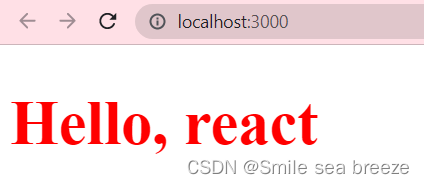
(2) 默认 Props
通过组件类的 defaultProps 属性为 props 设置默认值
import React from 'react';import ReactDOM from 'react-dom';class Hello extends React.Component {render() {return (<h1 style={style}>Hello, {this.props.name}</h1>);}}Hello.defaultProps = {name : 'react'};const ele = <Hello/>;var style ={fontSize:50,color: '#FF0000'};ReactDOM.render(ele,document.getElementById('example'));
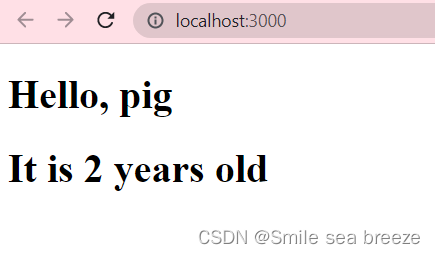
(3)State 和 Props
import React from 'react';import ReactDOM from 'react-dom';class Hello extends React.Component {constructor(){super();this.state={name:"pig",age:"2"}}render() {return (<div><Name name={this.state.name}/><Age age={this.state.age}/></div>);}}class Name extends React.Component{render() {return(<h1>Hello, {this.props.name}</h1>);}}class Age extends React.Component{render() {return(<h1>It is {this.props.age} years old</h1>);}}ReactDOM.render(<Hello />,document.getElementById('example'));
(4)Props 验证
Props 验证使用 propTypes,它可以保证我们的应用组件被正确使用,React.PropTypes 提供很多验证器 (validator) 来验证传入数据是否有效。当向 props 传入无效数据时,JavaScript 控制台会抛出警告。
以下实例创建一个 Mytitle 组件,属性 title 是必须的且是字符串,非字符串类型会自动转换为字符串 :
import React from 'react';import ReactDOM from 'react-dom';import PropTypes from 'prop-types';class Name extends React.Component{render() {return(<h1>Hello, {this.props.name}</h1>);}}Name.prototypes = {name: PropTypes.string}ReactDOM.render(<Name name='java' />,document.getElementById('example'));


还没有评论,来说两句吧...