Android学习随笔(14)------手机多媒体
学习流程来自《第一行代码》(第二版)
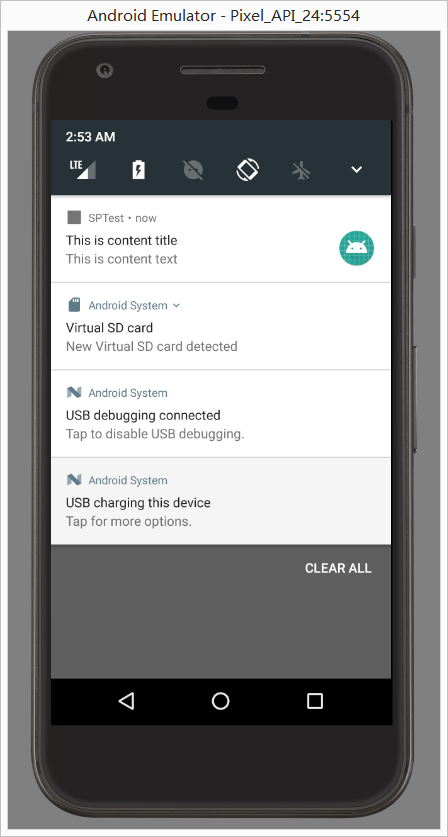
通知
创建通知的步骤
- 需要一个NotificationManager来对通知进行管理,可调用Context的getSystemService(Context.NOTIFICATION_SERVICE)方法
- 需要Builder构造器来创建Notification对象,利用NotificationCompat类(support-v4)的构造器来创建Notification对象
- 在Builder之后利用 .setXxxx()来设置通知,最后 .build();
- 利用NotifcationManager的notify()方法让通知显示出来,manager.notify(1, notification); 第一个参数是id,为每个通知独有的标记(如果想要同一个App显示多条通知,id需不同,若相同则只会显示最近发送的那条通知)
通知的基本用法
布局文件activity_main.xml
<LinearLayout xmlns:android="http://schemas.android.com/apk/res/android" android:layout_width="match_parent" android:layout_height="match_parent" android:orientation="vertical"><Button android:id="@+id/send_notice" android:layout_width="wrap_content" android:layout_height="wrap_content" android:layout_gravity="center" android:text="Send Notice" /></LinearLayout>
显示一个按钮,点击按钮即发送一条通知
@Overrideprotected void onCreate(Bundle savedInstanceState) {super.onCreate(savedInstanceState);setContentView(R.layout.activity_main);Button sendNotice = (Button) findViewById(R.id.send_notice);sendNotice.setOnClickListener(new View.OnClickListener() {@Overridepublic void onClick(View view) {NotificationManager manager = (NotificationManager) getSystemService(NOTIFICATION_SERVICE); //用于确定获取系统哪个服务 通知服务Notification notification = new NotificationCompat.Builder(MainActivity.this).setContentTitle("This is content title").setContentText("This is content text").setWhen(System.currentTimeMillis()).setSmallIcon(R.mipmap.ic_launcher).setLargeIcon(BitmapFactory.decodeResource(getResources(), R.mipmap.ic_launcher_round)).build(); // Builder建立通知结构 build建立manager.notify(1, notification);}});}
但是这个通知是无法响应点击事件的。这里就需要为通知设置一个PendingIntent。
新建一个空活动NotificationActivity,利用它来显示点击通知后跳转显示的信息
<RelativeLayout xmlns:android="http://schemas.android.com/apk/res/android" android:layout_width="match_parent" android:layout_height="match_parent"><TextView android:layout_width="wrap_content" android:layout_height="wrap_content" android:layout_centerInParent="true" android:textSize="24sp" android:text="This is notification layout" /></RelativeLayout>@Overridepublic void onClick(View view) {Intent intent = new Intent(MainActivity.this, NotificationActivity.class);PendingIntent pi = PendingIntent.getActivity(MainActivity.this, 0, intent, 0);NotificationManager manager = (NotificationManager) getSystemService(NOTIFICATION_SERVICE); //用于确定获取系统哪个服务 通知服务Notification notification = new NotificationCompat.Builder(MainActivity.this) // Builder建立通知结构 build建立.setContentTitle("This is content title").setContentText("This is content text").setWhen(System.currentTimeMillis()).setSmallIcon(R.mipmap.ic_launcher).setLargeIcon(BitmapFactory.decodeResource(getResources(), R.mipmap.ic_launcher_round)).setContentIntent(pi).setAutoCancel(true) // 设置自动取消.build();manager.notify(1, notification);}
取消通知的第二种方法是在NotificationActivity中
NotificationManager manager = (NotificationManager) getSystemService(NOTIFICATION_SERVICE); manager.cancel(1); // 取消该通知的id
扩展
// .setVibrate() 设置手机震动 静止时长,振动时长...需要申请权限 <uses-permission android:name="android.permission.VIBRATE" />// .setSound(Uri.fromFile(new File("/storage/emulated/0/cloudmusic/Music/dgpy.mp3"))) 设置播放声音的文件位置// .setLights(Color.GREEN, 1000, 1000) 设置呼吸灯// .setDefaults(NotificationCompat.DEFAULT_ALL) 使用默认效果// .setStyle(new NotificationCompat.BigTextStyle().bigText("Learn how to build notifications, send and sync data, and" +//"use voice actions. Get the official Android IDE and developer tools to build apps for Android.")) 用于显示长文本//.setStyle(new NotificationCompat.BigPictureStyle().bigPicture(BitmapFactory.decodeResource(getResources(), R.mipmap.ic_launcher_round)))在通知处显示一张图片//.setPriority(NotificationCompat.PRIORITY_MAX) 设置通知优先级
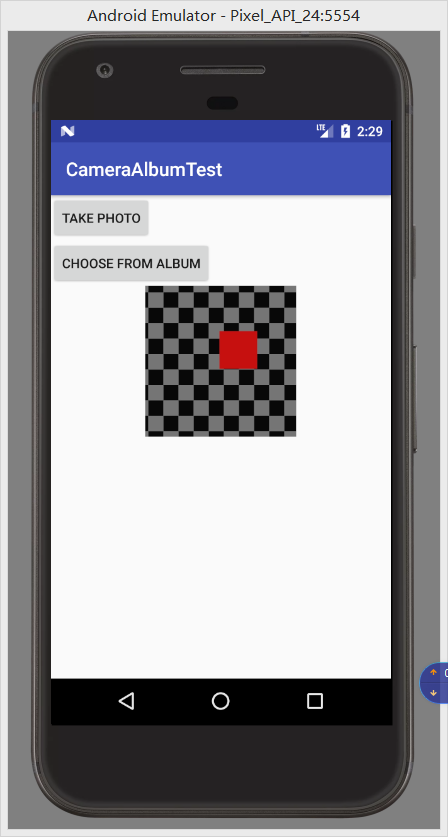
调用摄像头和相册
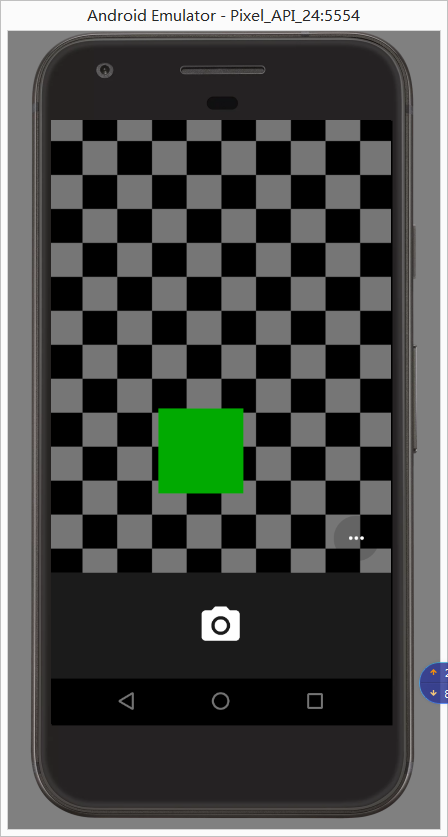
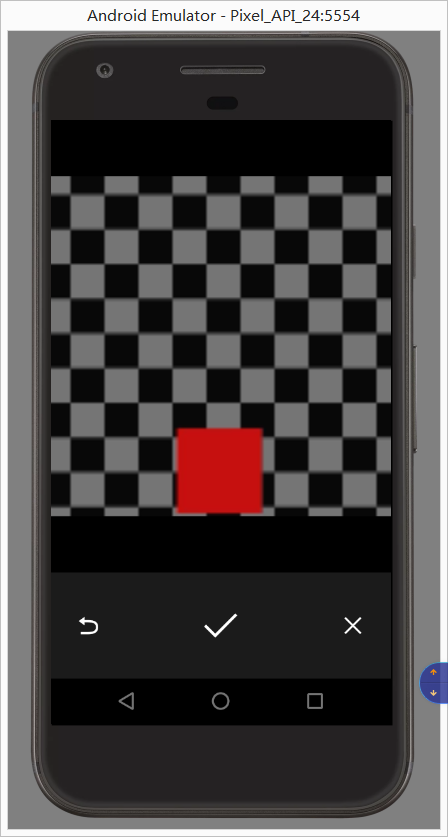
调用摄像头
<LinearLayout xmlns:android="http://schemas.android.com/apk/res/android" android:layout_width="match_parent" android:layout_height="match_parent" android:orientation="vertical"><Button android:id="@+id/take_photo" android:layout_width="wrap_content" android:layout_height="wrap_content" android:text="Take Photo"/><ImageView android:id="@+id/picture" android:layout_width="wrap_content" android:layout_height="wrap_content" android:layout_gravity="center_horizontal"/></LinearLayout>
点击按钮打开摄像头,拍照在ImageView中显示。
MainActivity.java :
public class MainActivity extends AppCompatActivity {public static final int TAKE_PHOTO = 1;private ImageView picture;private Uri imageUri;@Overrideprotected void onCreate(Bundle savedInstanceState) {super.onCreate(savedInstanceState);setContentView(R.layout.activity_main);Button takePhoto = (Button) findViewById(R.id.take_photo);picture = (ImageView) findViewById(R.id.picture);takePhoto.setOnClickListener(new View.OnClickListener() {@Overridepublic void onClick(View v) {File outputImage = new File(getExternalCacheDir(), "output_image.jpg"); // 创建File对象,用于储存拍照后的图片 存放在SD卡的应用关联缓存数据的位置/sdcard/Android/data/<package name>/cachetry { // 创建outputImage.jpg 如果存在删除重新创建if (outputImage.exists()) {outputImage.delete();}outputImage.createNewFile();} catch (IOException e) {e.printStackTrace();}if (Build.VERSION.SDK_INT >= 24) { // 调用FileProvider的getUriForFile()方法 将File对象转换成封装过的Uri对象imageUri = FileProvider.getUriForFile(MainActivity.this, "com.example.administrator.cameraalbumtest.fileprovider", outputImage); // Android7.0开始直接使用本地Uri被认为是不安全的(FileUriExposedException),FileProvider是一种特殊的内容提供器选择性的将封装过的Uri共享给外部。(Context context,String authority,File file)} else { // 如果运行设备版本低于7.0 将File对象转换成Uri对象(标识着output_image.jpg图片的本地真实路径)imageUri = Uri.fromFile(outputImage);}Intent intent = new Intent("android.media.action.IMAGE_CAPTURE"); //调用相机intent.putExtra(MediaStore.EXTRA_OUTPUT, imageUri); // 指定图片输出地址startActivityForResult(intent, TAKE_PHOTO);}});}@Overrideprotected void onActivityResult(int requestCode, int resultCode, Intent data) { // 拍照完后有结果返回switch (requestCode) {case TAKE_PHOTO:if (resultCode == RESULT_OK) {try { // 显示照片Bitmap bitmap = BitmapFactory.decodeStream(getContentResolver().openInputStream(imageUri)); // 根据返回picture.setImageBitmap(bitmap);} catch (FileNotFoundException e) {e.printStackTrace();}}break;default:break;}}}
因为FileProvider是一个内容提供器所以需要对其进行注册
<provider android:name="android.support.v4.content.FileProvider" android:authorities="com.example.administrator.cameraalbumtest.fileprovider" android:exported="false" android:grantUriPermissions="true"><meta-data android:name="android.support.FILE_PROVIDER_PATHS" android:resource="@xml/file_paths" /></provider> <!--exported:要求必须为false,为true,grantUriPermissions:true,表示授予 URI 临时访问权限-->
android:name 属性的值是固定的
android:authorities 属性的值必须要和FileProvider.getUriFile()方法中的第二个参数一样(String authority)
在provider标签内部使用meta-data来指定Uri的共享路径,引用了一个@xml/file_paths资源
需要对这个资源进行创建。
在res目录下新建一个xml文件夹,添加一个file_paths.xml文件
<paths xmlns:android="http://schemas.android.com/apk/res/android"><external-path name="my_images" path="" /></paths>
files-path代表的根目录: Context.getFilesDir()
external-path代表的根目录: Environment.getExternalStorageDirectory()
cache-path代表的根目录: getCacheDir()
name可以随便填写
path表示共享的具体路径,path=”“,它代表根目录,也就是说你可以向其它的应用共享根目录及其子目录下任何一个文件了。如果你path设为path=”pictures”,那么它代表着根目录下的pictures目录(/storage/emulated/0/pictures),如果你向其它应用分享pictures目录范围之外的文件是不行的。
4.4系统之前访问SD卡的应用关联目录是要声明权限的
<uses-permission android:name="android.permission.WRITE_EXTERNAL_STORAGE" />

因为是虚拟机运行的所以没有拍照效果。
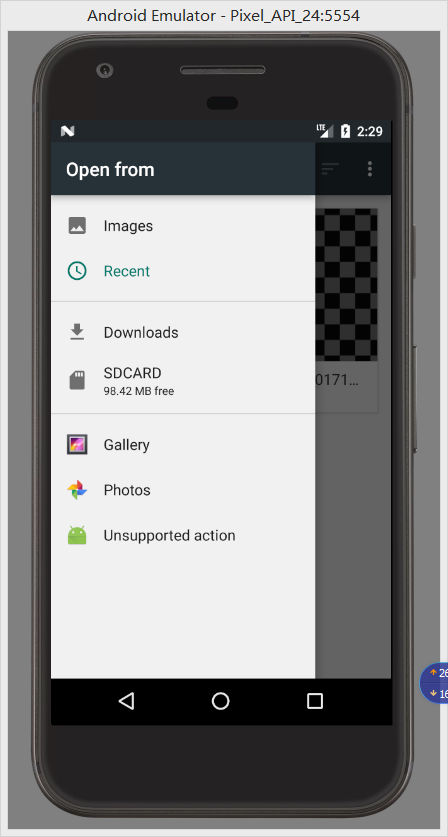
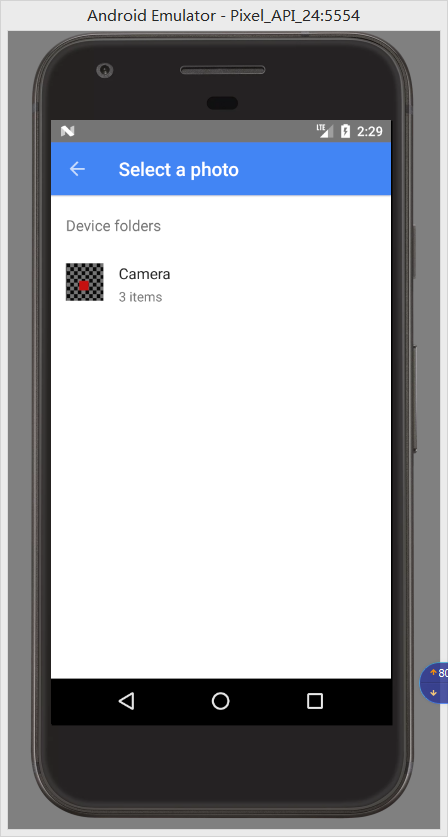
从相册中选取图片
<Buttonandroid:id="@+id/choose_from_album"android:layout_width="wrap_content"android:layout_height="wrap_content"android:text="Choose From Album" />
添加一个按钮,点击打开相册,选择图片然后显示在我们的应用上。
public class MainActivity extends AppCompatActivity {public static final int CHOOSE_PHOTO = 2;private ImageView picture;private Uri imageUri;@Overrideprotected void onCreate(Bundle savedInstanceState) {super.onCreate(savedInstanceState);setContentView(R.layout.activity_main);Button chooseFromAlbum = (Button) findViewById(R.id.choose_from_album);picture = (ImageView) findViewById(R.id.picture);chooseFromAlbum.setOnClickListener(new View.OnClickListener() {@Overridepublic void onClick(View v) {if (ContextCompat.checkSelfPermission(MainActivity.this, Manifest.permission.WRITE_EXTERNAL_STORAGE) != PackageManager.PERMISSION_GRANTED) {ActivityCompat.requestPermissions(MainActivity.this, new String[] { Manifest.permission.WRITE_EXTERNAL_STORAGE}, 1);} else {openAlbum();}}});}private void openAlbum() {Intent intent = new Intent("android.intent.action.GET_CONTENT");intent.setType("image/*"); // 选择图片startActivityForResult(intent, CHOOSE_PHOTO); // 打开相册}@Overridepublic void onRequestPermissionsResult(int requestCode, String[] permissions, int[] grantResults) {switch (requestCode) {case 1:if (grantResults.length > 0 && grantResults[0] == PackageManager.PERMISSION_GRANTED) {openAlbum();} else {Toast.makeText(this, "You denied the permission", Toast.LENGTH_SHORT).show();}break;default:}}@Overrideprotected void onActivityResult(int requestCode, int resultCode, Intent data) {switch (requestCode) {case CHOOSE_PHOTO:Log.d("admin", "CHOOSE_PHOTO"+requestCode);if (resultCode == RESULT_OK) { // 判断手机系统版本if (Build.VERSION.SDK_INT >= 19) {handleImageOnKitKat(data);} else {handleImageBeforeKitKat(data);}}break;default:break;}}@TargetApi(19)private void handleImageOnKitKat(Intent data) {String imagePath = null;Uri uri = data.getData();if (DocumentsContract.isDocumentUri(this, uri)) { // 如果是document类型的Uri,则通过document id处理String docId = DocumentsContract.getDocumentId(uri);if ("com.android.providers.media.documents".equals(uri.getAuthority())) {String id = docId.split(":")[1]; // 解析出数字格式的idString selection = MediaStore.Images.Media._ID + "=" + id;imagePath = getImagePath(MediaStore.Images.Media.EXTERNAL_CONTENT_URI, selection);Log.d("admin", "documents" + imagePath);} else if ("com.android.providers.downloads.documents".equals(uri.getAuthority())) {Uri contentUri = ContentUris.withAppendedId(Uri.parse("content://downloads/public_downloads"), Long.valueOf(docId));imagePath = getImagePath(contentUri, null);Log.d("admin", "downloads" + imagePath);}} else if ("content".equalsIgnoreCase(uri.getScheme())) { // 如果是content类型的Uri,用普通方式处理imagePath = getImagePath(uri, null);Log.d("admin", "content" + imagePath);} else if ("file".equalsIgnoreCase(uri.getScheme())) { // 如果是file类型的Uri,直接获取图片路径即可imagePath = uri.getPath();Log.d("admin", "file1" + imagePath);}displayImage(imagePath);Log.d("admin", imagePath);}private void handleImageBeforeKitKat(Intent data) {Uri uri = data.getData();String imagePath = getImagePath(uri, null);displayImage(imagePath);}private String getImagePath(Uri uri, String selection) {String path = null;Cursor cursor = getContentResolver().query(uri, null, selection, null, null);if (cursor != null) {if (cursor.moveToFirst()) {path = cursor.getString(cursor.getColumnIndex(MediaStore.Images.Media.DATA));}cursor.close();}return path;}private void displayImage(String imagePath) {if (imagePath != null) {Bitmap bitmap = BitmapFactory.decodeFile(imagePath);picture.setImageBitmap(bitmap);} else {Toast.makeText(this, "failed to get image", Toast.LENGTH_SHORT).show();}}}
因为是在相册中选取,所以先添加了一个运行时权限的申请(读写SD卡的权限),获得权限后会去调用openAlbum()方法,利用Intent来打开相册。
从android4.4开始,选取相册中的图片不再返回真实的Uri,而是一个经过封装的Uri,所以要对其进行解析。
播放多媒体文件
播放音频
在Android中播放音频文件一般都是使用MediaPlayer类来实现的。
具体步骤 :
- 创建MediaPlayer对象
- 调用setDataSource()方法来设置音频文件的目录
- 再调用prepare()方法使MediaPlayer进入到准备状态
调用start()方法播放,pause()方法暂停,reset()方法停止(再次播放会从头开始)
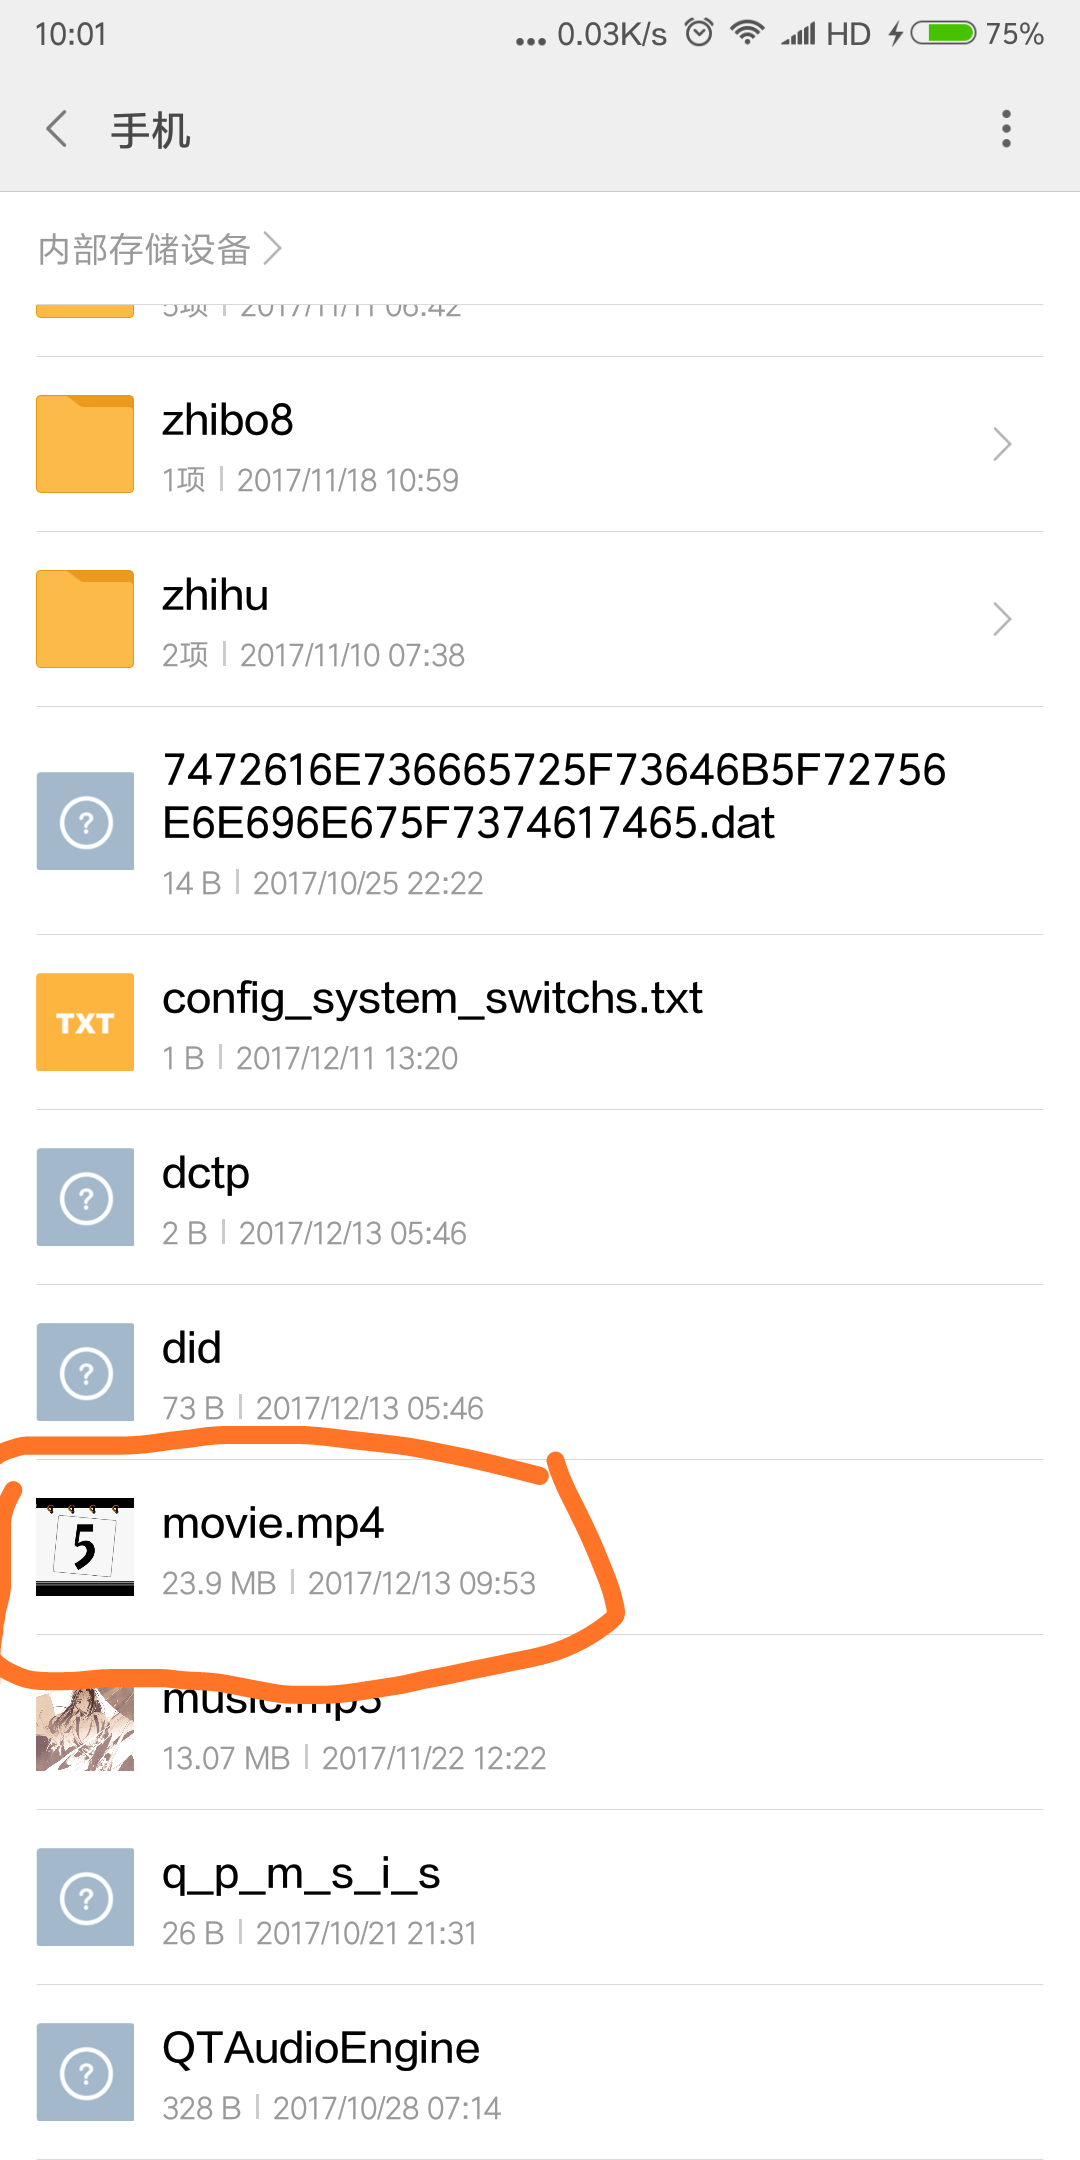
需要从SD卡中读取音频文件
<uses-permission android:name="android.permission.WRITE_EXTERNAL_STORAGE" />
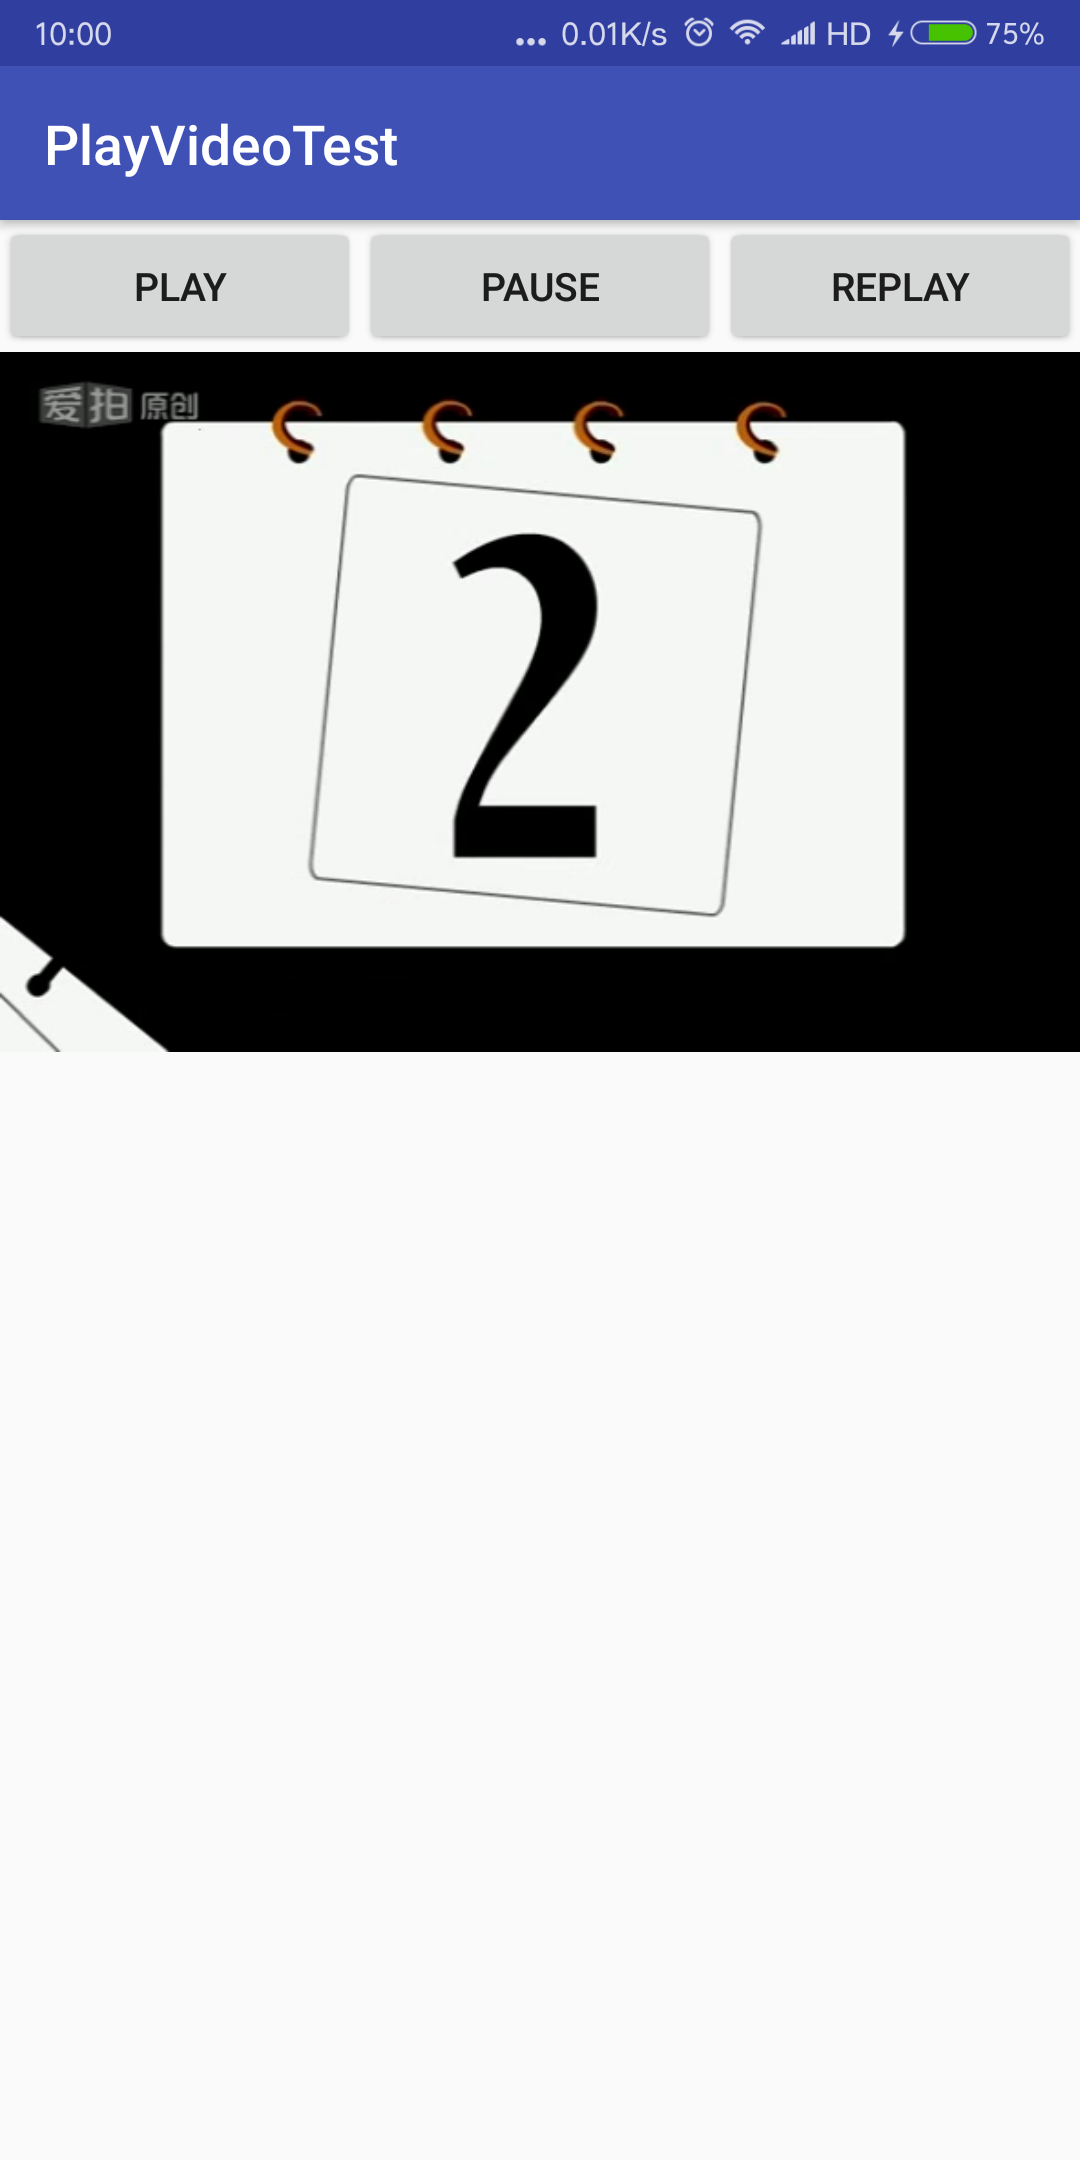
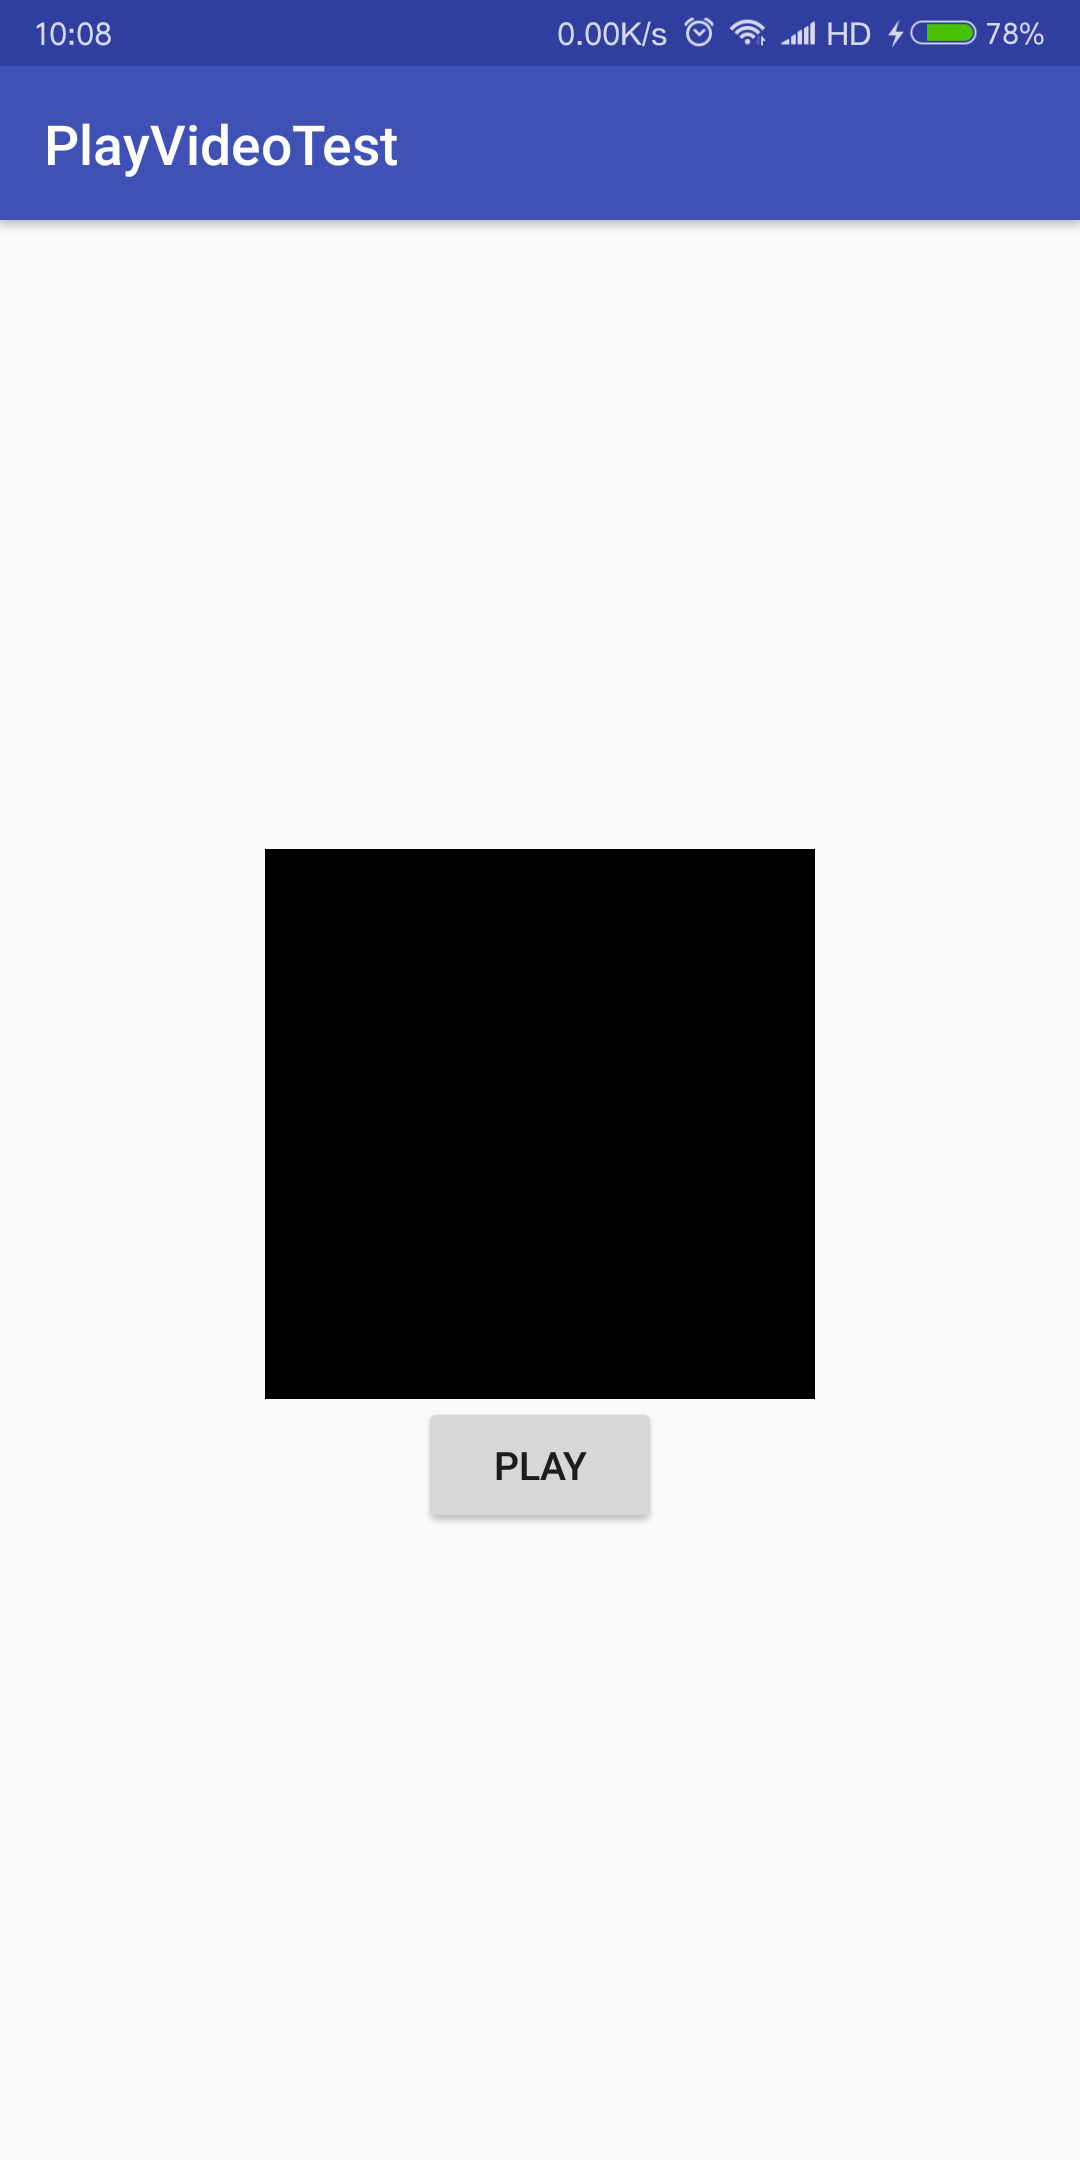
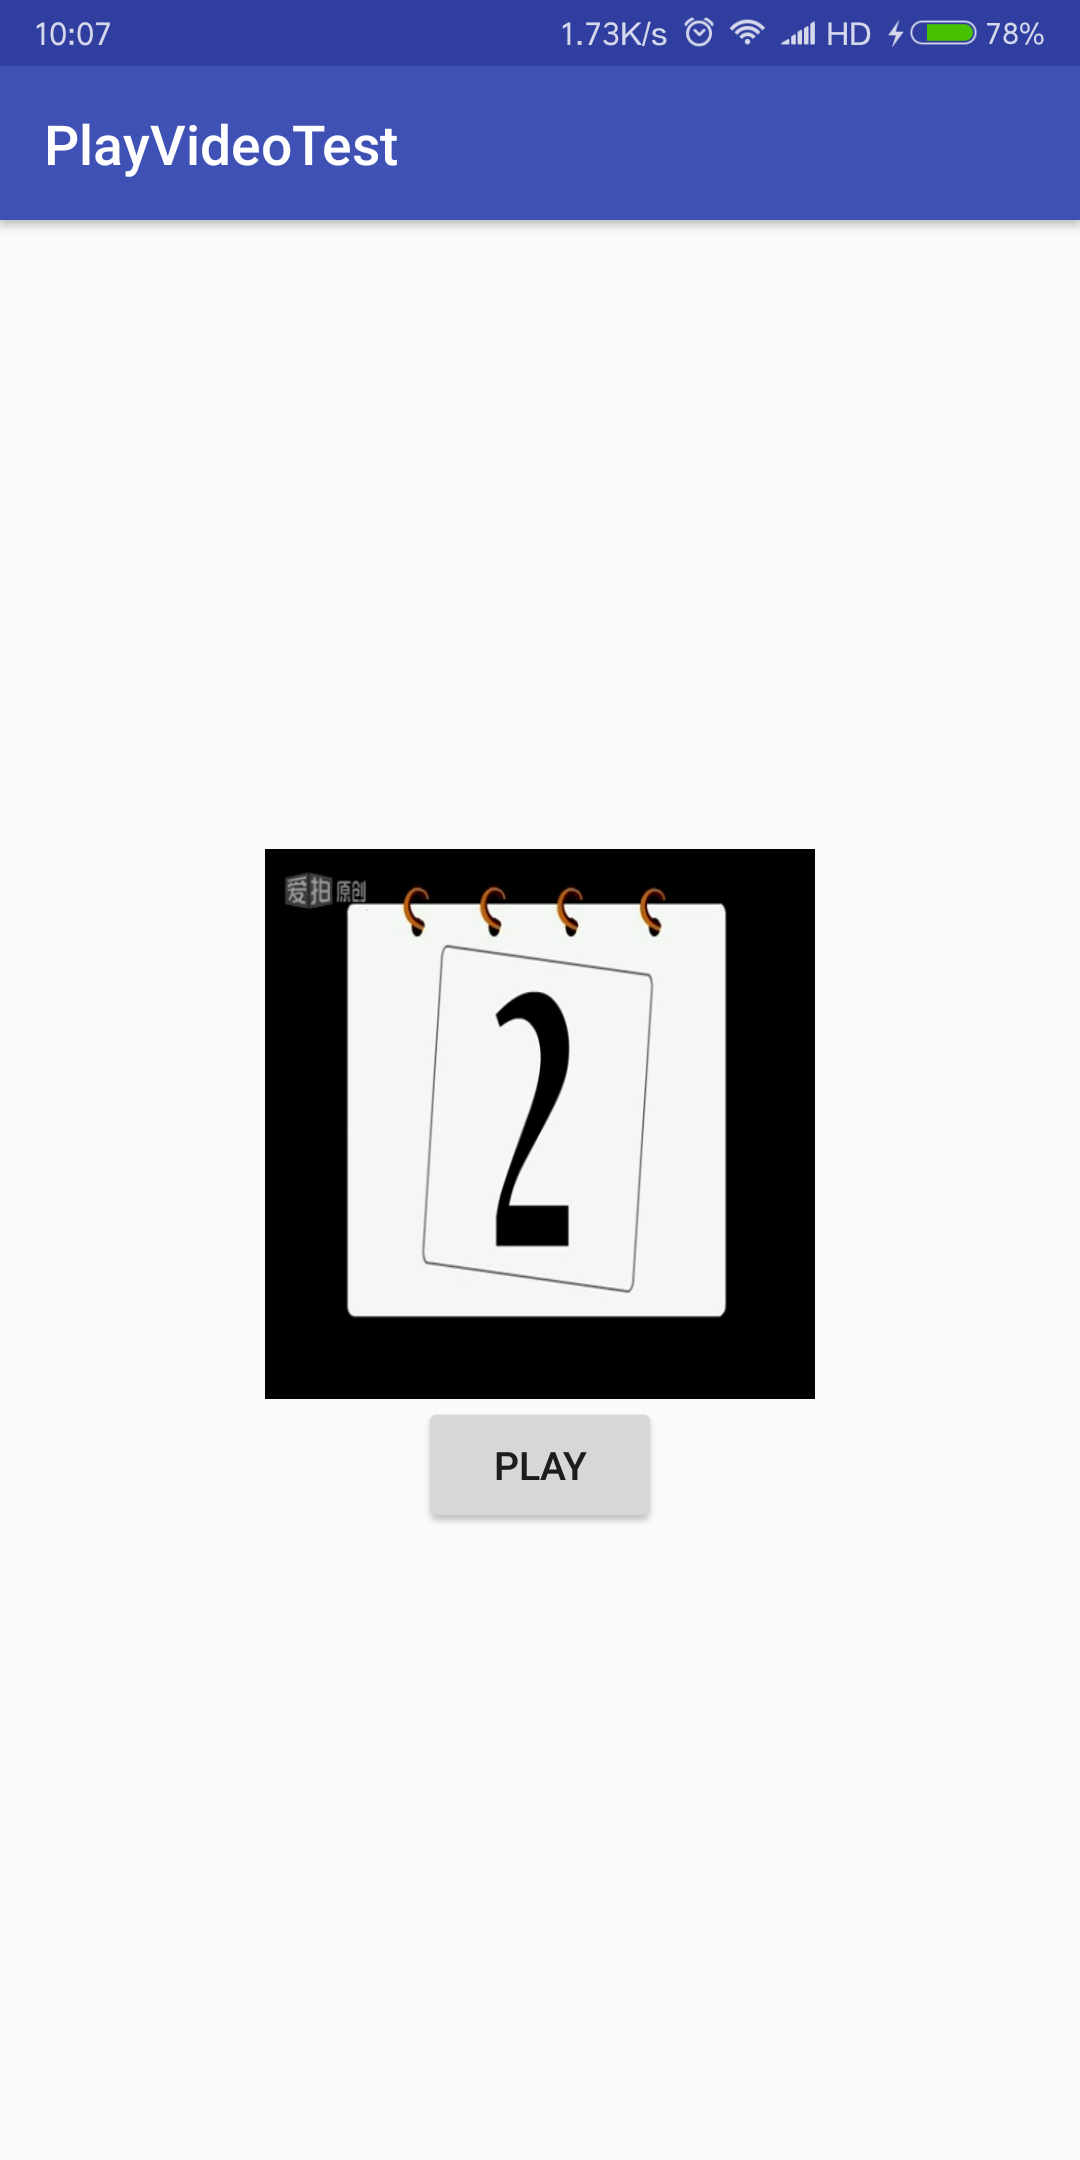
播放视频
播放视频有两种实现方法,一种是利用VideoView来实现,另一种是利用MediaPlayer和SurfaceView来实现
public class MainActivity extends AppCompatActivity implements View.OnClickListener {private VideoView videoView;@Overrideprotected void onCreate(Bundle savedInstanceState) {super.onCreate(savedInstanceState);setContentView(R.layout.activity_main);videoView = (VideoView) findViewById(R.id.video_view);Button play = (Button) findViewById(R.id.play);Button pause = (Button) findViewById(R.id.pause);Button replay = (Button) findViewById(R.id.replay);play.setOnClickListener(this);pause.setOnClickListener(this);replay.setOnClickListener(this);if (ContextCompat.checkSelfPermission(MainActivity.this, Manifest.permission.WRITE_EXTERNAL_STORAGE) != PackageManager.PERMISSION_GRANTED) {ActivityCompat.requestPermissions(MainActivity.this, new String[] { Manifest.permission.WRITE_EXTERNAL_STORAGE}, 1);} else {initVideoPlayer();}}private void initVideoPlayer() {File file = new File(Environment.getExternalStorageDirectory(), "movie.mp4");videoView.setVideoPath(file.getPath()); // 指定视频文件的路径}@Overridepublic void onRequestPermissionsResult(int requestCode, String[] permissions, int[] grantResults) {switch (requestCode) {case 1:if (grantResults.length > 0 && grantResults[0] == PackageManager.PERMISSION_GRANTED) {initVideoPlayer();} else {Toast.makeText(MainActivity.this, "拒绝权限将无法使用程序", Toast.LENGTH_SHORT).show();finish();}break;default:break;}}@Overridepublic void onClick(View v) {switch (v.getId()) {case R.id.play:if (!videoView.isPlaying()) {videoView.start(); // 开始播放}break;case R.id.pause:if (videoView.isPlaying()) {videoView.pause(); // 暂停播放}break;case R.id.replay:if (videoView.isPlaying()) {videoView.resume(); // 重新播放}break;default:break;}}@Overrideprotected void onDestroy() {super.onDestroy();if (videoView != null) { // 释放资源videoView.suspend();}}}<LinearLayout xmlns:android="http://schemas.android.com/apk/res/android" android:layout_width="match_parent" android:layout_height="match_parent" android:orientation="vertical" android:gravity="center_horizontal"><LinearLayout android:layout_width="match_parent" android:layout_height="wrap_content" android:gravity="center"><Button android:id="@+id/play" android:layout_width="0dp" android:layout_height="wrap_content" android:layout_weight="1" android:text="Play" /><Button android:id="@+id/pause" android:layout_width="0dp" android:layout_height="wrap_content" android:layout_weight="1" android:text="Pause" /><Button android:id="@+id/replay" android:layout_width="0dp" android:layout_height="wrap_content" android:layout_weight="1" android:text="Replay" /></LinearLayout><VideoView android:id="@+id/video_view" android:layout_width="match_parent" android:layout_height="wrap_content" /></LinearLayout>
需要从SD卡中读取音频文件
<uses-permission android:name="android.permission.WRITE_EXTERNAL_STORAGE" />
public class MainActivity extends AppCompatActivity implements View.OnClickListener {MediaPlayer mediaPlayer;SurfaceView surfaceView;Button btnPlay;String path;SurfaceHolder sh;@Overrideprotected void onCreate(Bundle savedInstanceState) {super.onCreate(savedInstanceState);setContentView(R.layout.activity_main);Button btnPlay = (Button) findViewById(R.id.play);btnPlay.setOnClickListener(this);surfaceView = (SurfaceView) findViewById(R.id.surfaceView);path = "/sdcard/movie.mp4";mediaPlayer = new MediaPlayer();}@Overridepublic void onClick(View arg0) {switch (arg0.getId()) {case R.id.play:try {mediaPlayer.reset();mediaPlayer.setAudioStreamType(AudioManager.STREAM_MUSIC);mediaPlayer.setDataSource(path);sh = surfaceView.getHolder(); // 创建表面视图处理接口对象mediaPlayer.setDisplay(sh);mediaPlayer.prepare();mediaPlayer.start();} catch (Exception e) {e.printStackTrace();}break;default:break;}}}<LinearLayout xmlns:android="http://schemas.android.com/apk/res/android" android:layout_width="match_parent" android:layout_height="match_parent" android:gravity="center" android:orientation="vertical" ><SurfaceView android:id="@+id/surfaceView" android:layout_width="200dp" android:layout_height="200dp" /><Button android:id="@+id/play" android:layout_width="wrap_content" android:layout_height="wrap_content" android:text="play" />></LinearLayout>
此博文为个人学习笔记,仅供个人学习使用,希望对大家有帮助。


还没有评论,来说两句吧...